Start to Finish.
A glimpse at various stages of our process.
Kitchen Transformation
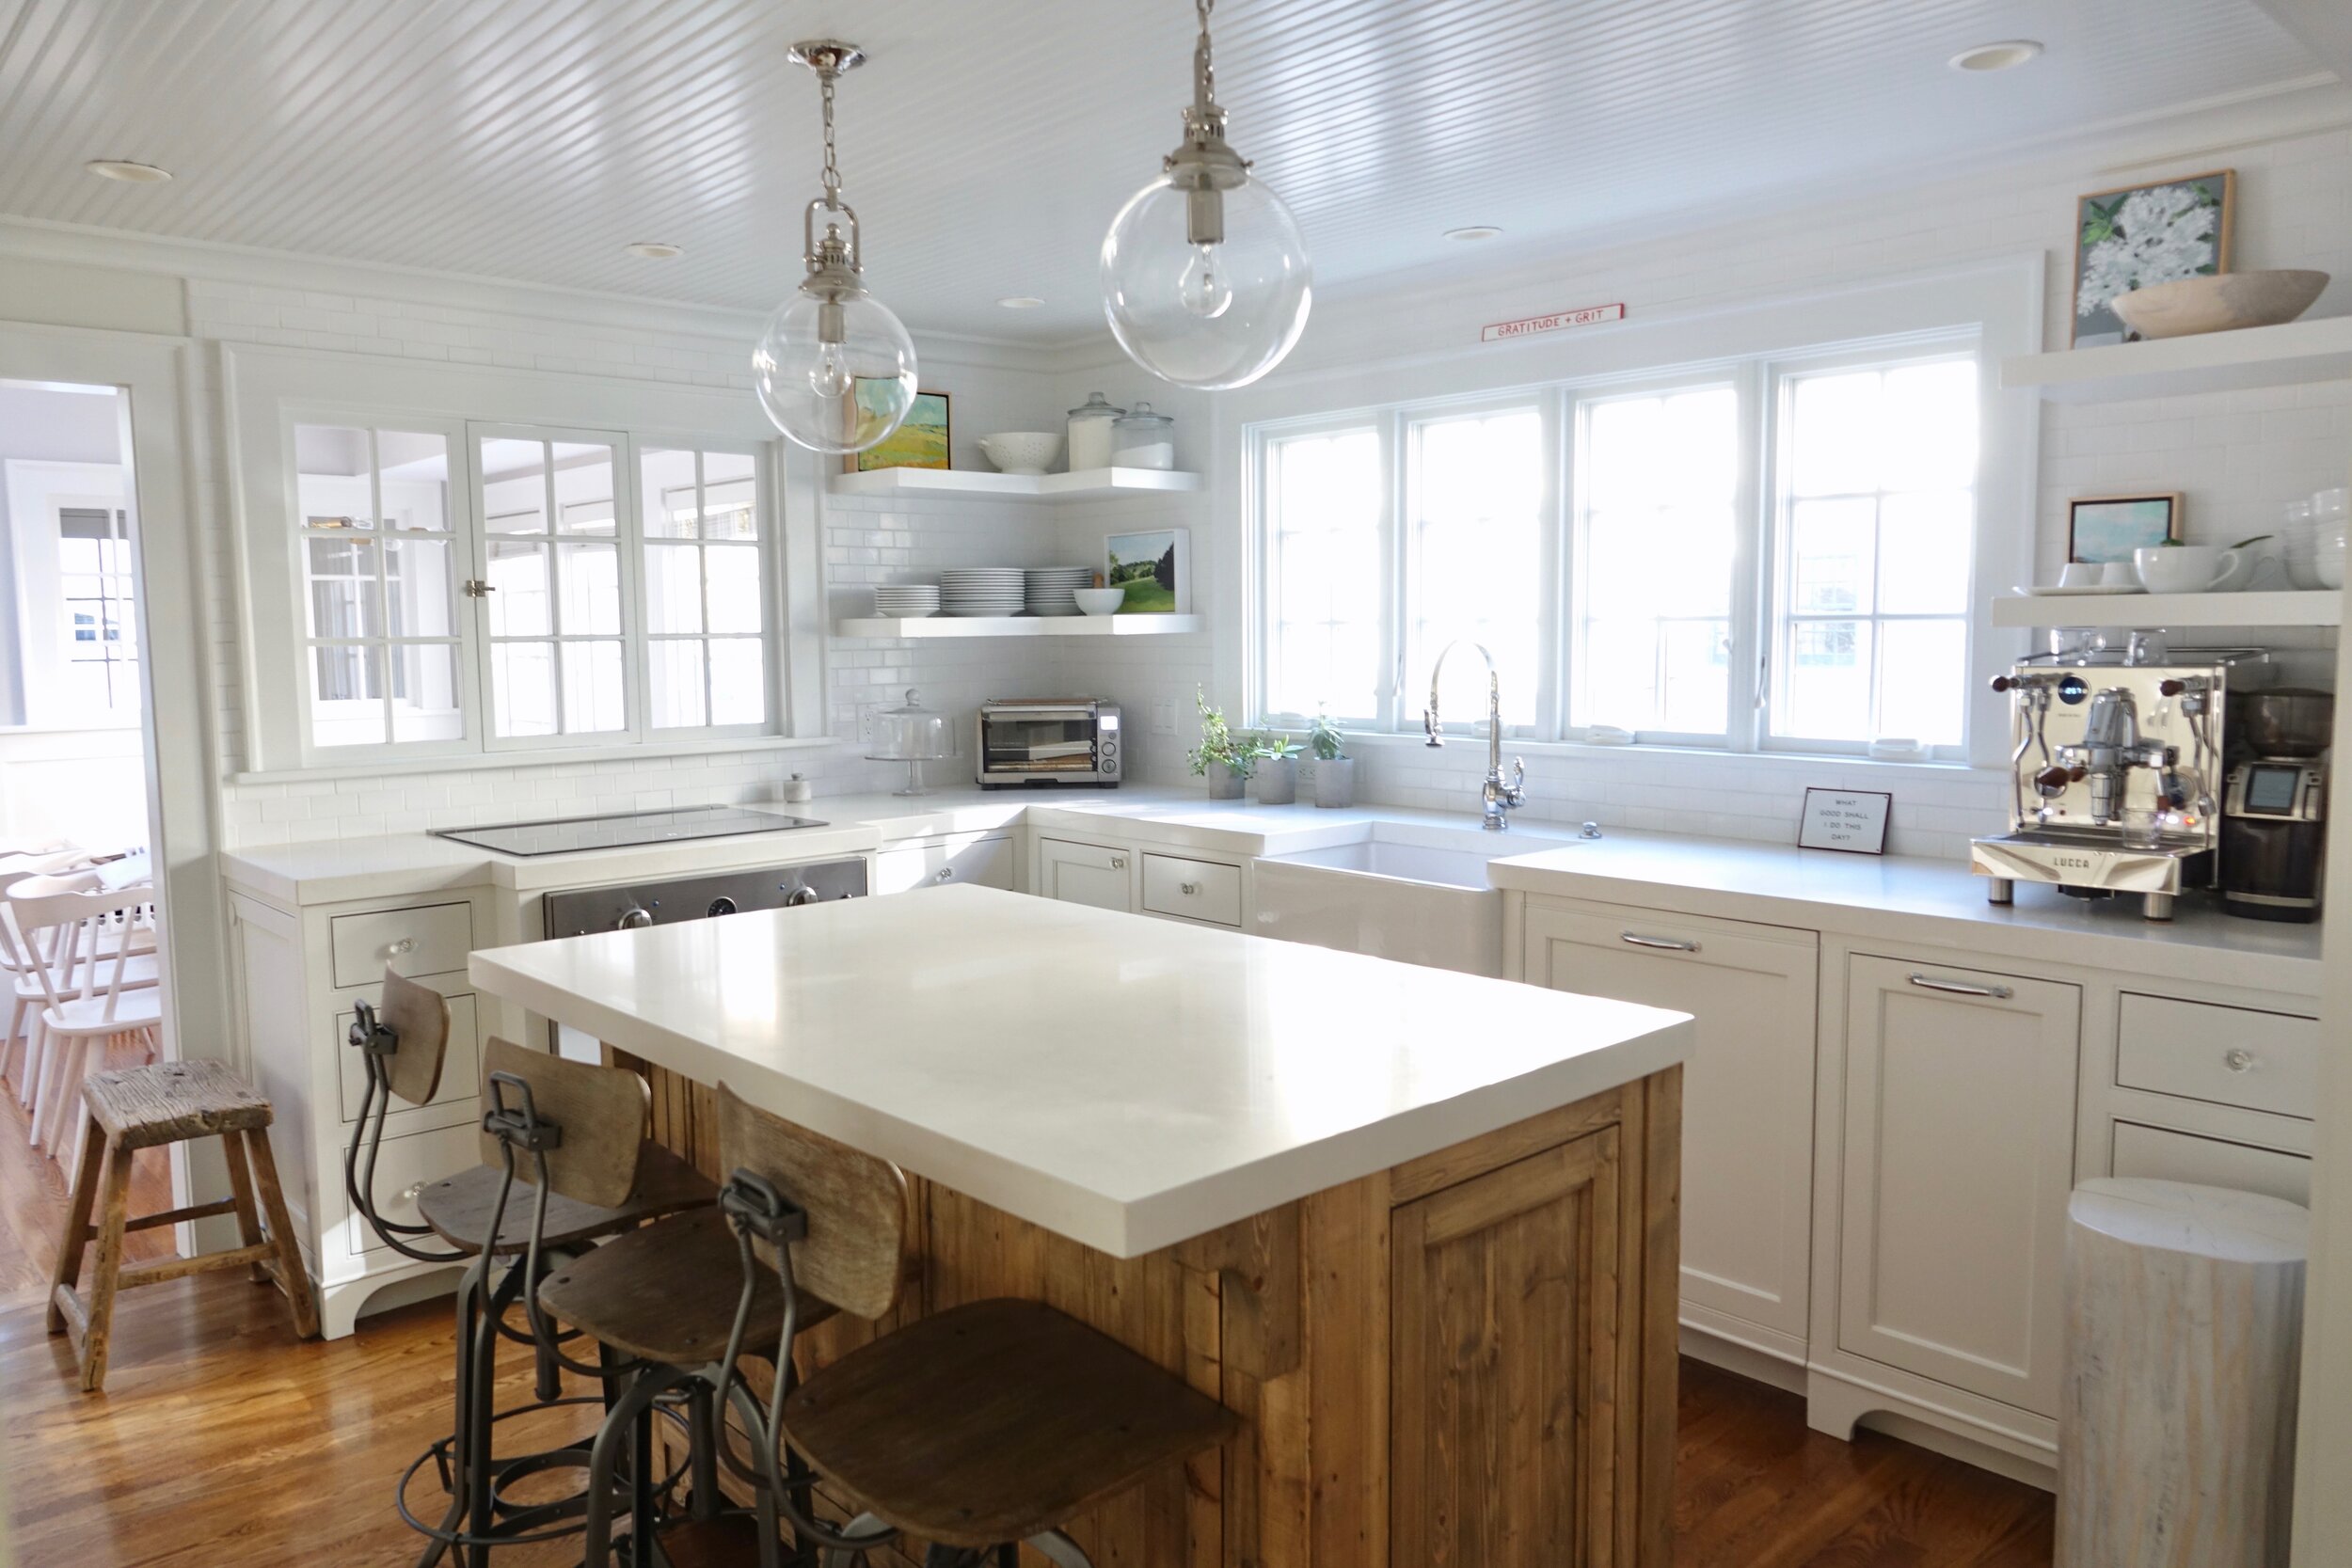
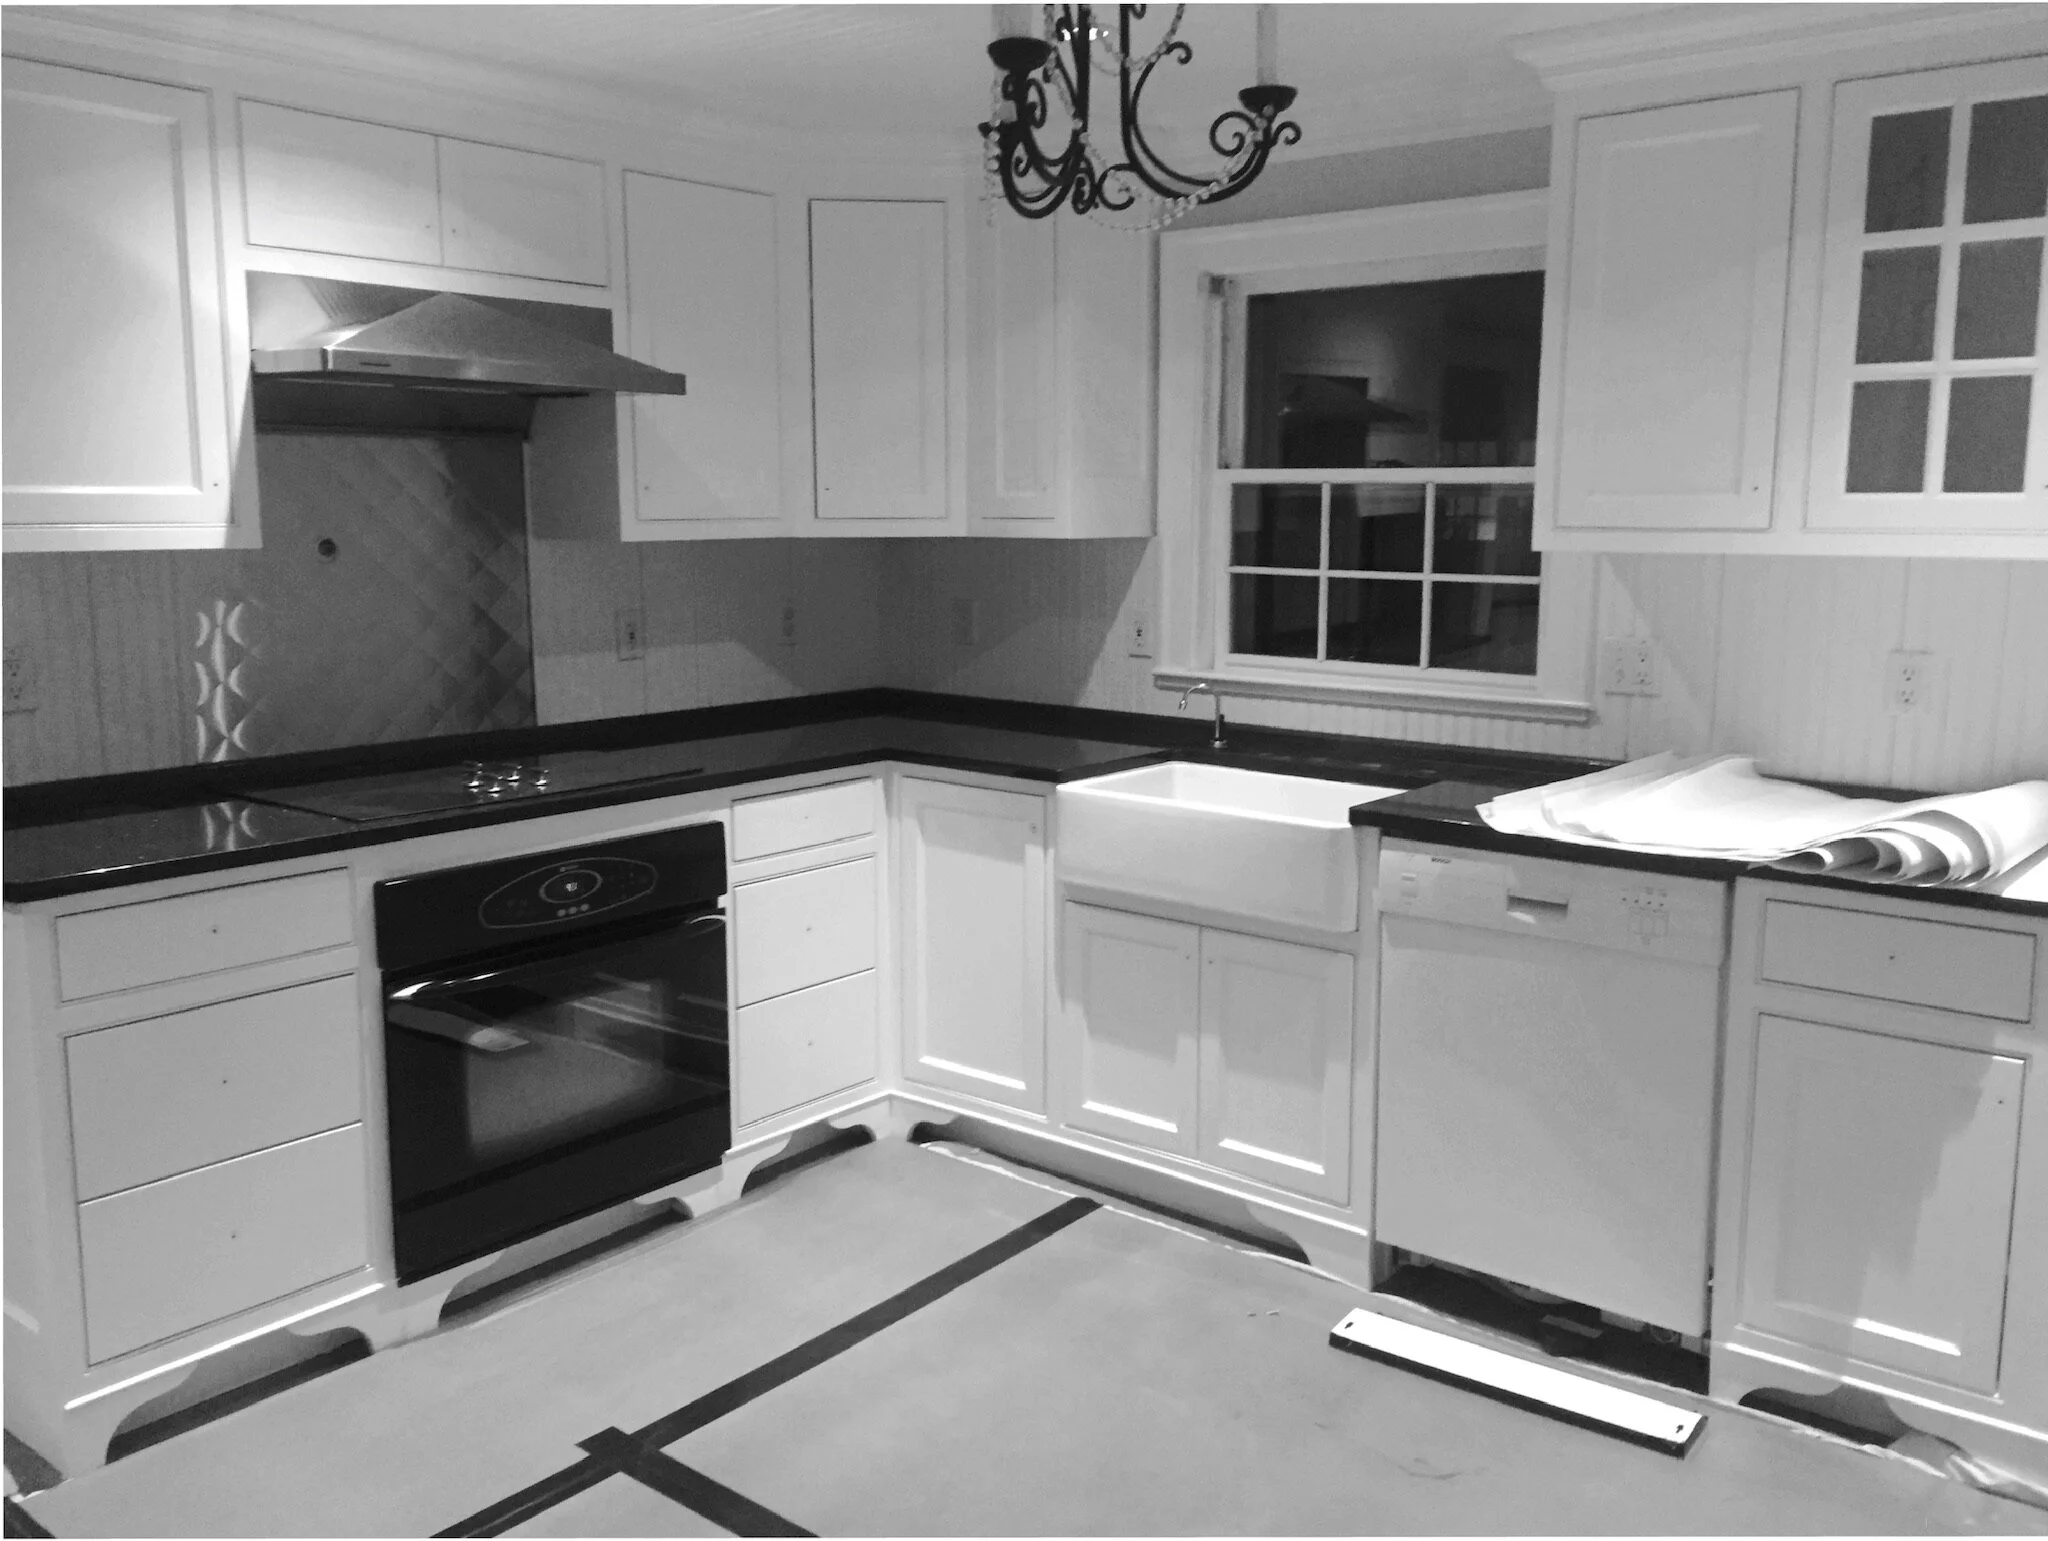
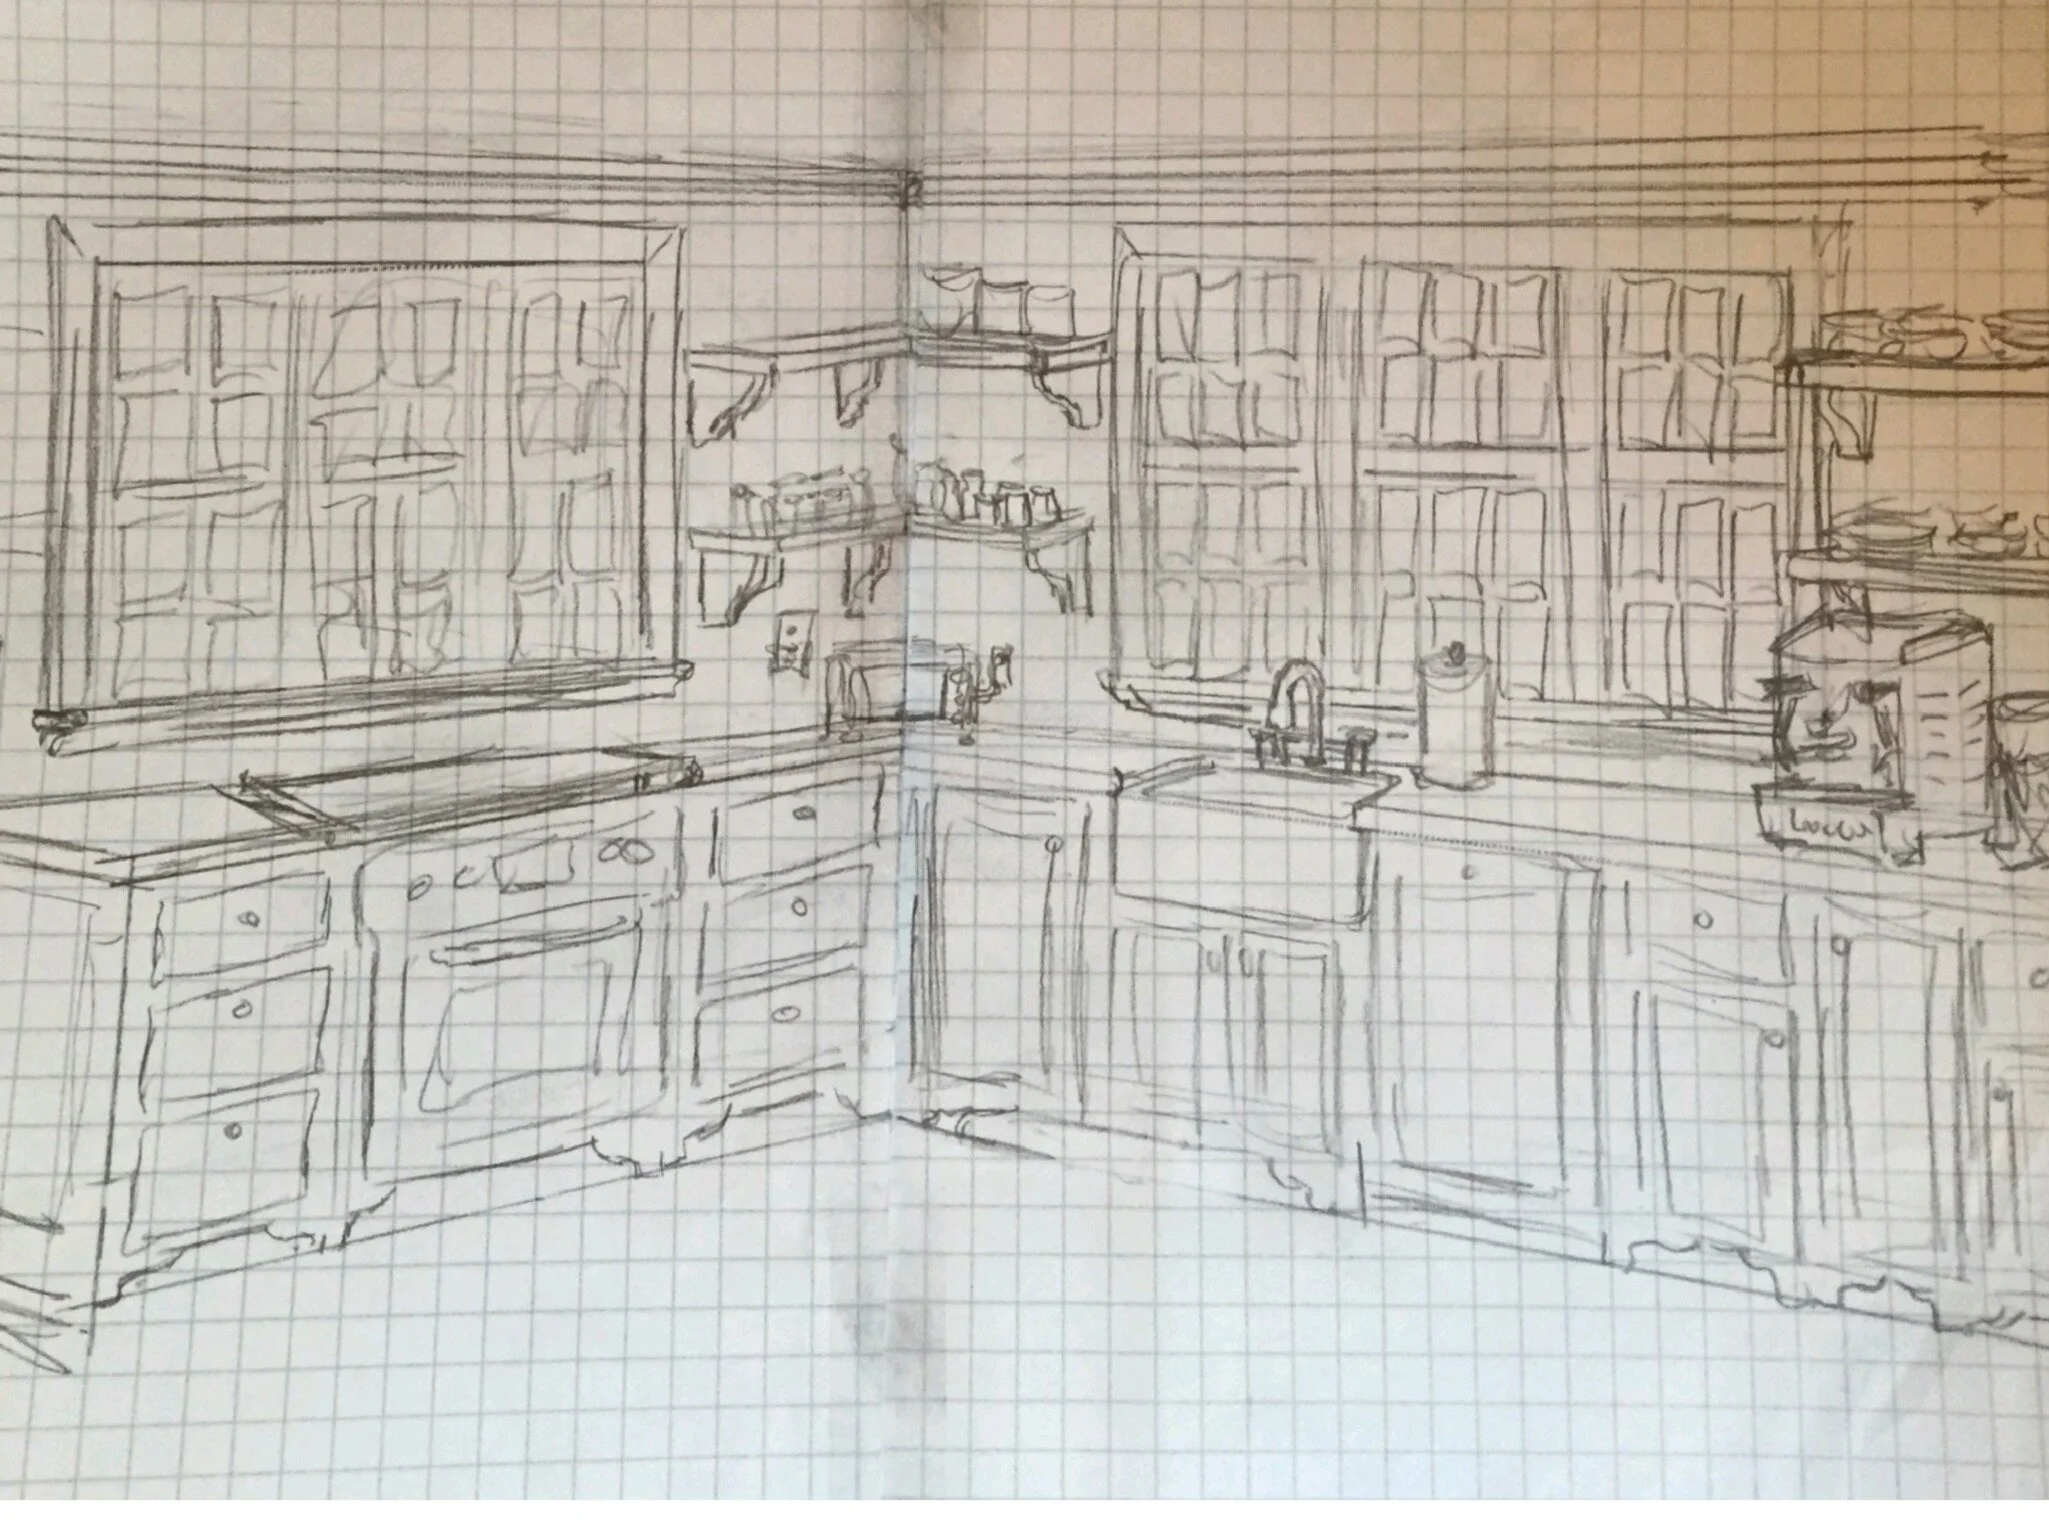
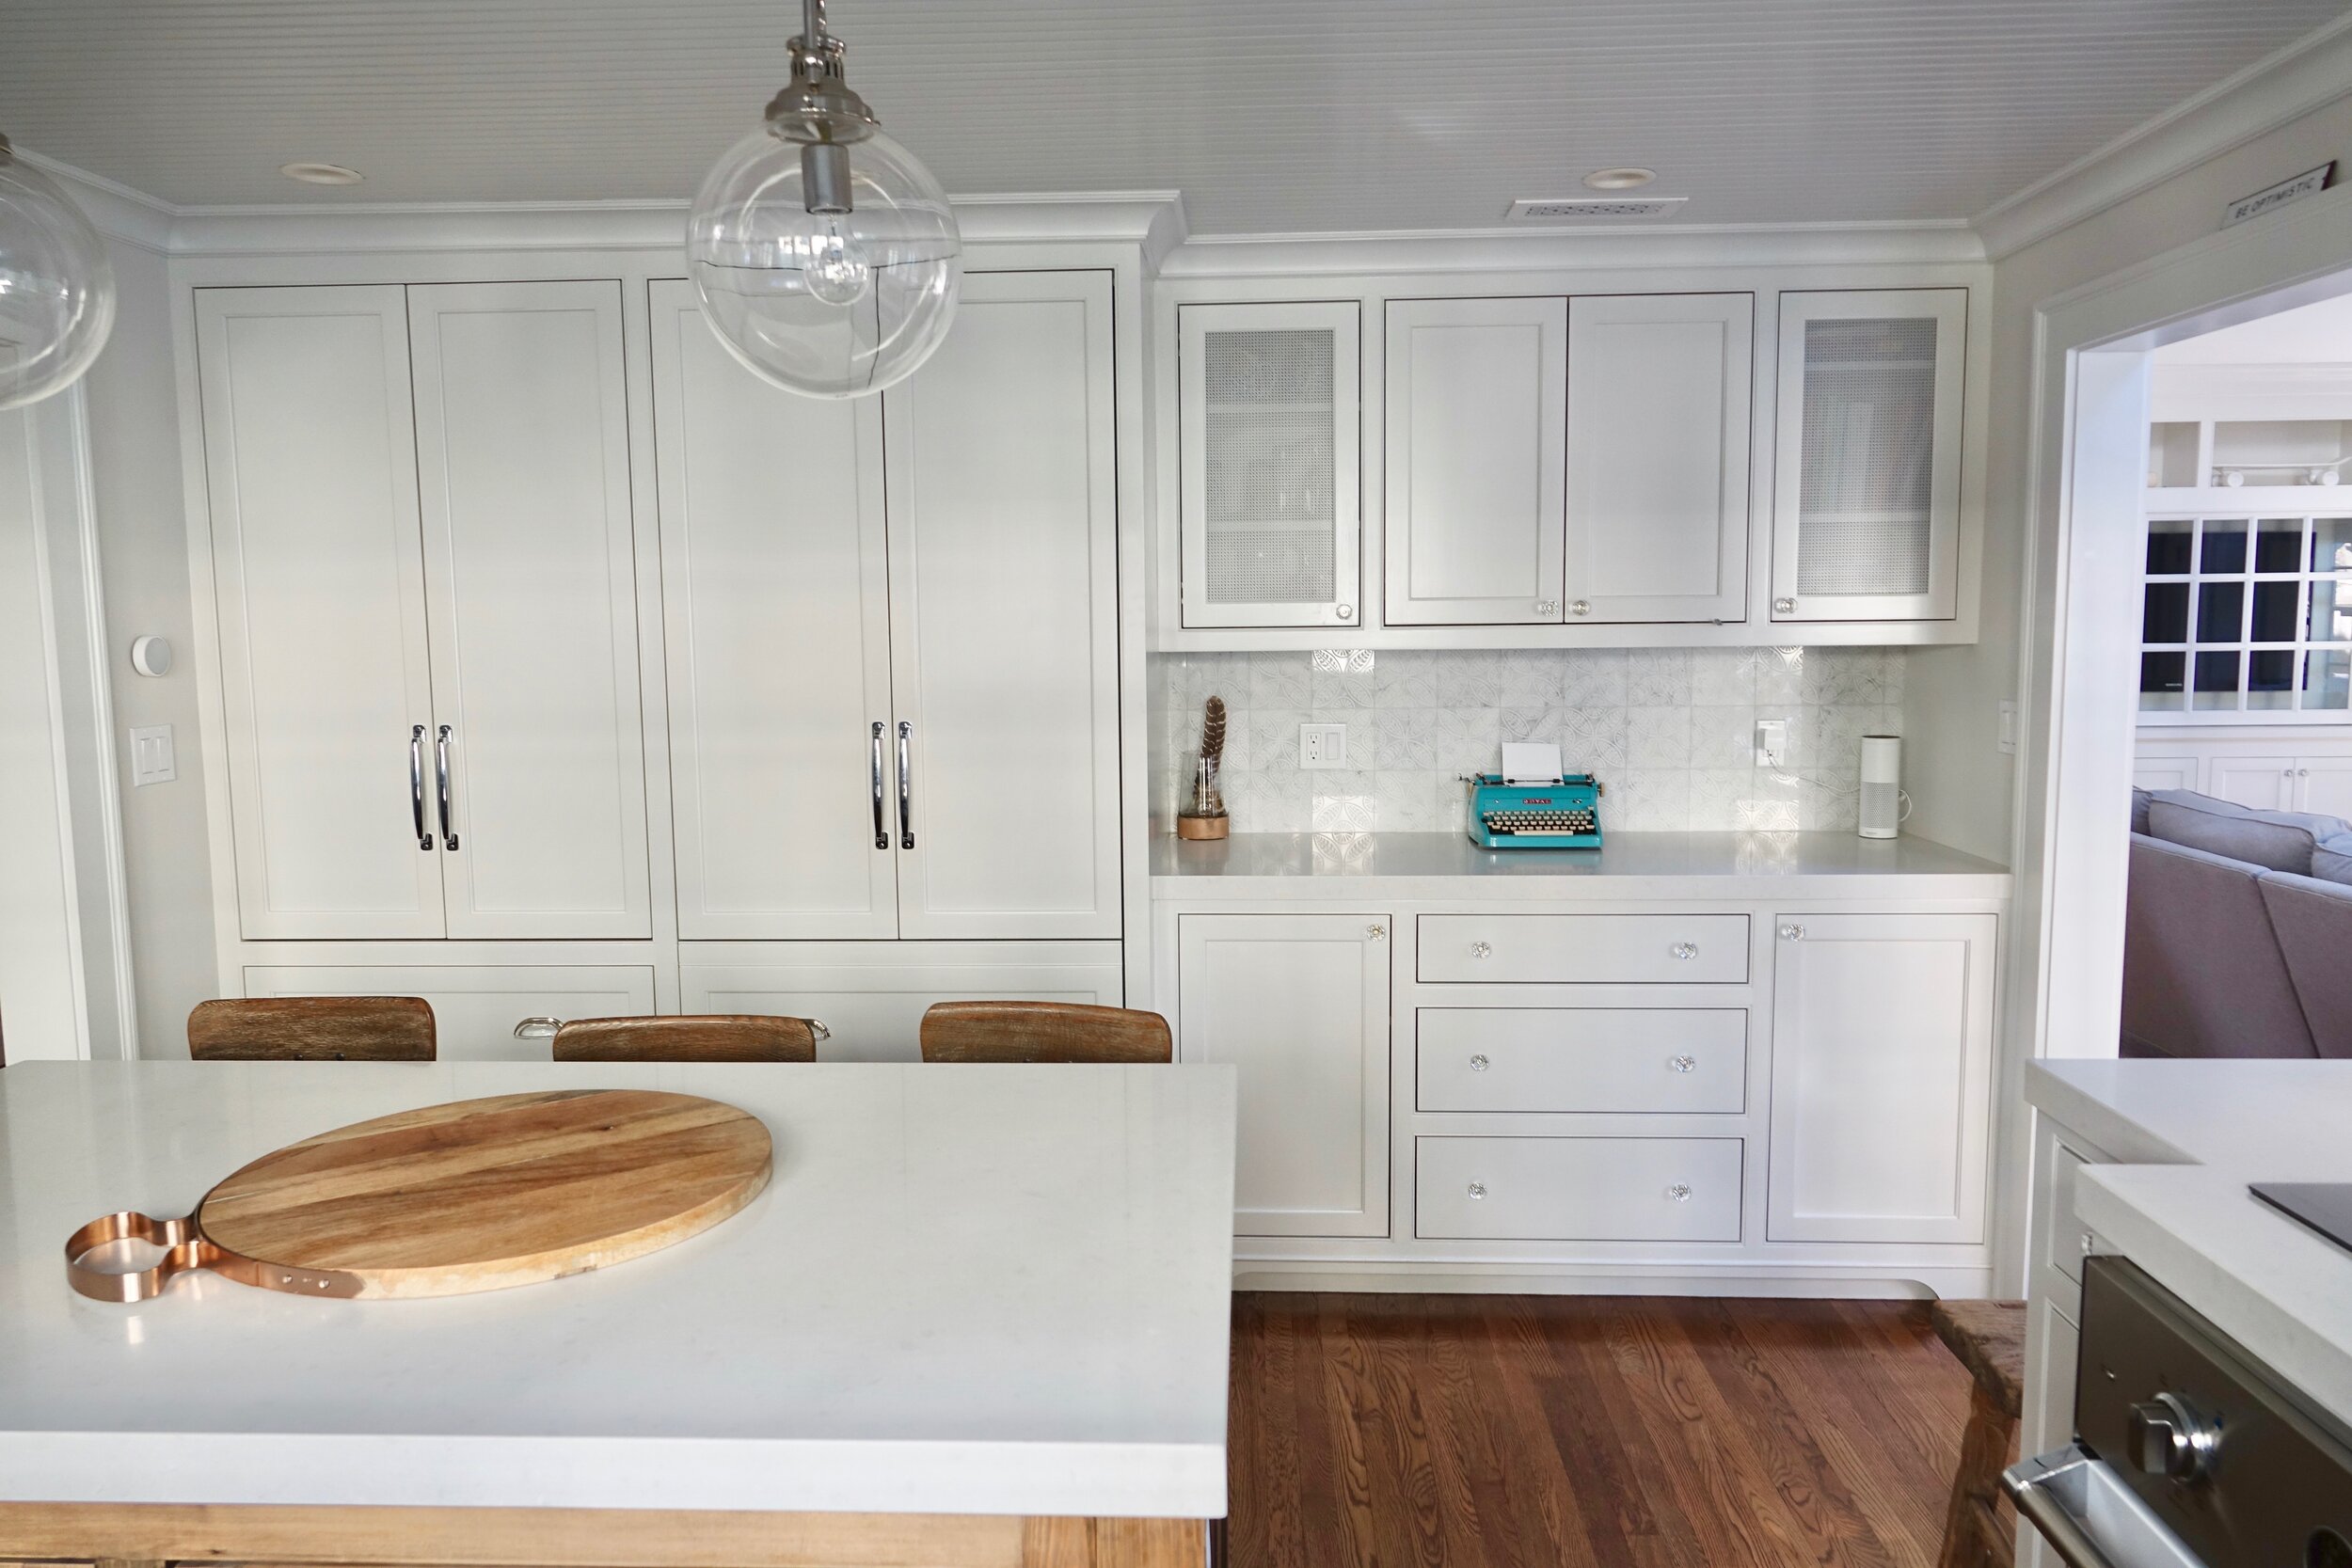
It started with the idea to add a window over the stove and grew from there. Scroll through to see how we arrived at the final result: while sitting in our old kitchen one evening and discussing what we wanted to achieve through an update, Brent quickly sketched the drawing below. This concept sketch, made without measurements yet still incredibly accurate, is a very helpful tool when deciding if ideas are worth pursuing.


Family Room
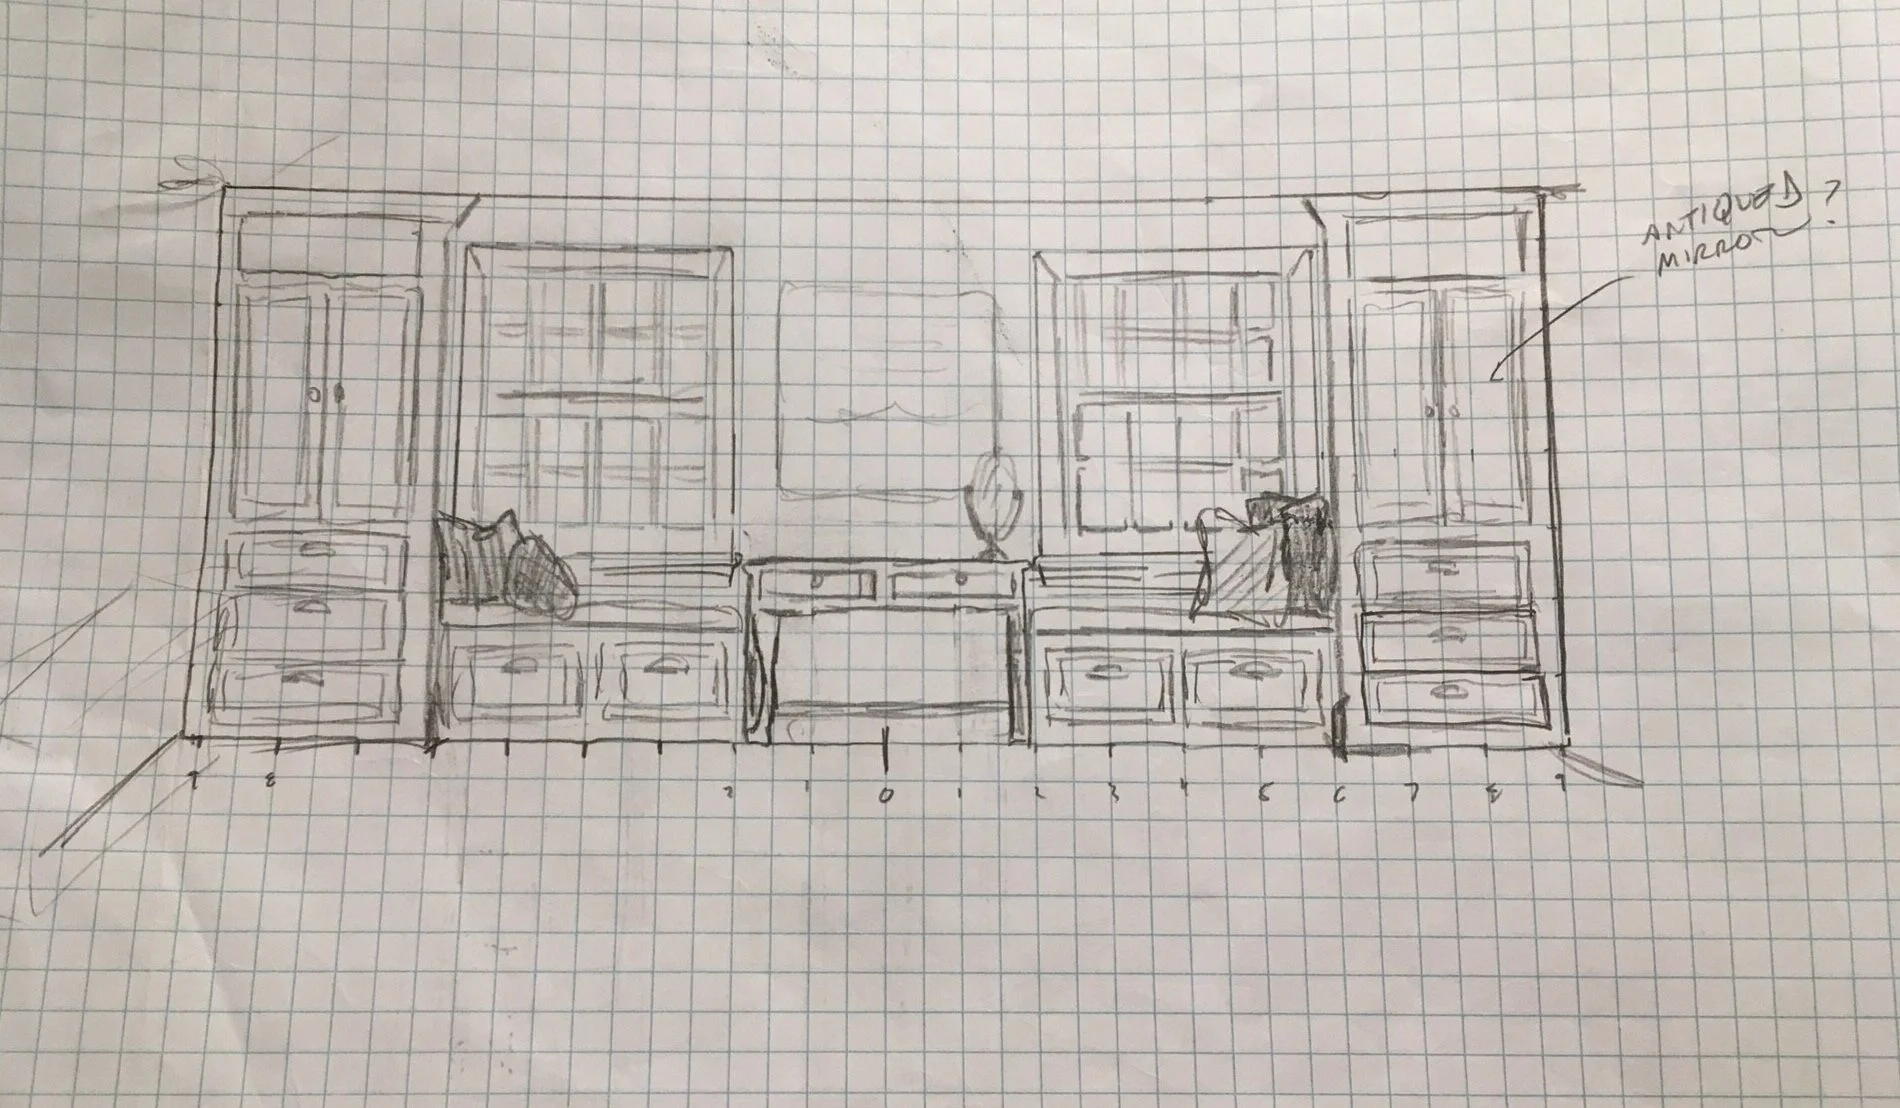
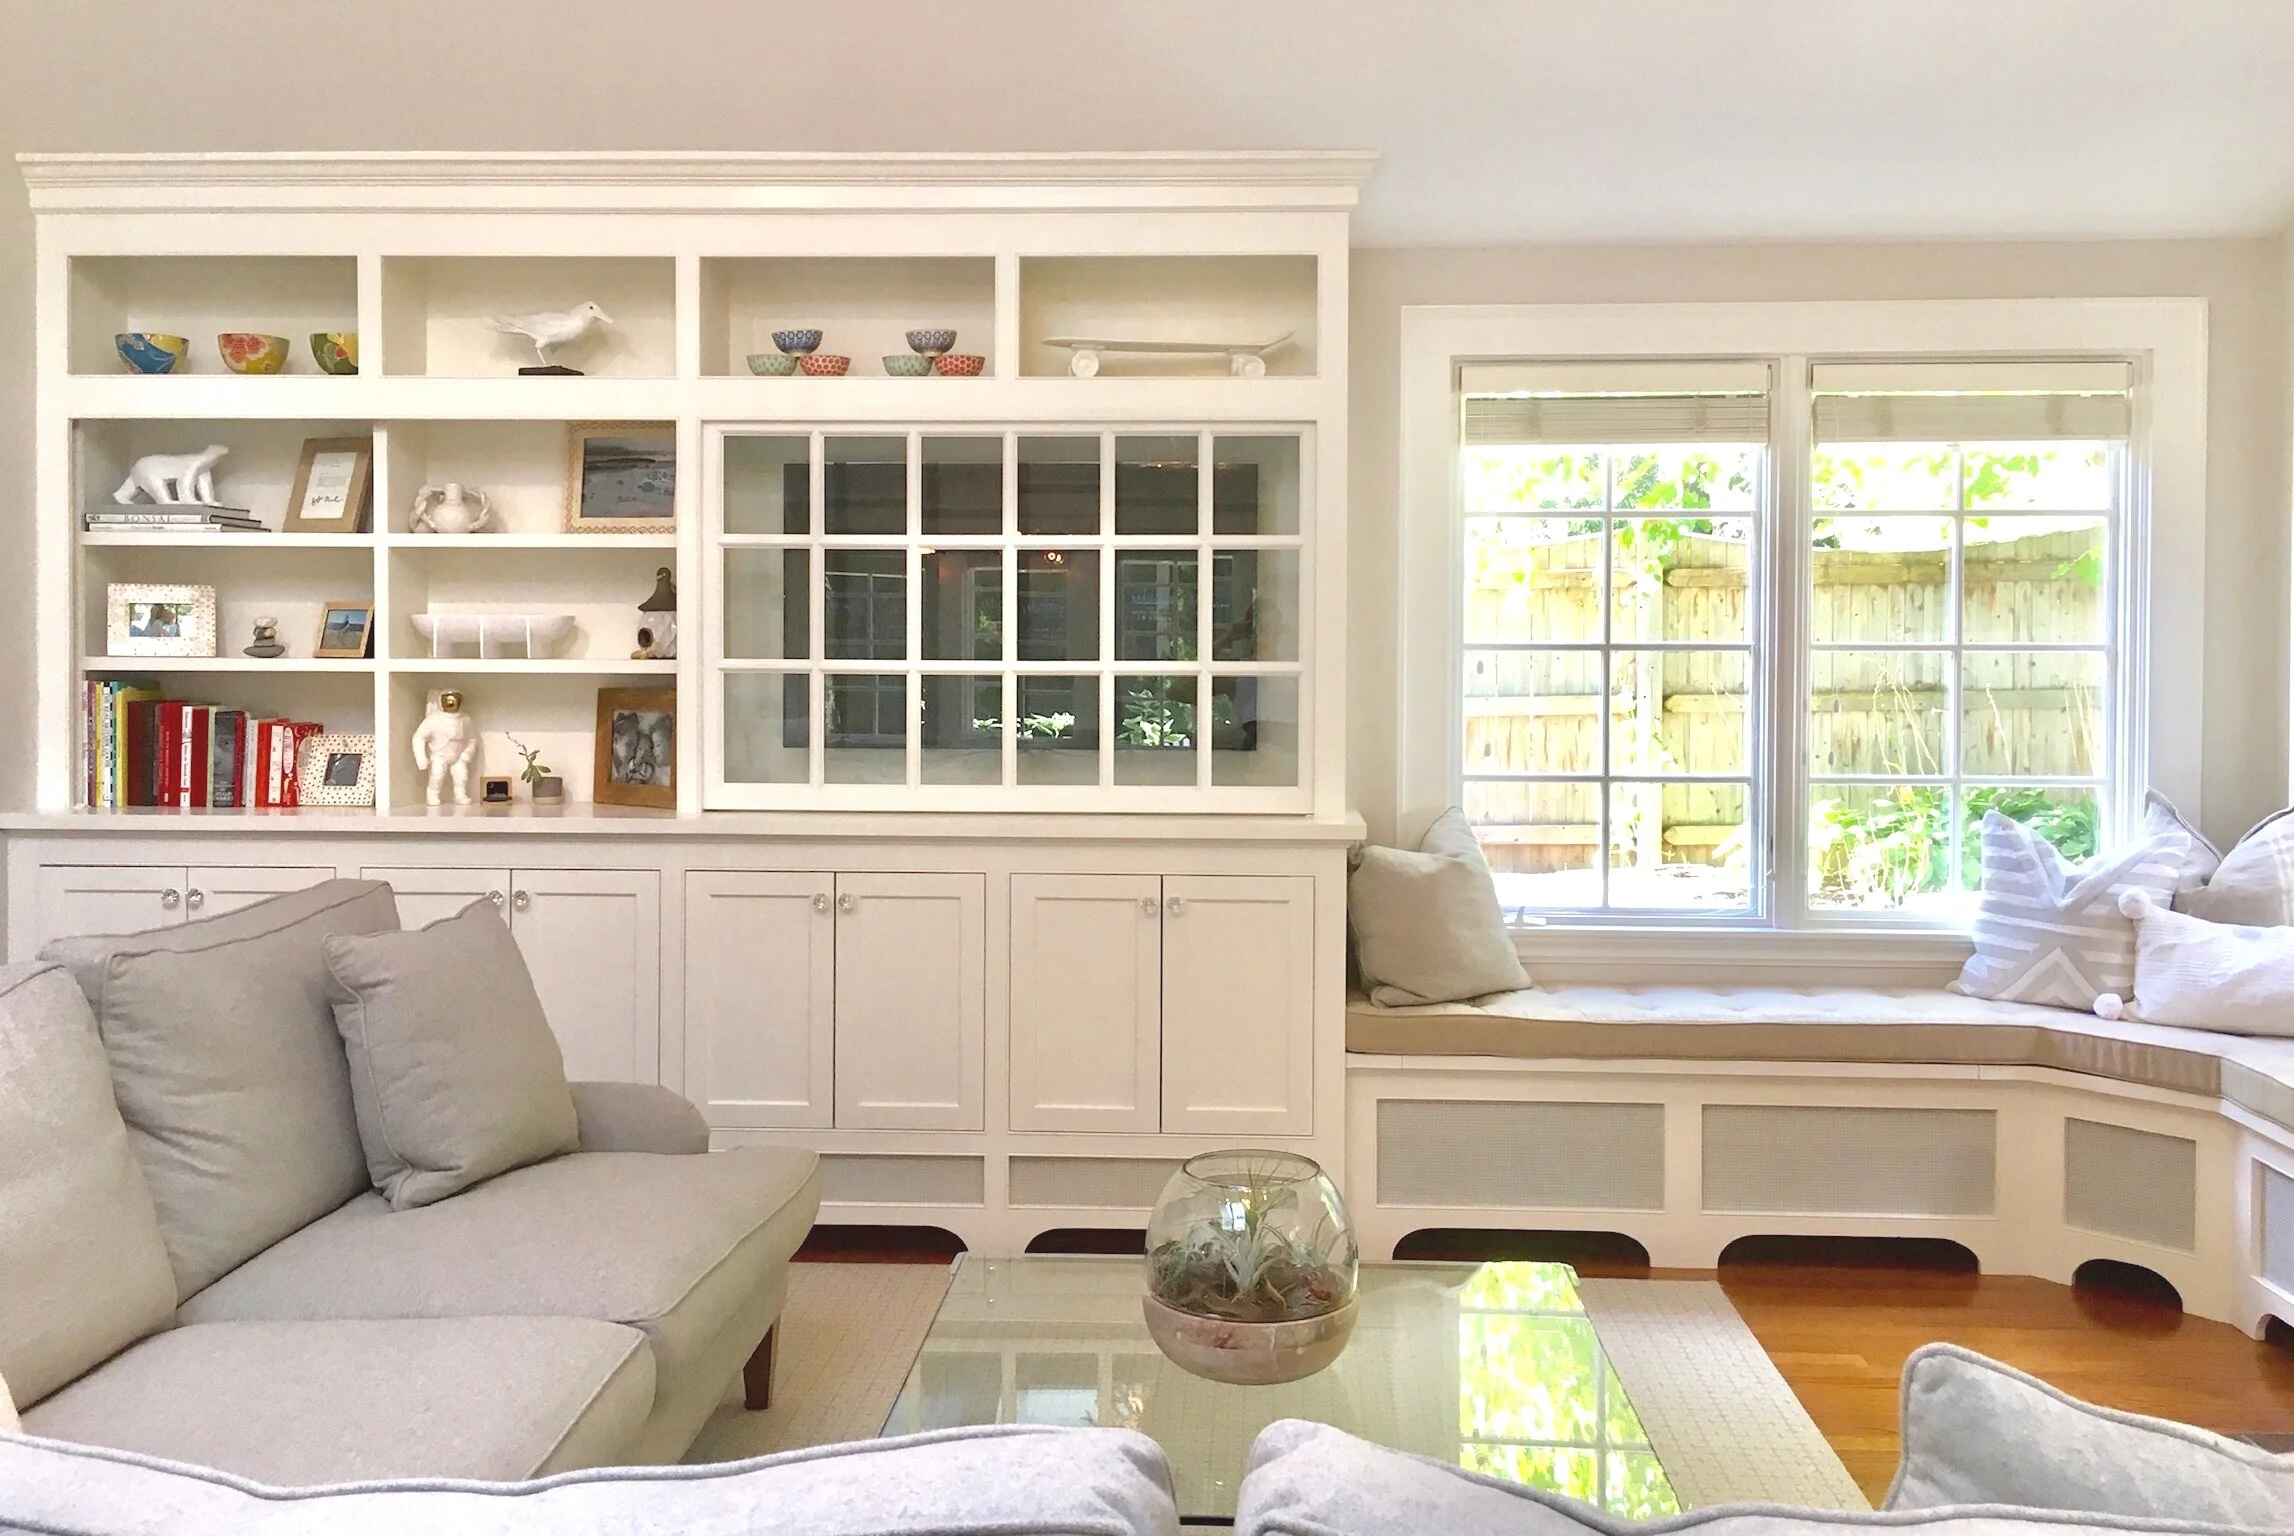
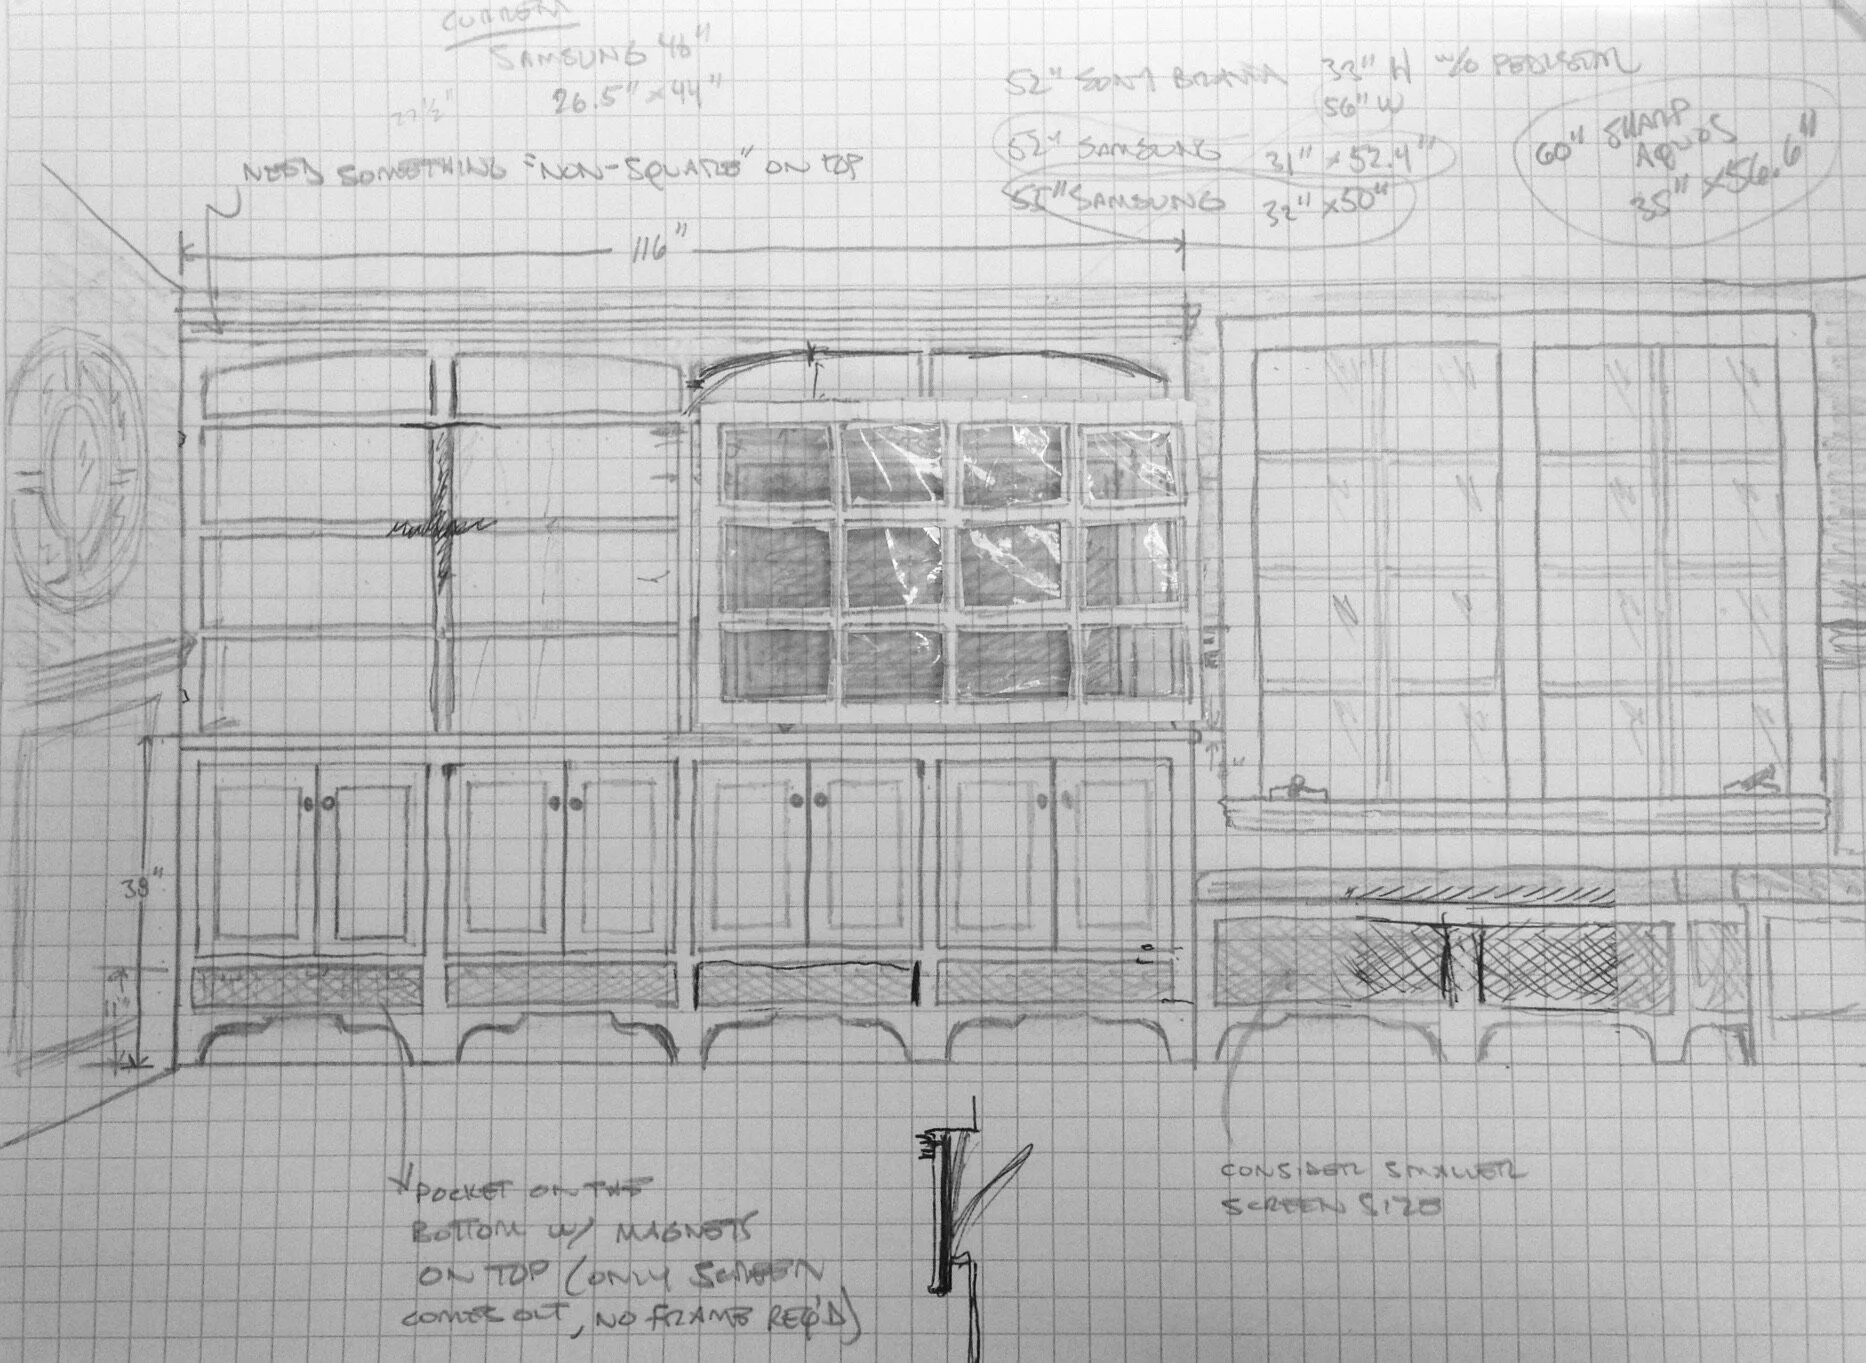
This was one of our first projects (completed in 2013). Our family room was asymmetrical in every sense when we started, and no one wanted to spend time there despite its high ceilings and abundant natural light. The built-ins we created provided warmth, character, and plenty of functionality while downplaying the asymmetry and the TV’s prominence. Mesh screens were incorporated into the bench and cabinets to accommodate the existing baseboard heat.


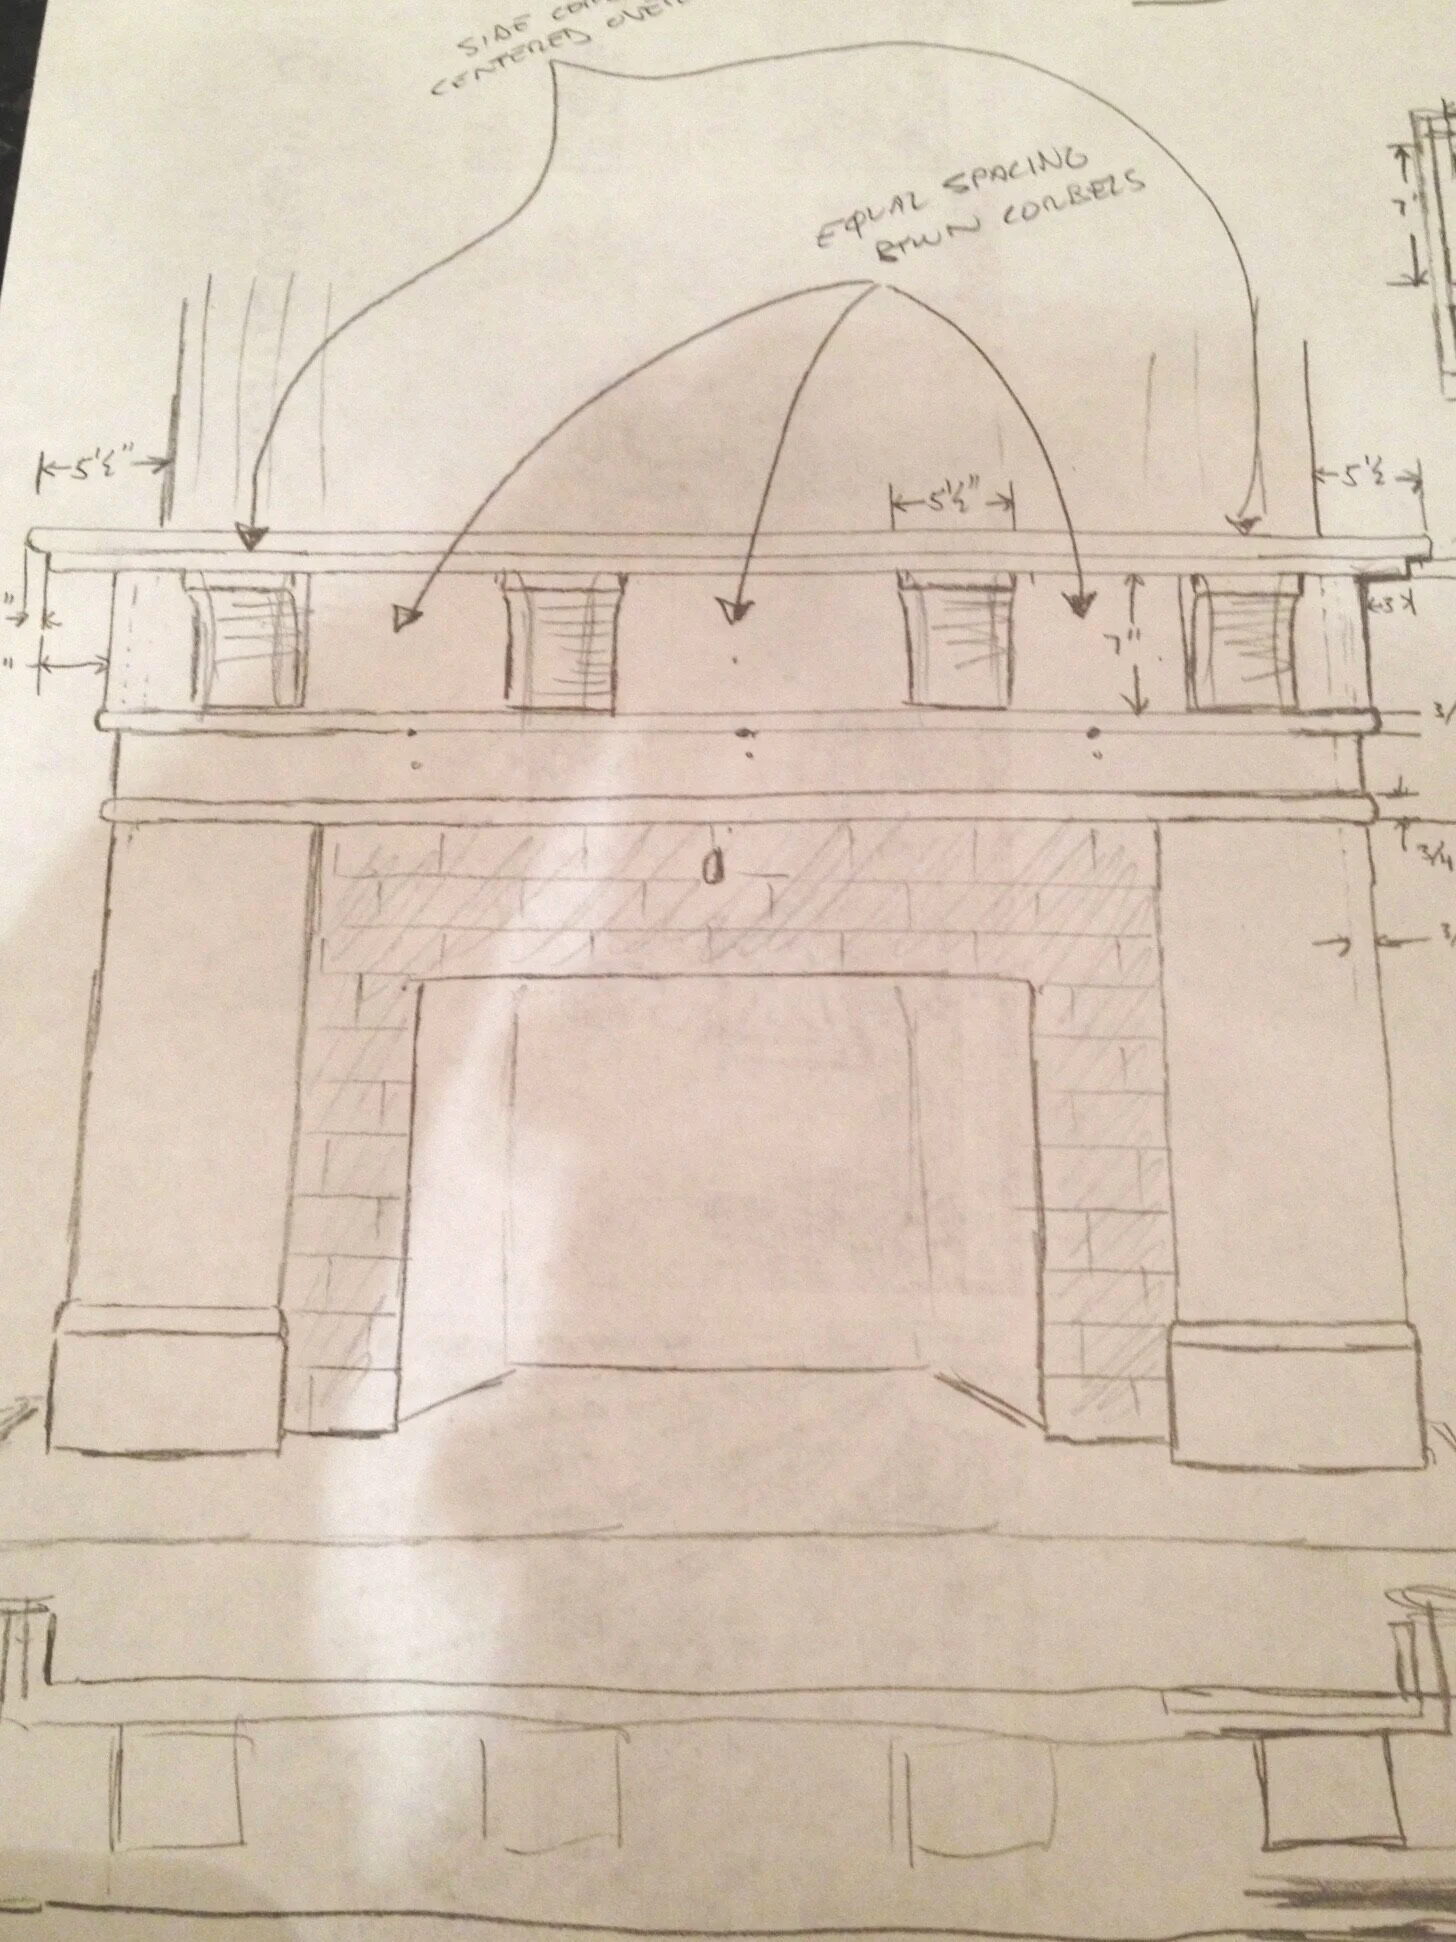
mantle + dog house
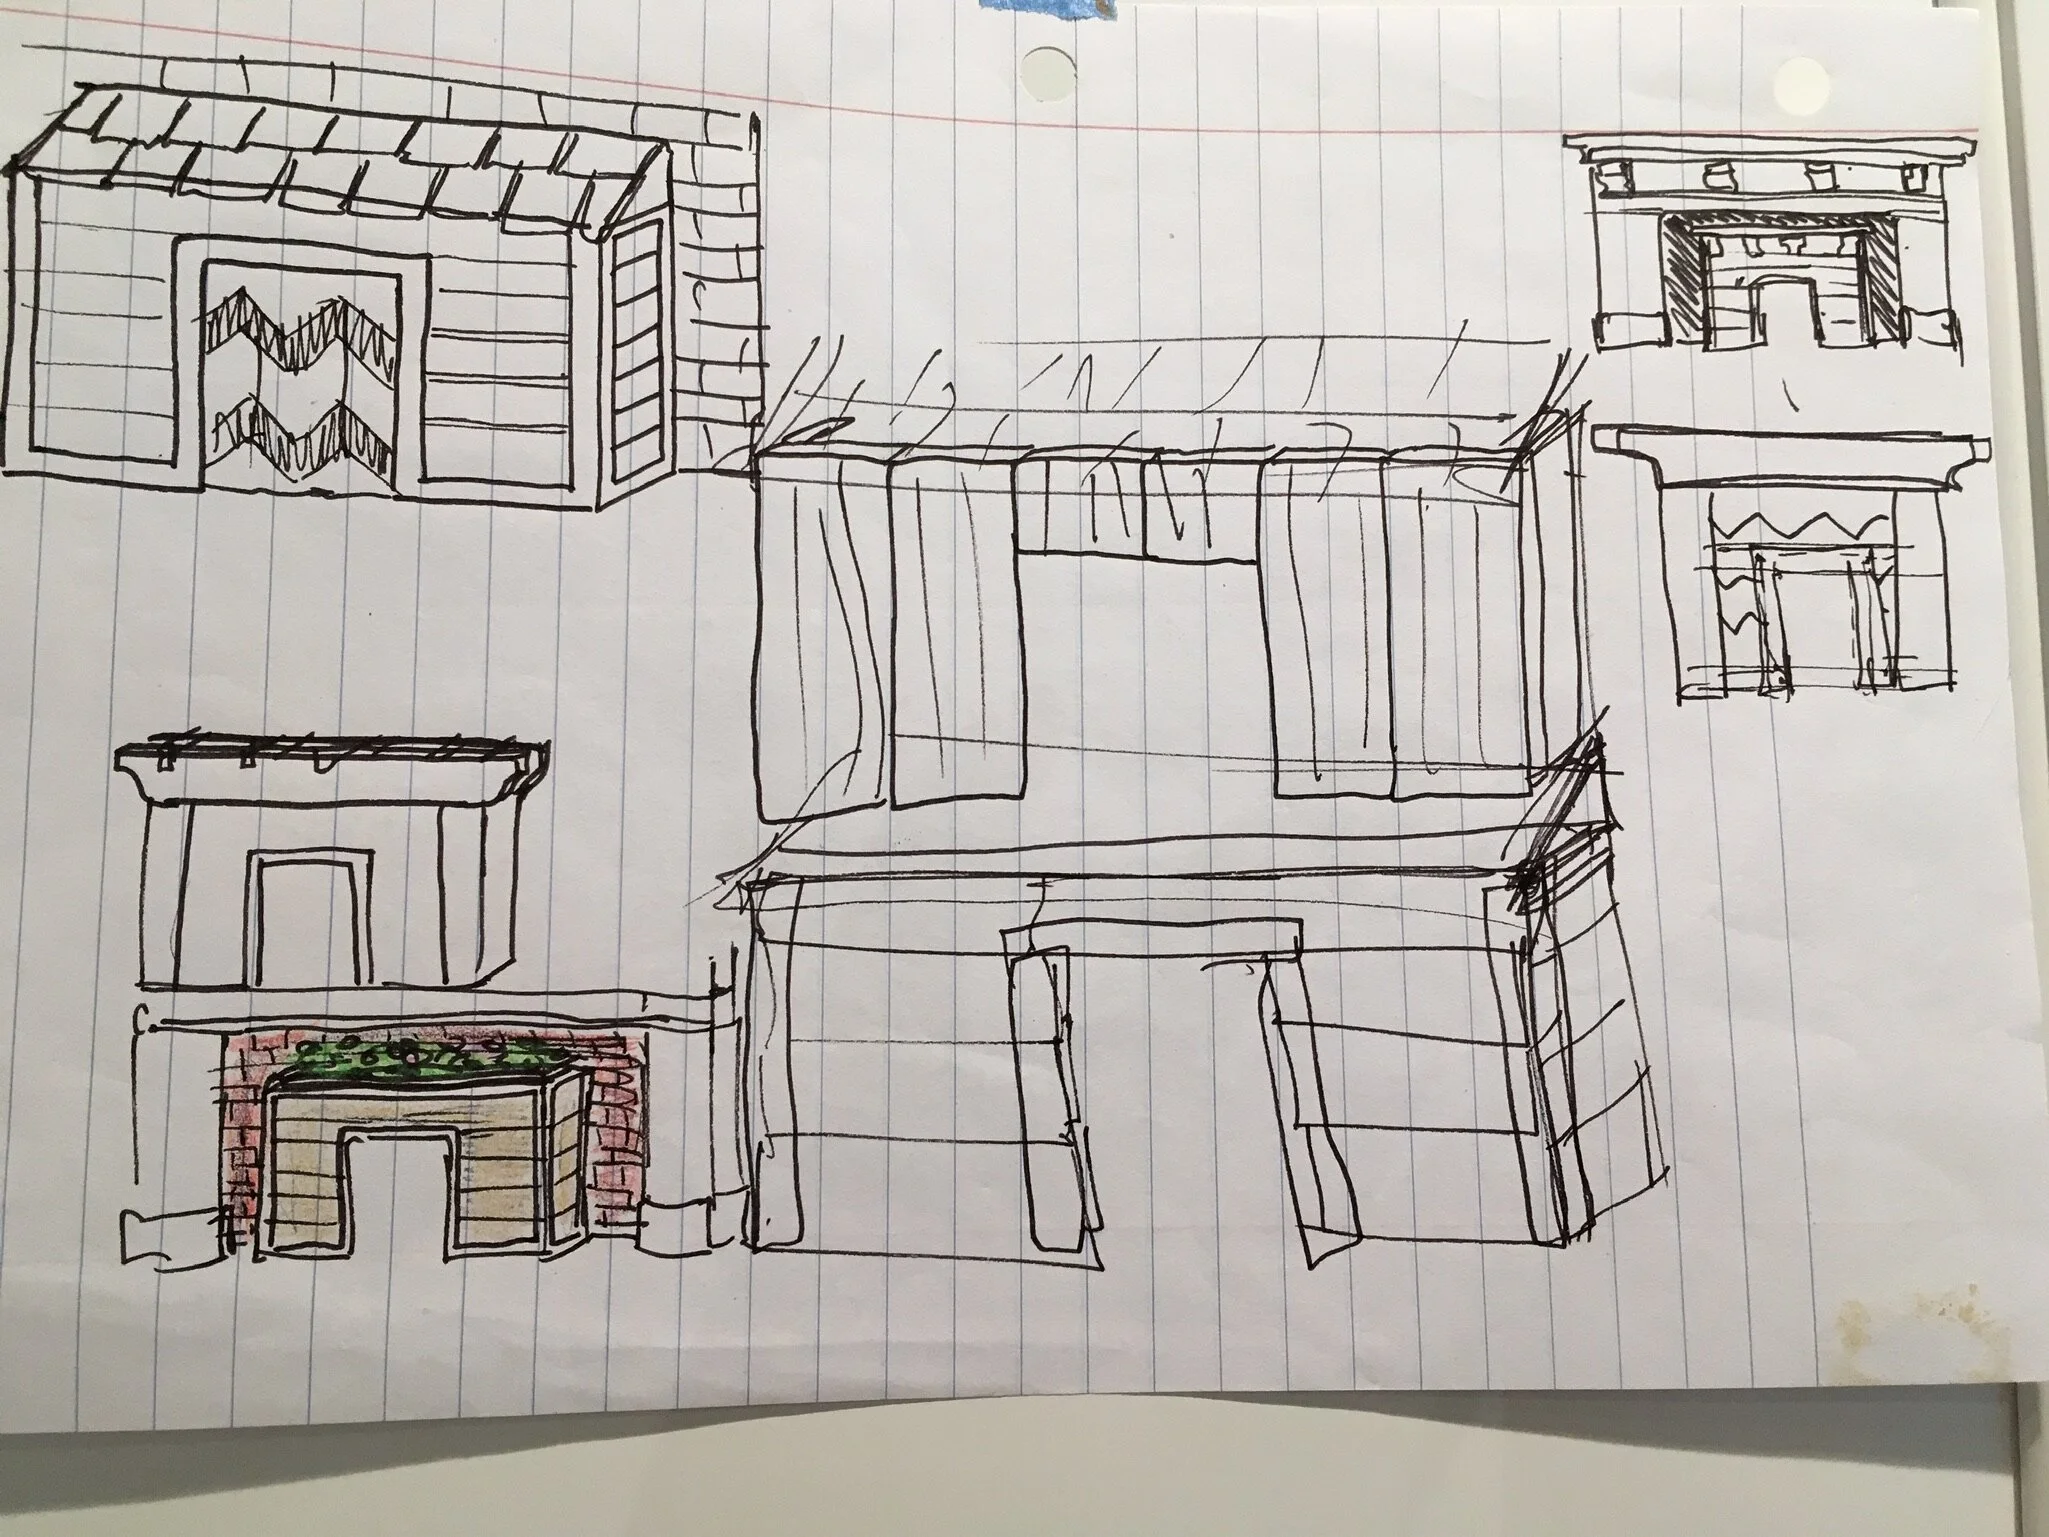
Before the chimney was repaired, we had a fireplace that was inoperable and a cumbersome dog crate in our dining room for our forever-young Australian Shepherd. Turning the firebox into a dog residence solved multiple problems at once.


entry way extension
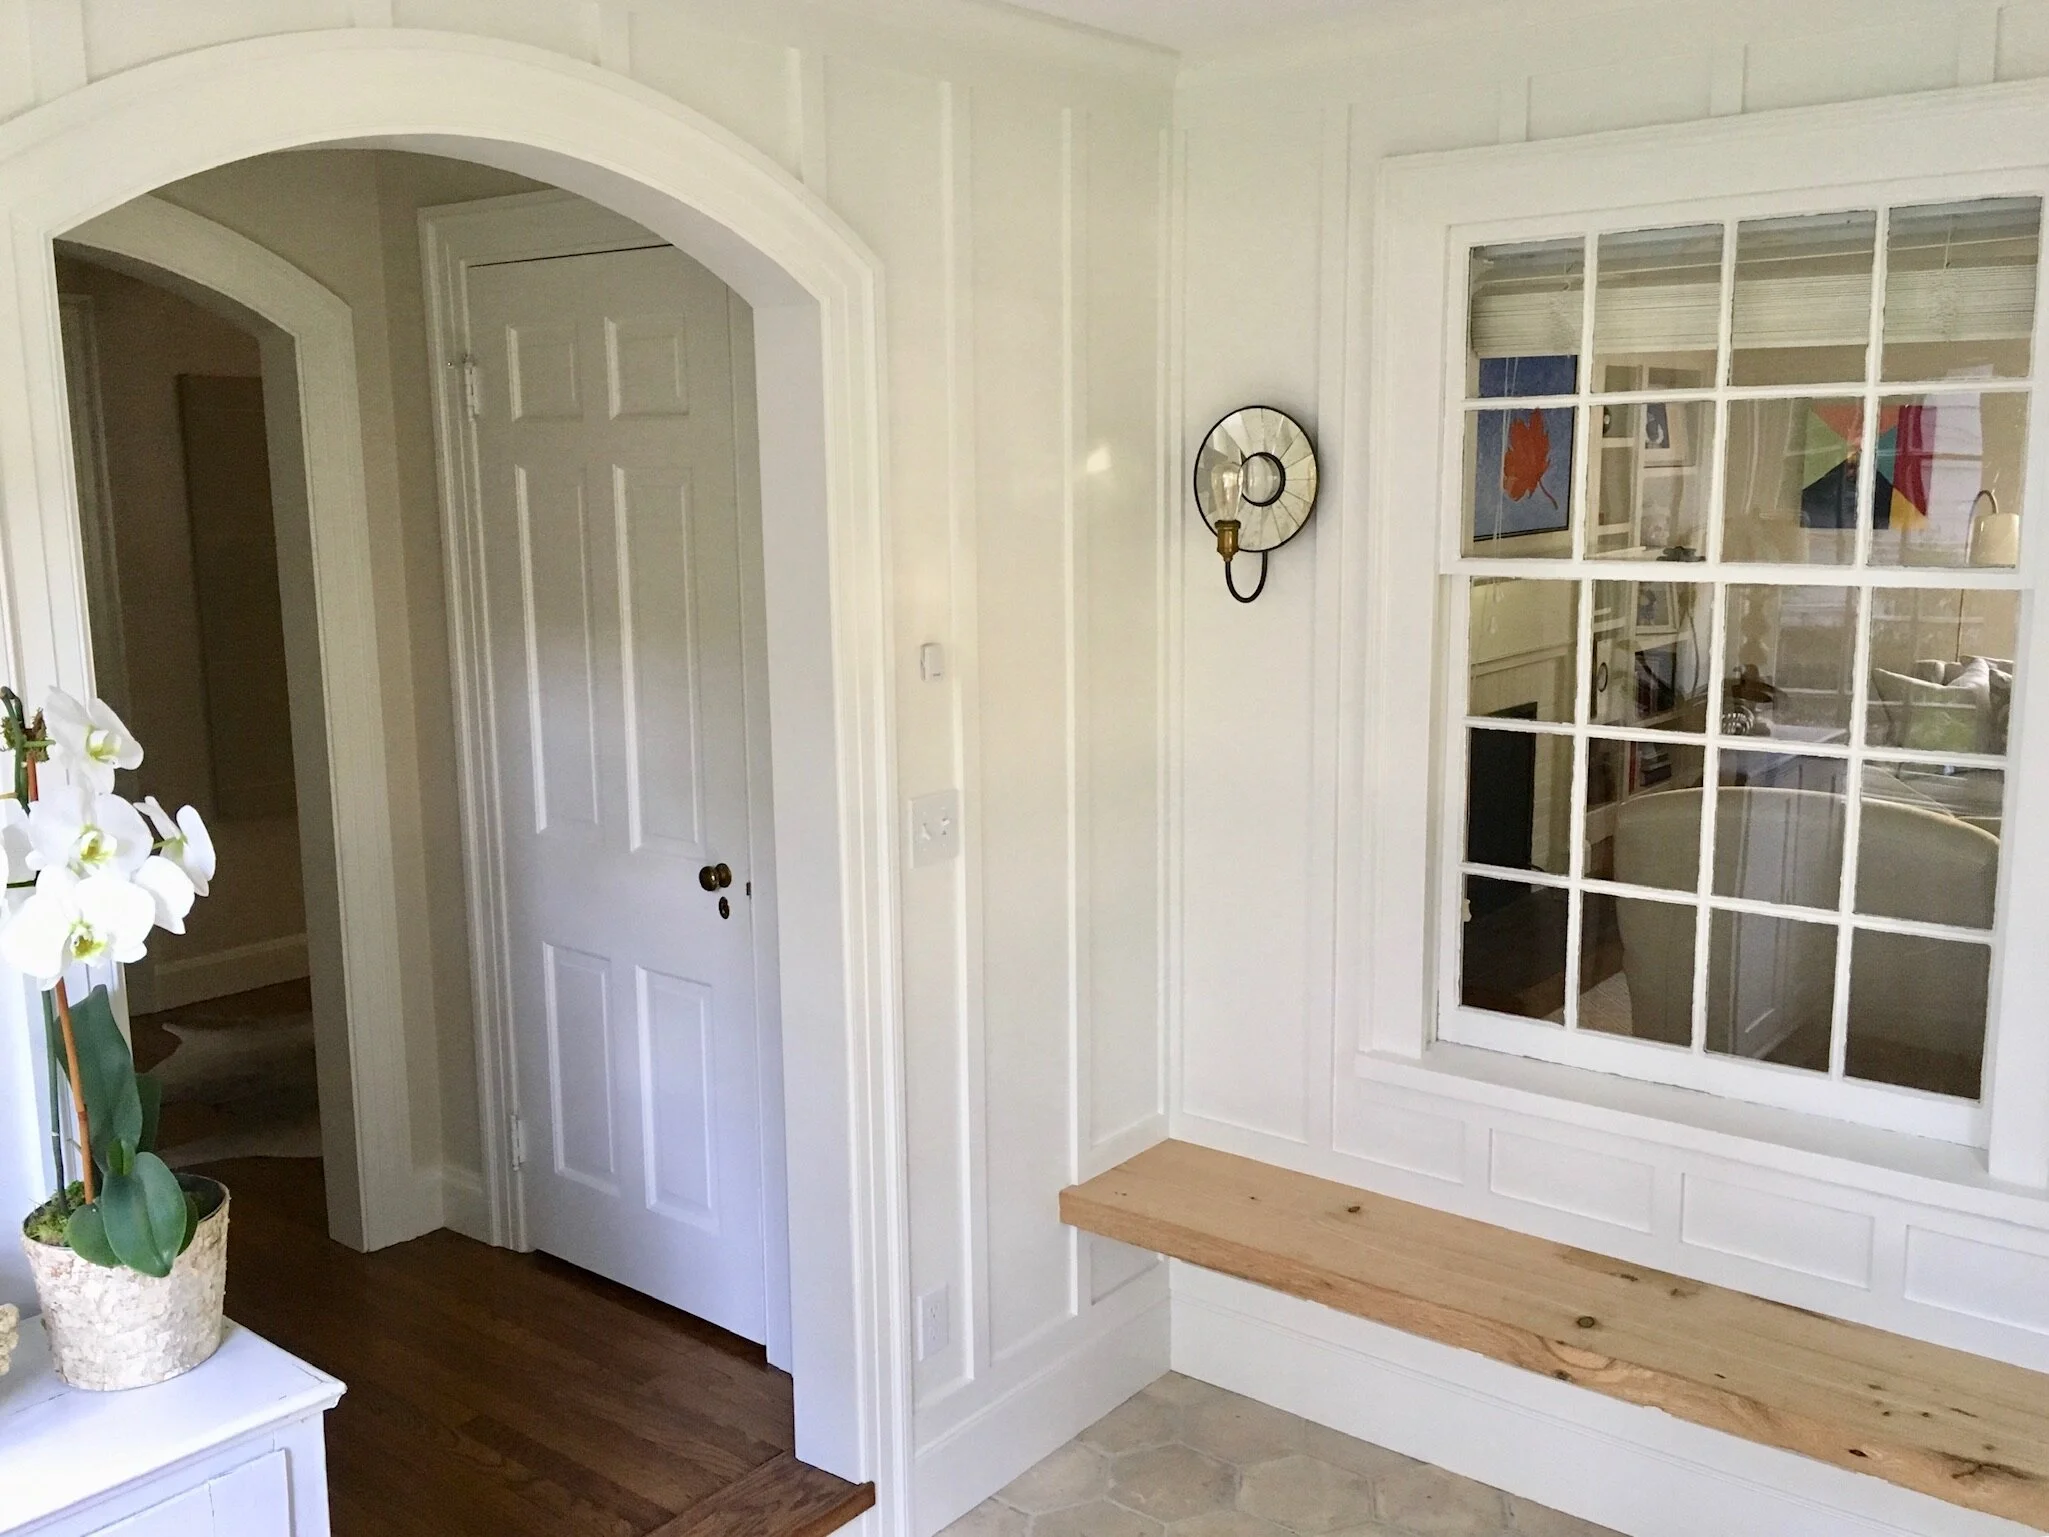
In order to create the space required for a full master bathroom upstairs, we needed an addition in front of our old front door. We seized the opportunity to add much-needed natural light, weather-friendly flooring, and additional storage to our entryway. Keeping the living room’s once-exterior window in place above the bench creates fluidity between these two otherwise disconnected spaces, helps the new entryway retain some of the home’s original character, and retains the living room’s natural light.

New Powder Room
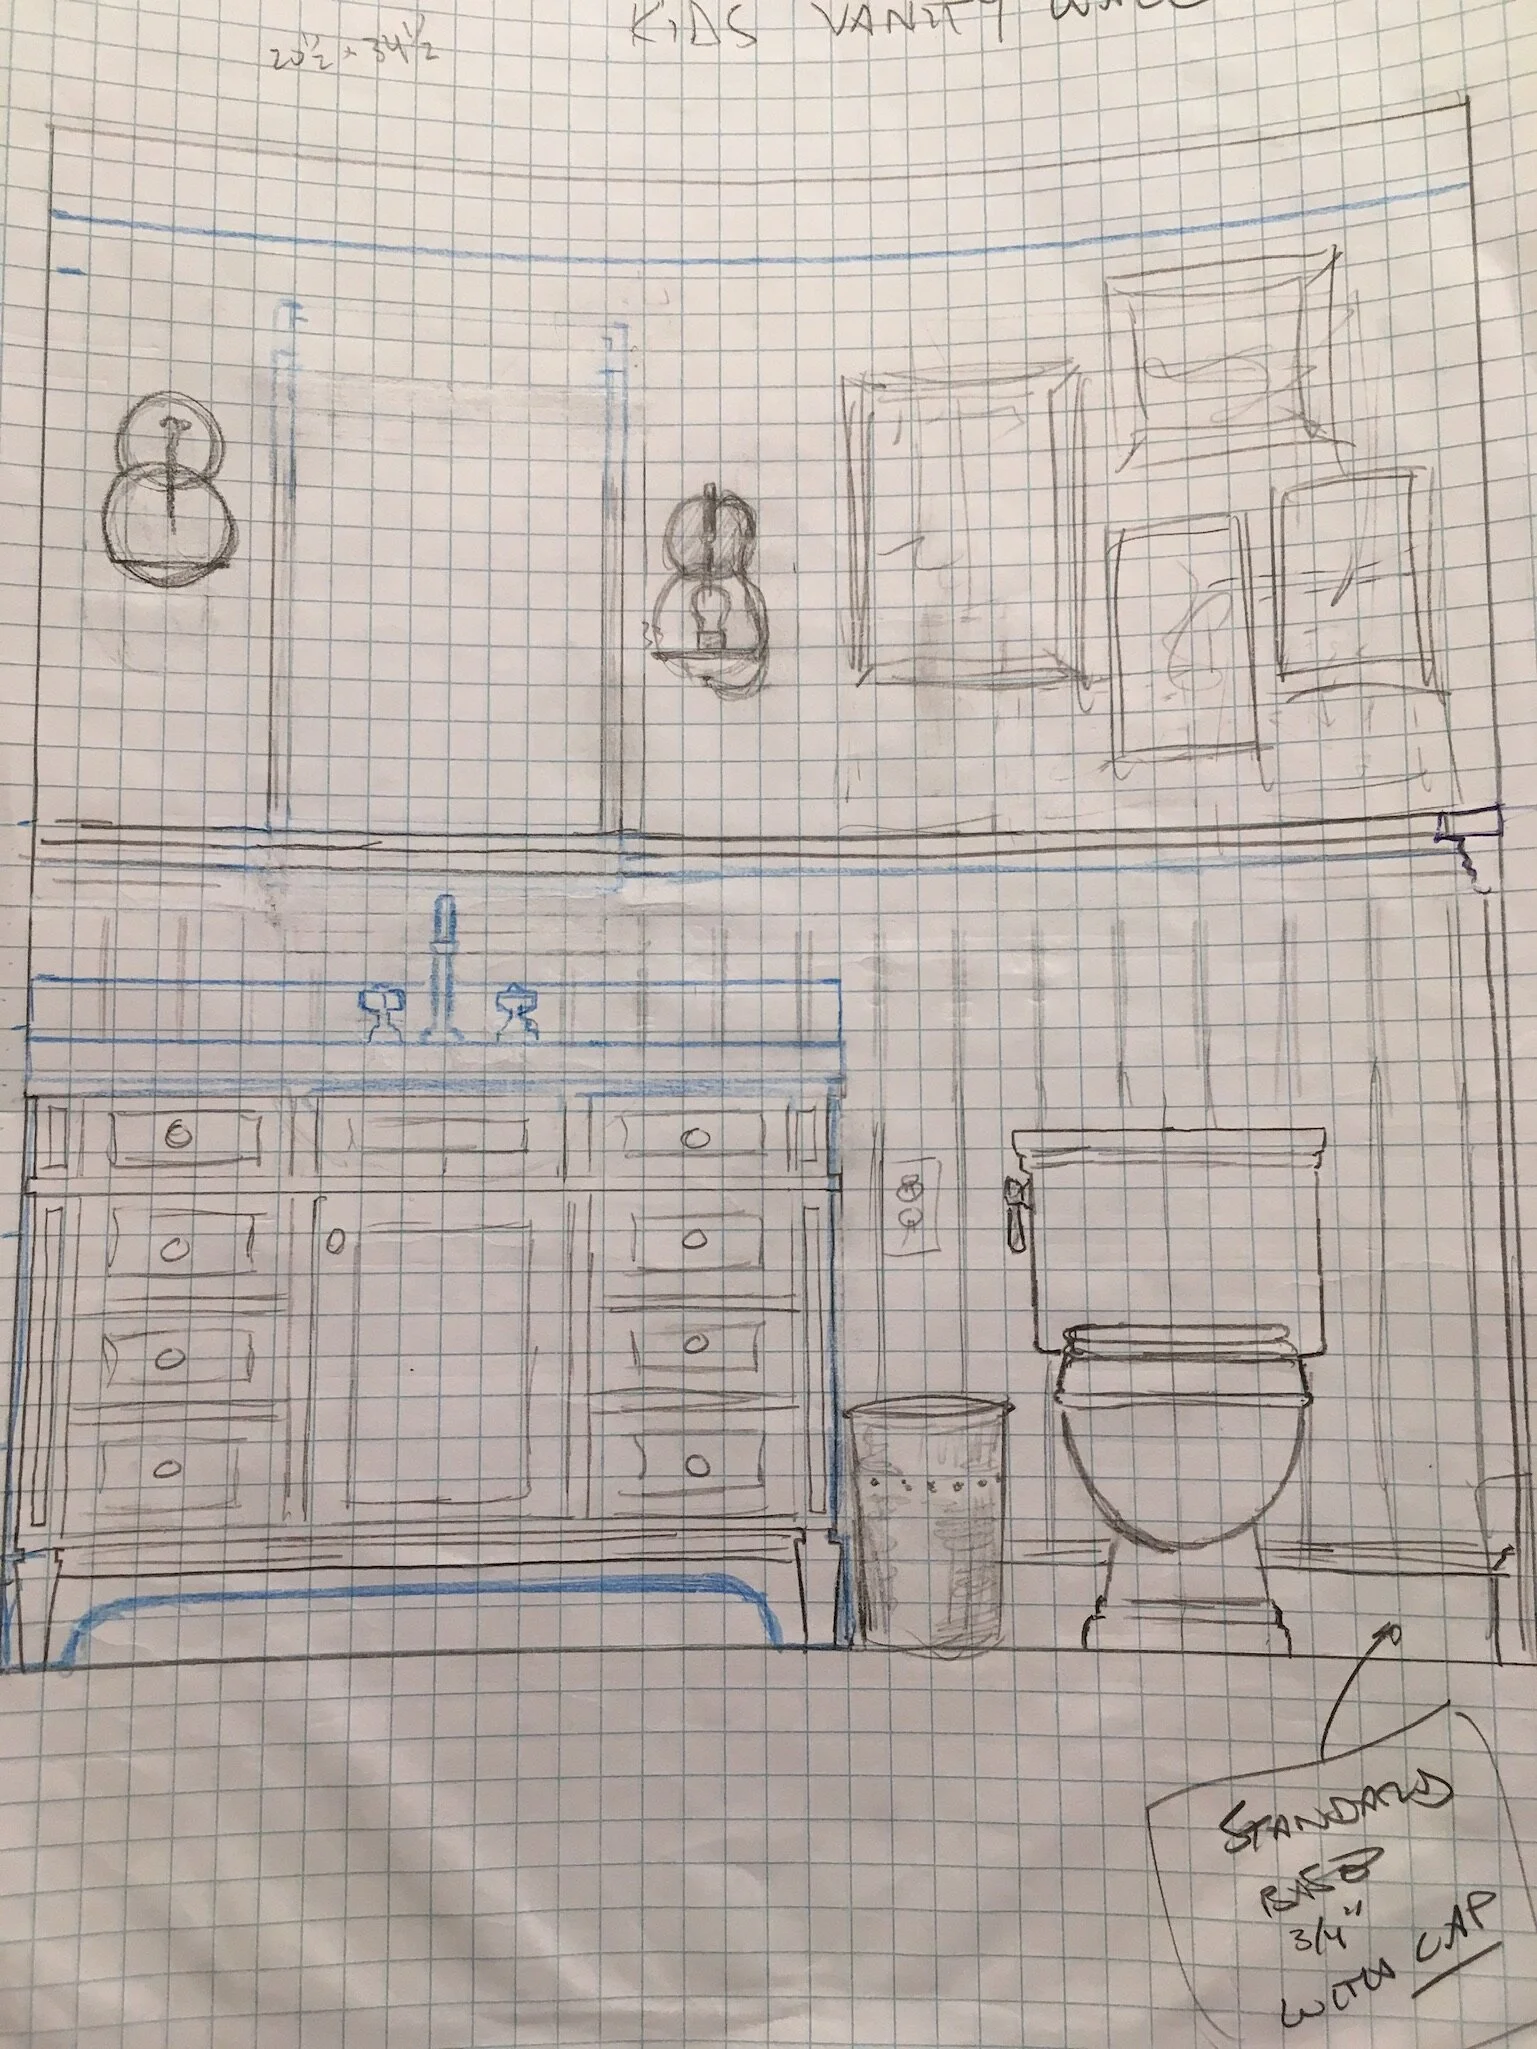
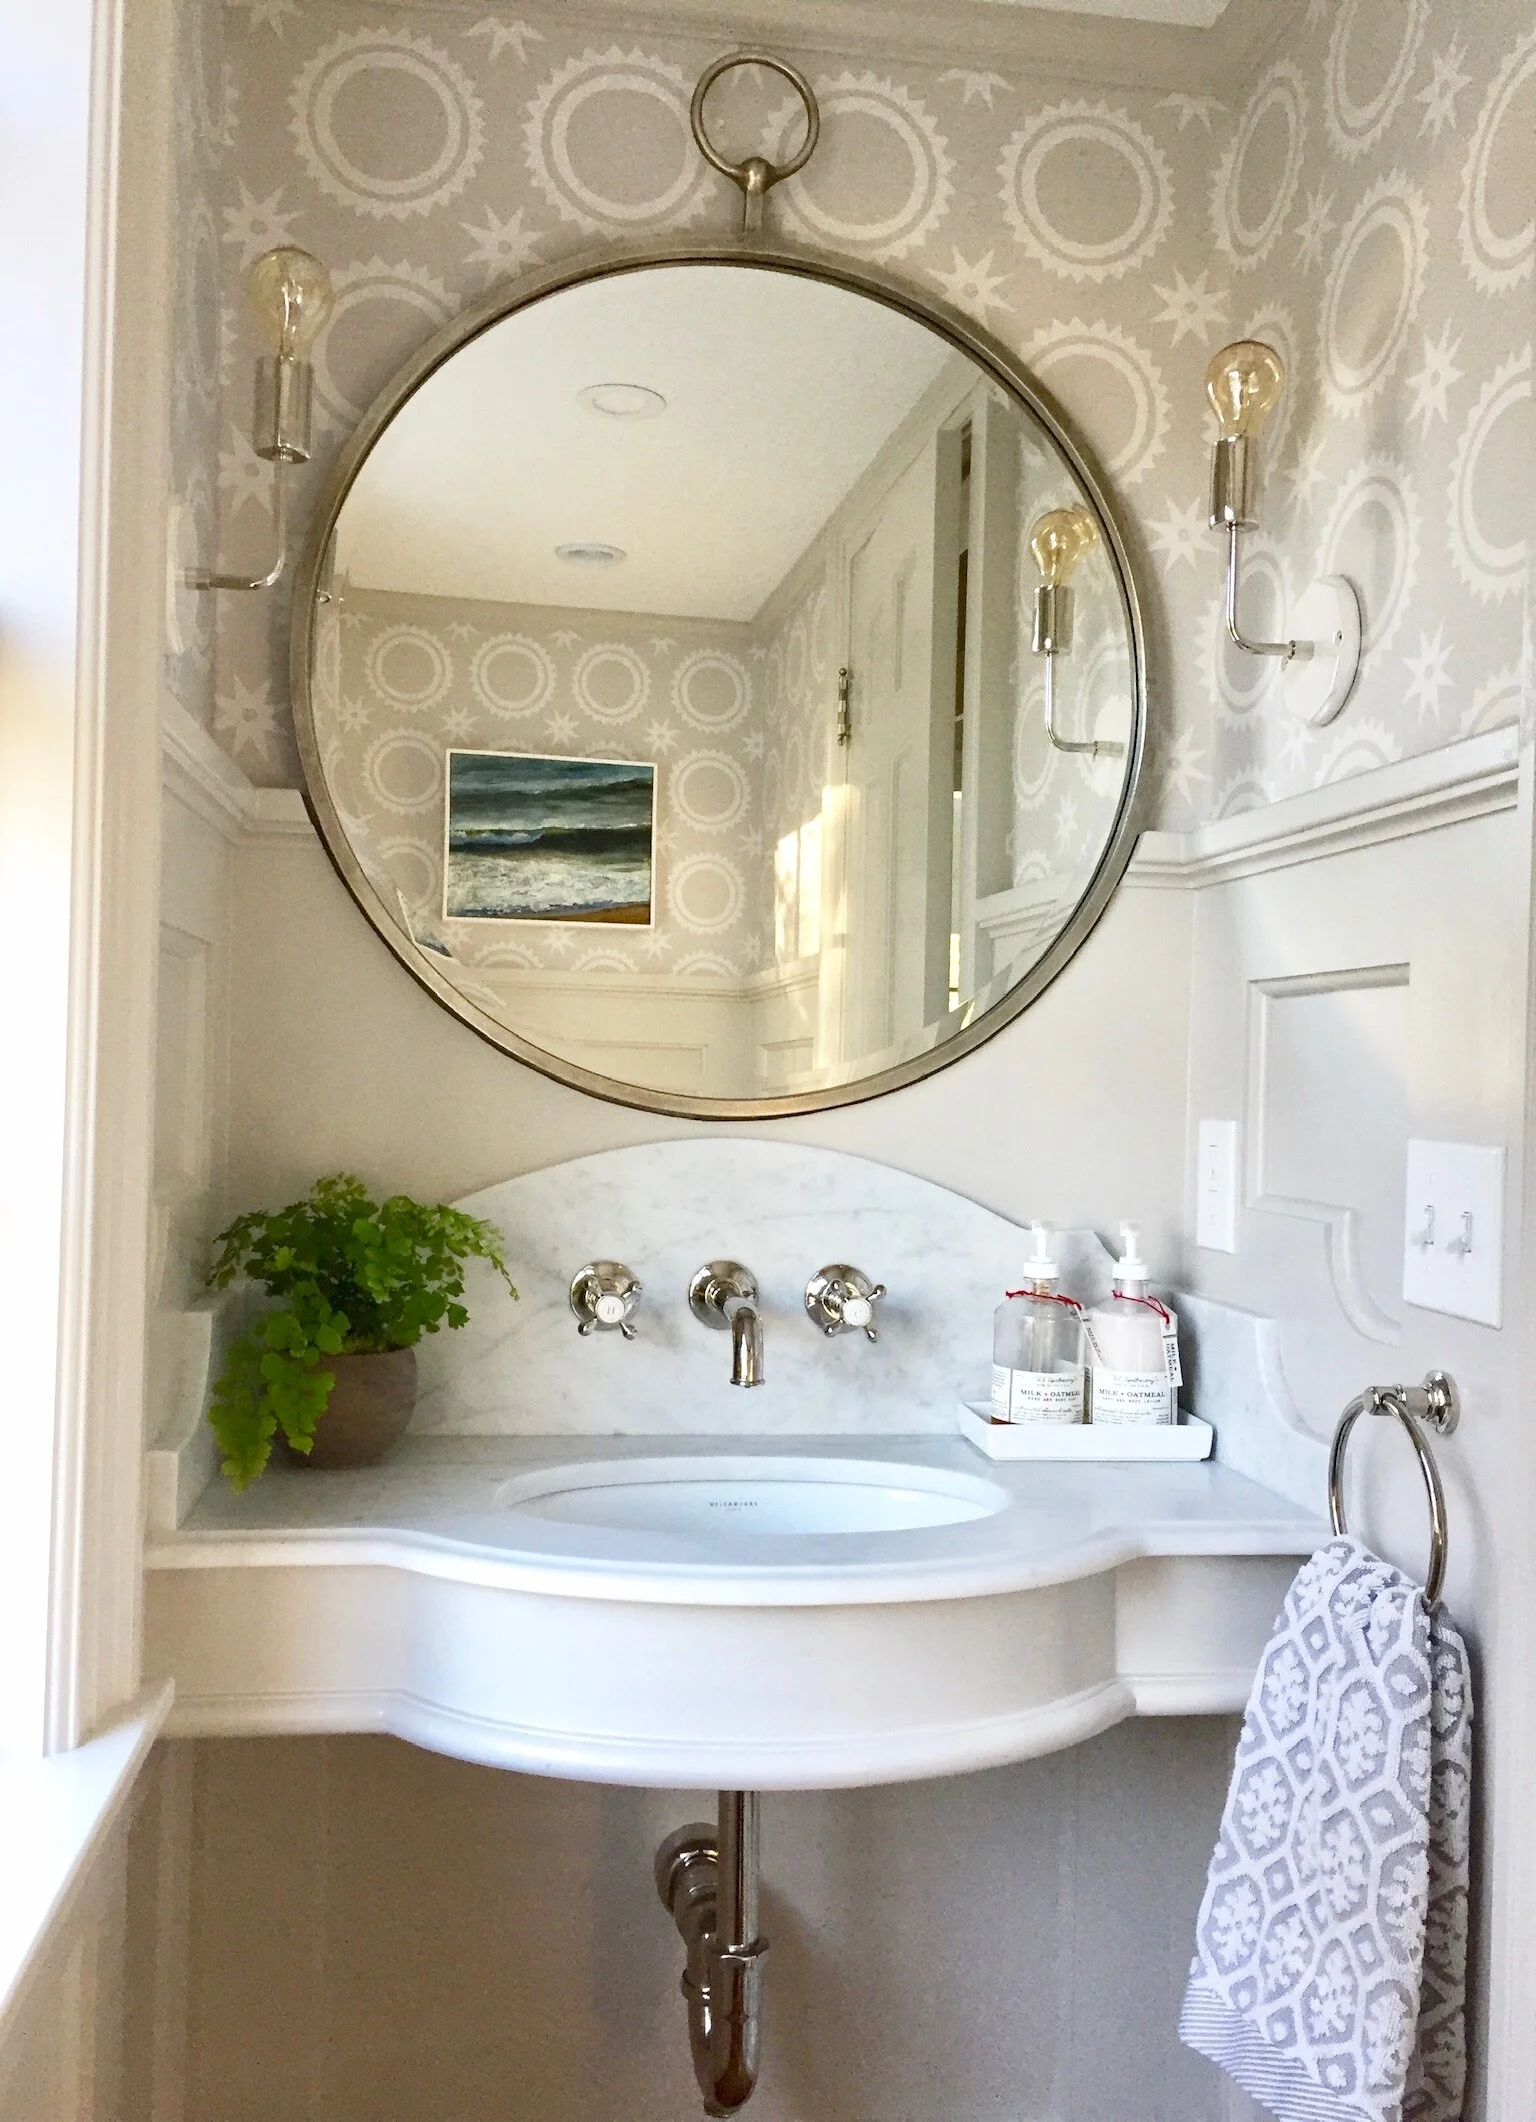
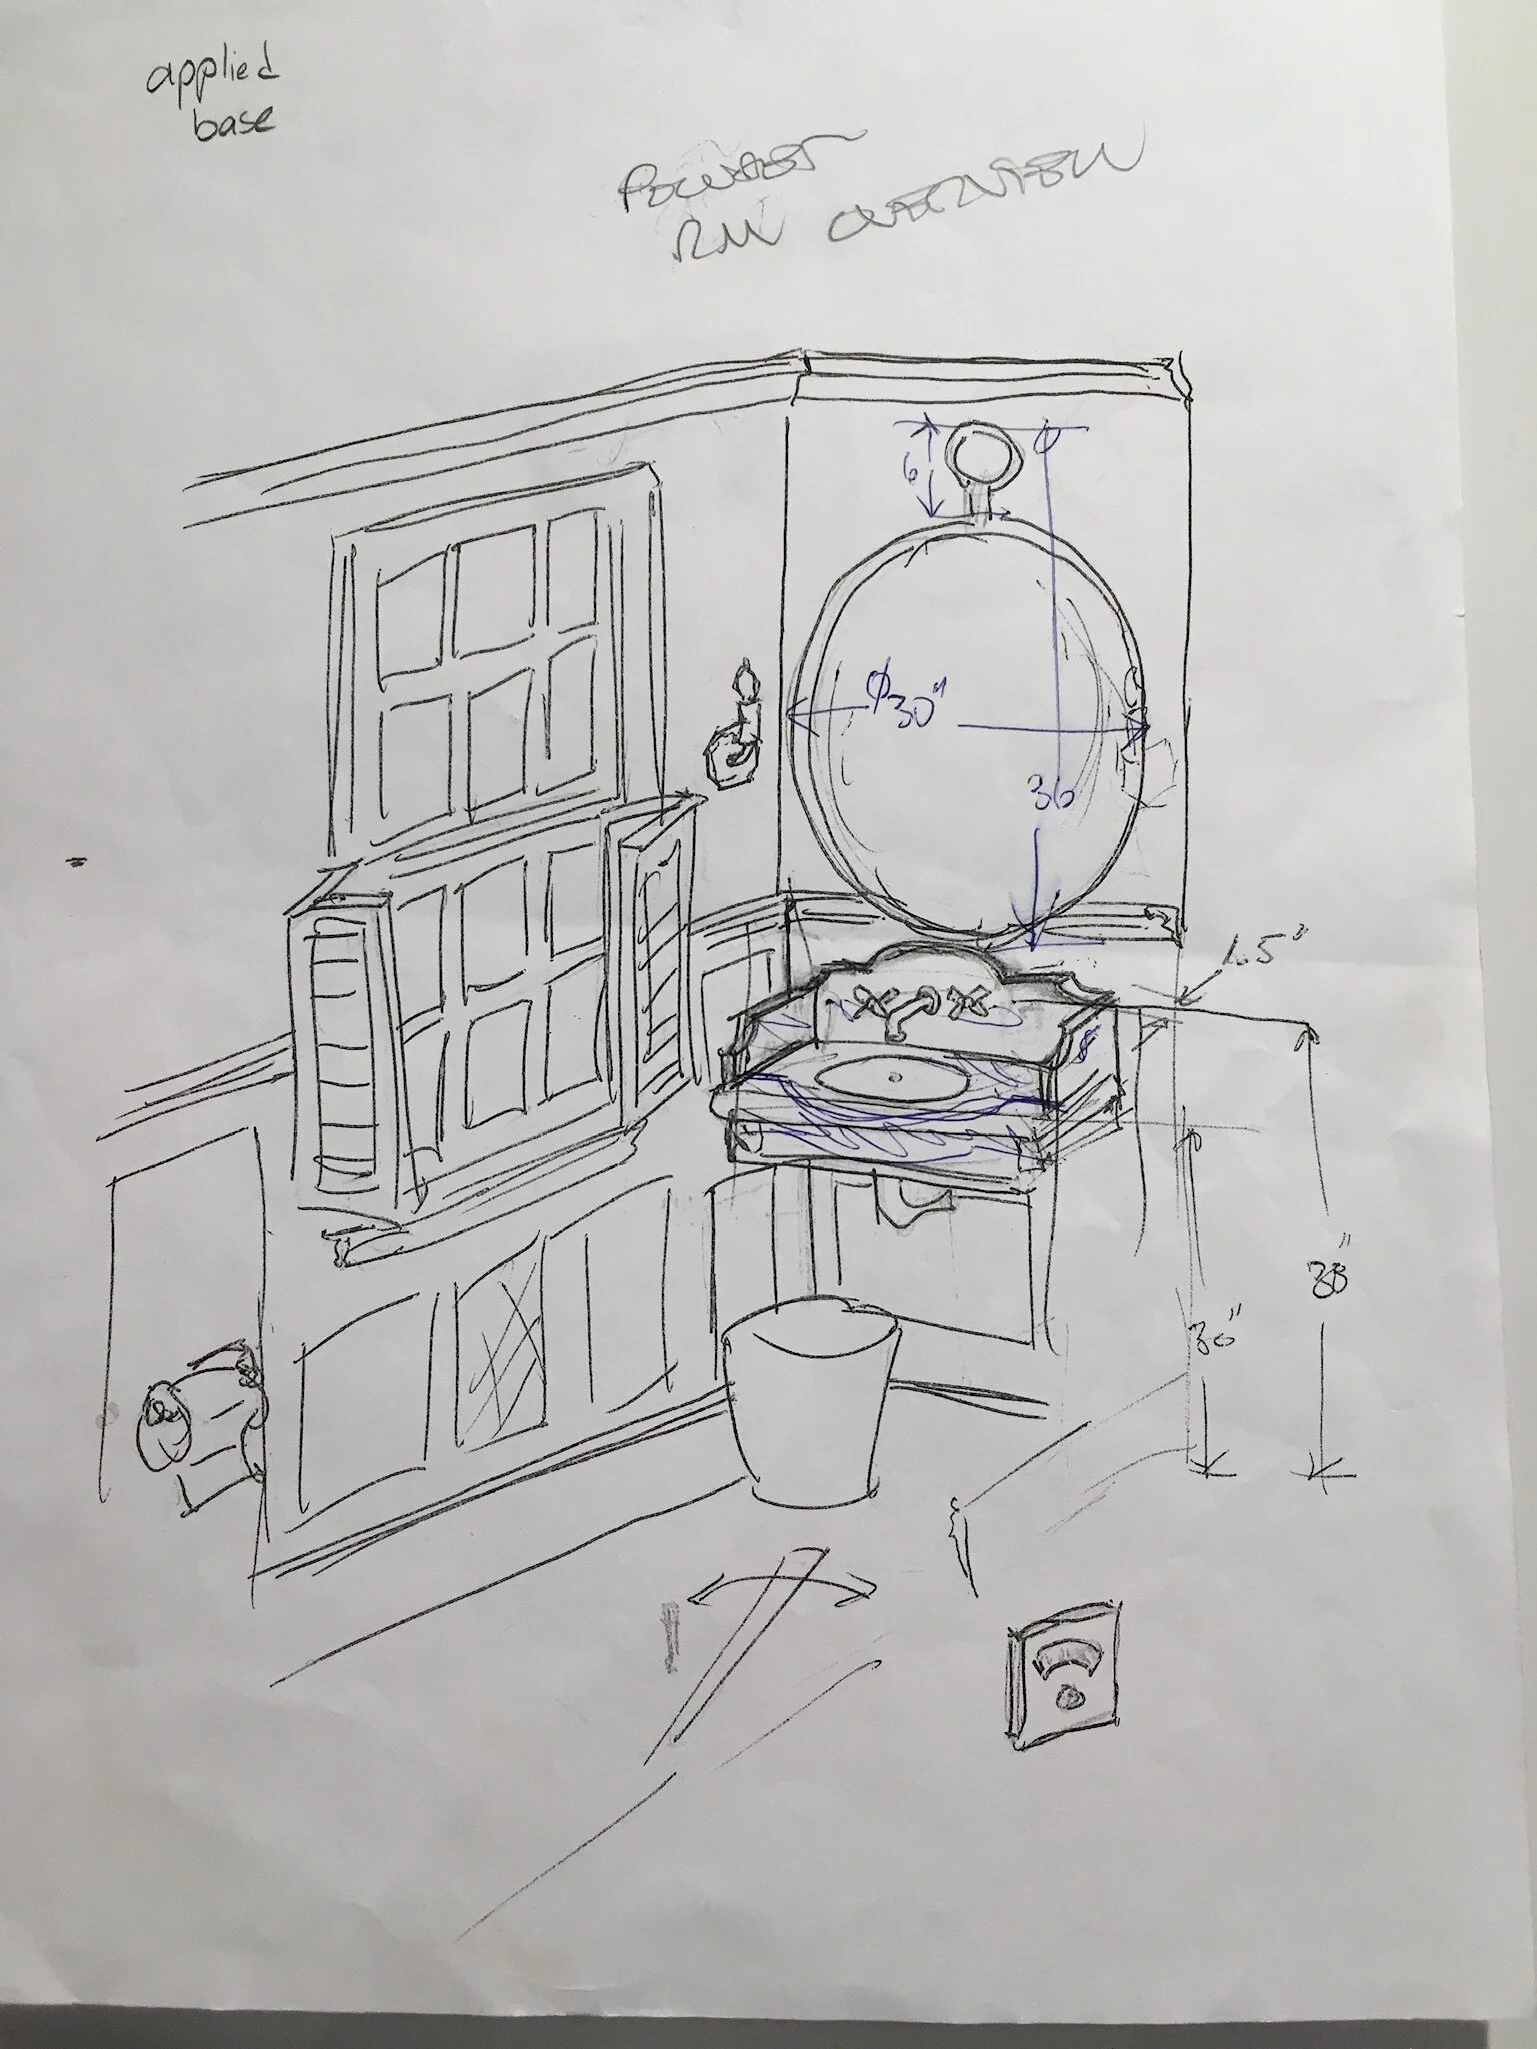
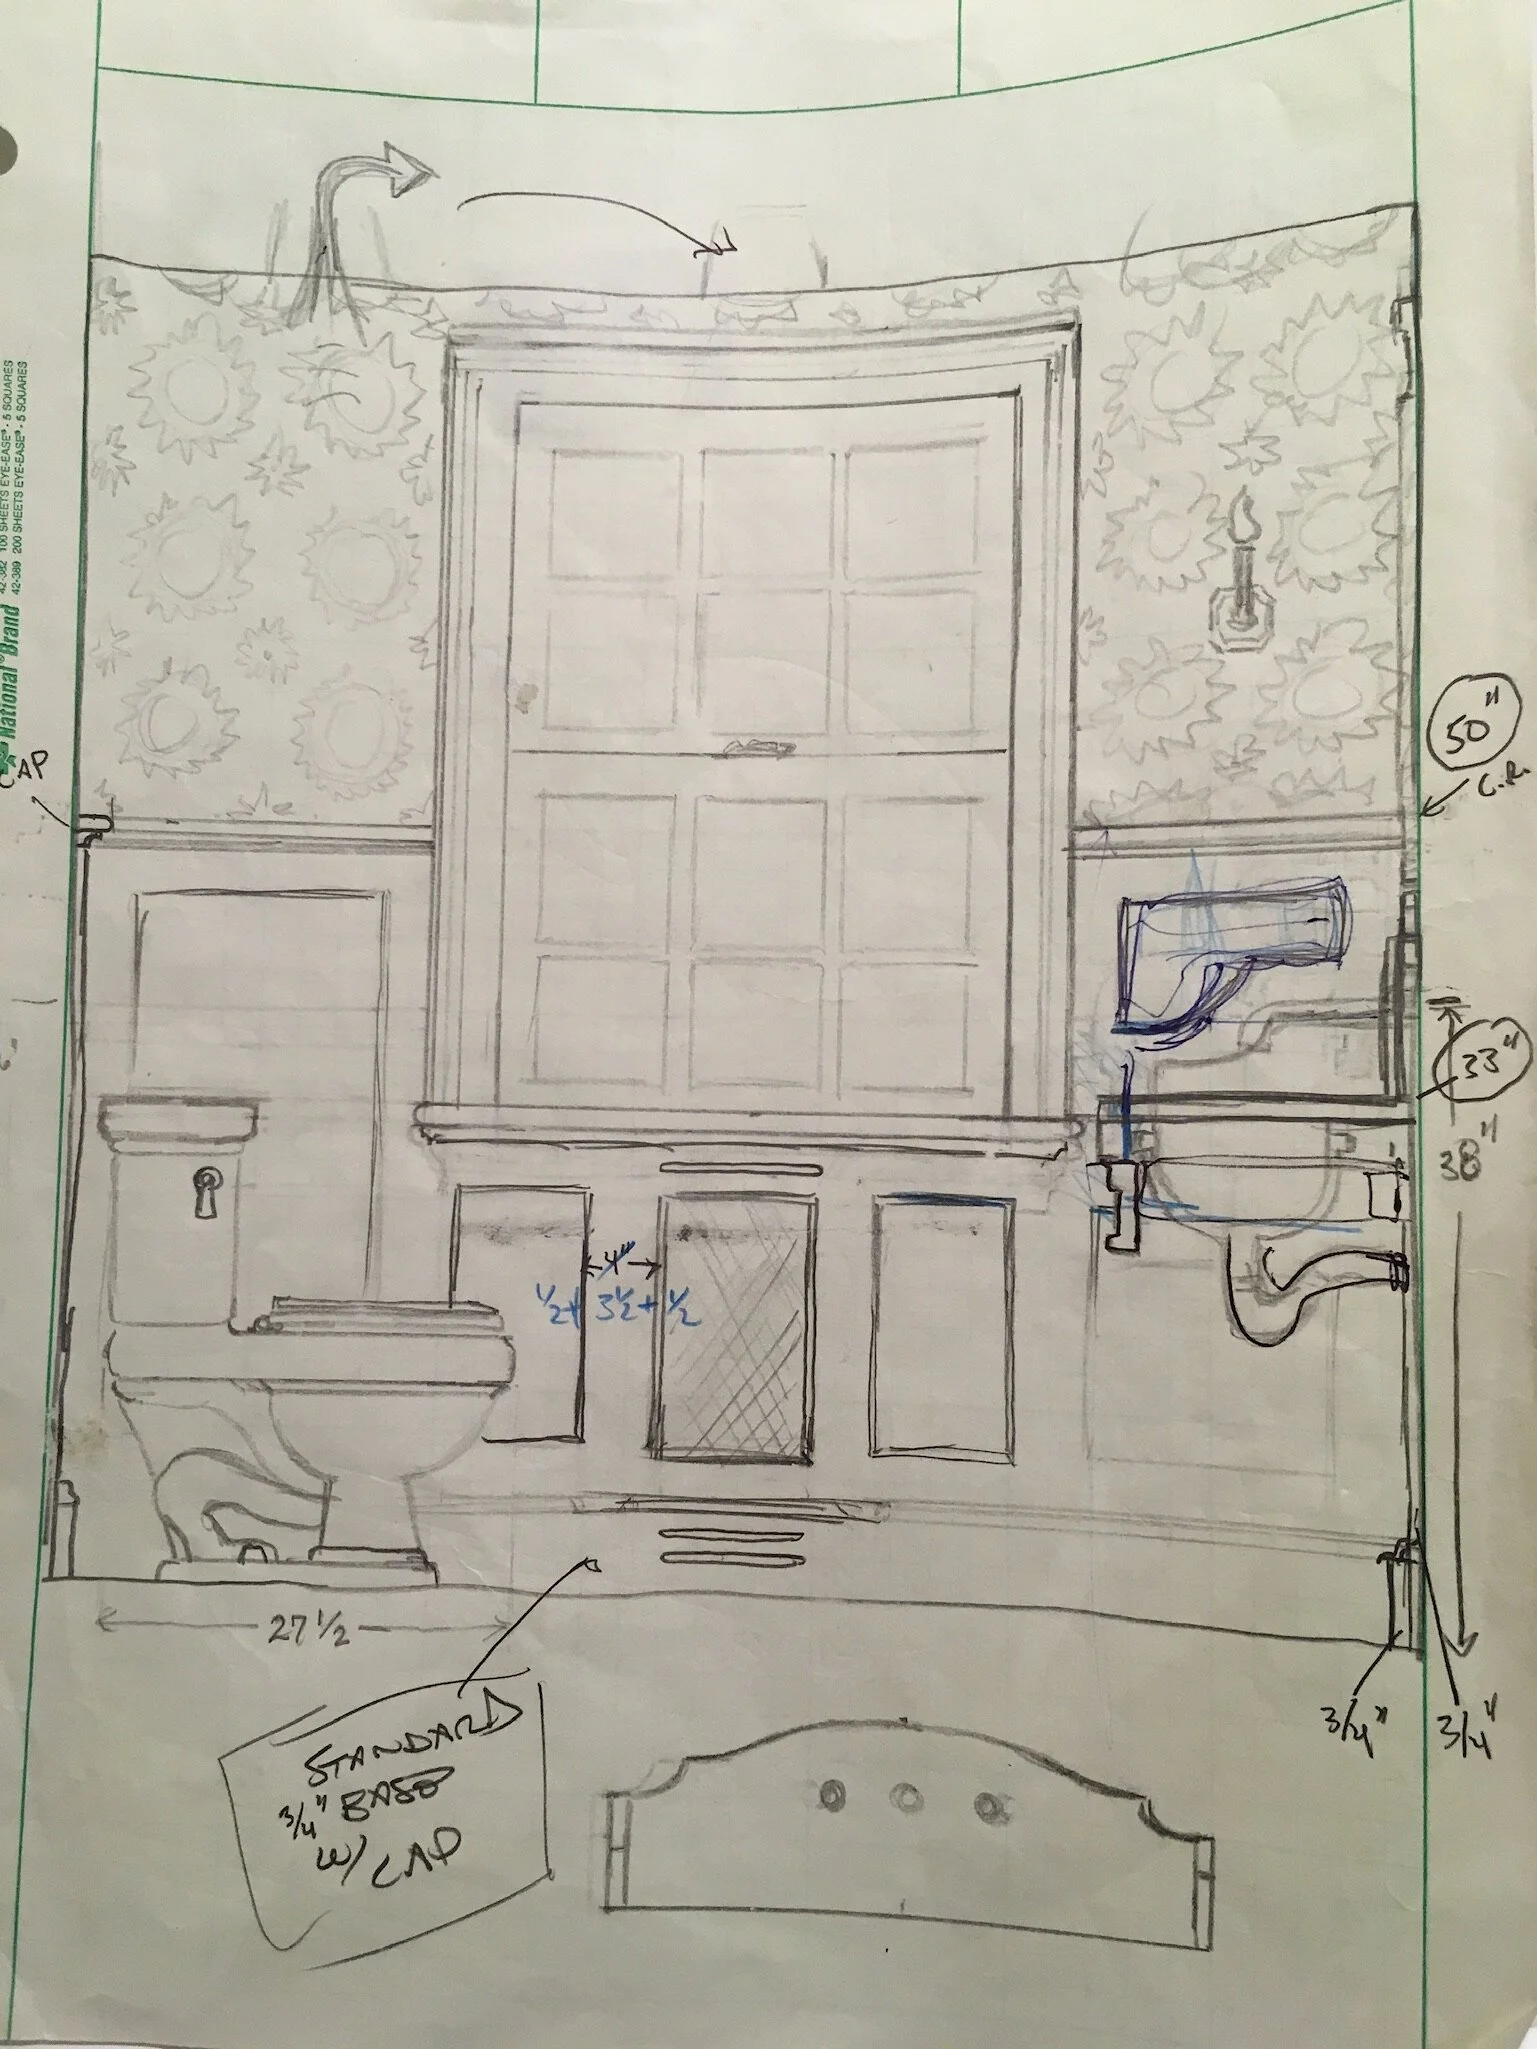
The kitchen renovation required moving the powder room from a cramped intersection by the basement door and kitchen to the other side of the house. The new location made more sense, but the space was inflexibly small. In order to make this brand new room feel more at home in our house, we used millwork, sentimental wallpaper, and some ingenuity every time we were told it wouldn’t work.
master bedroom
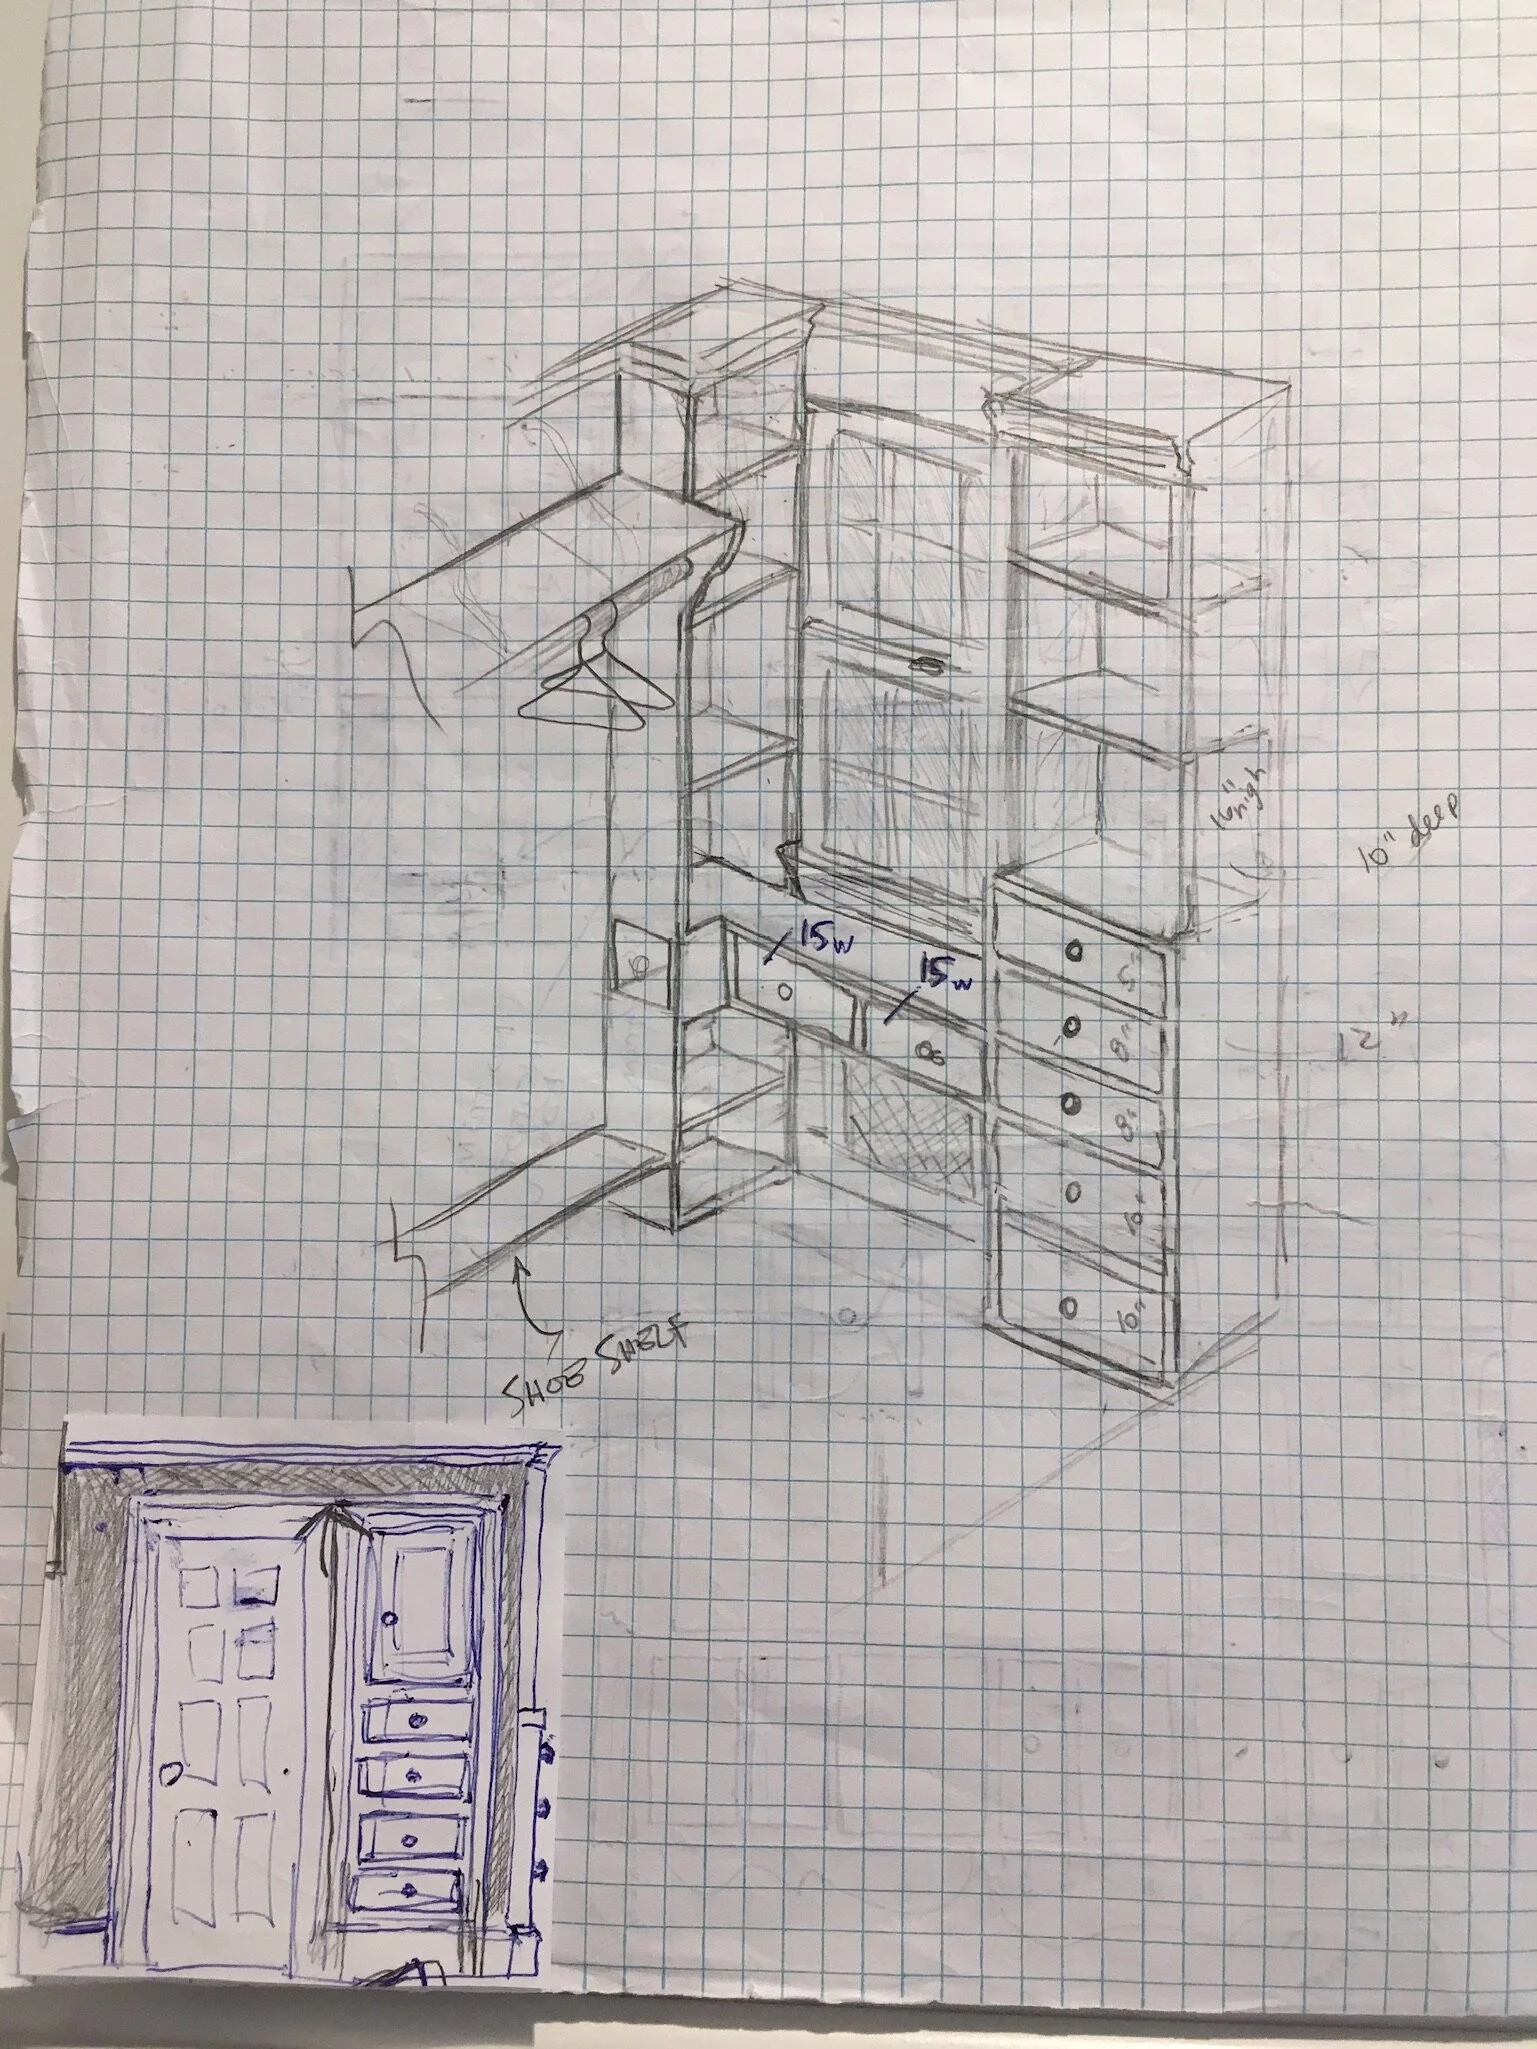
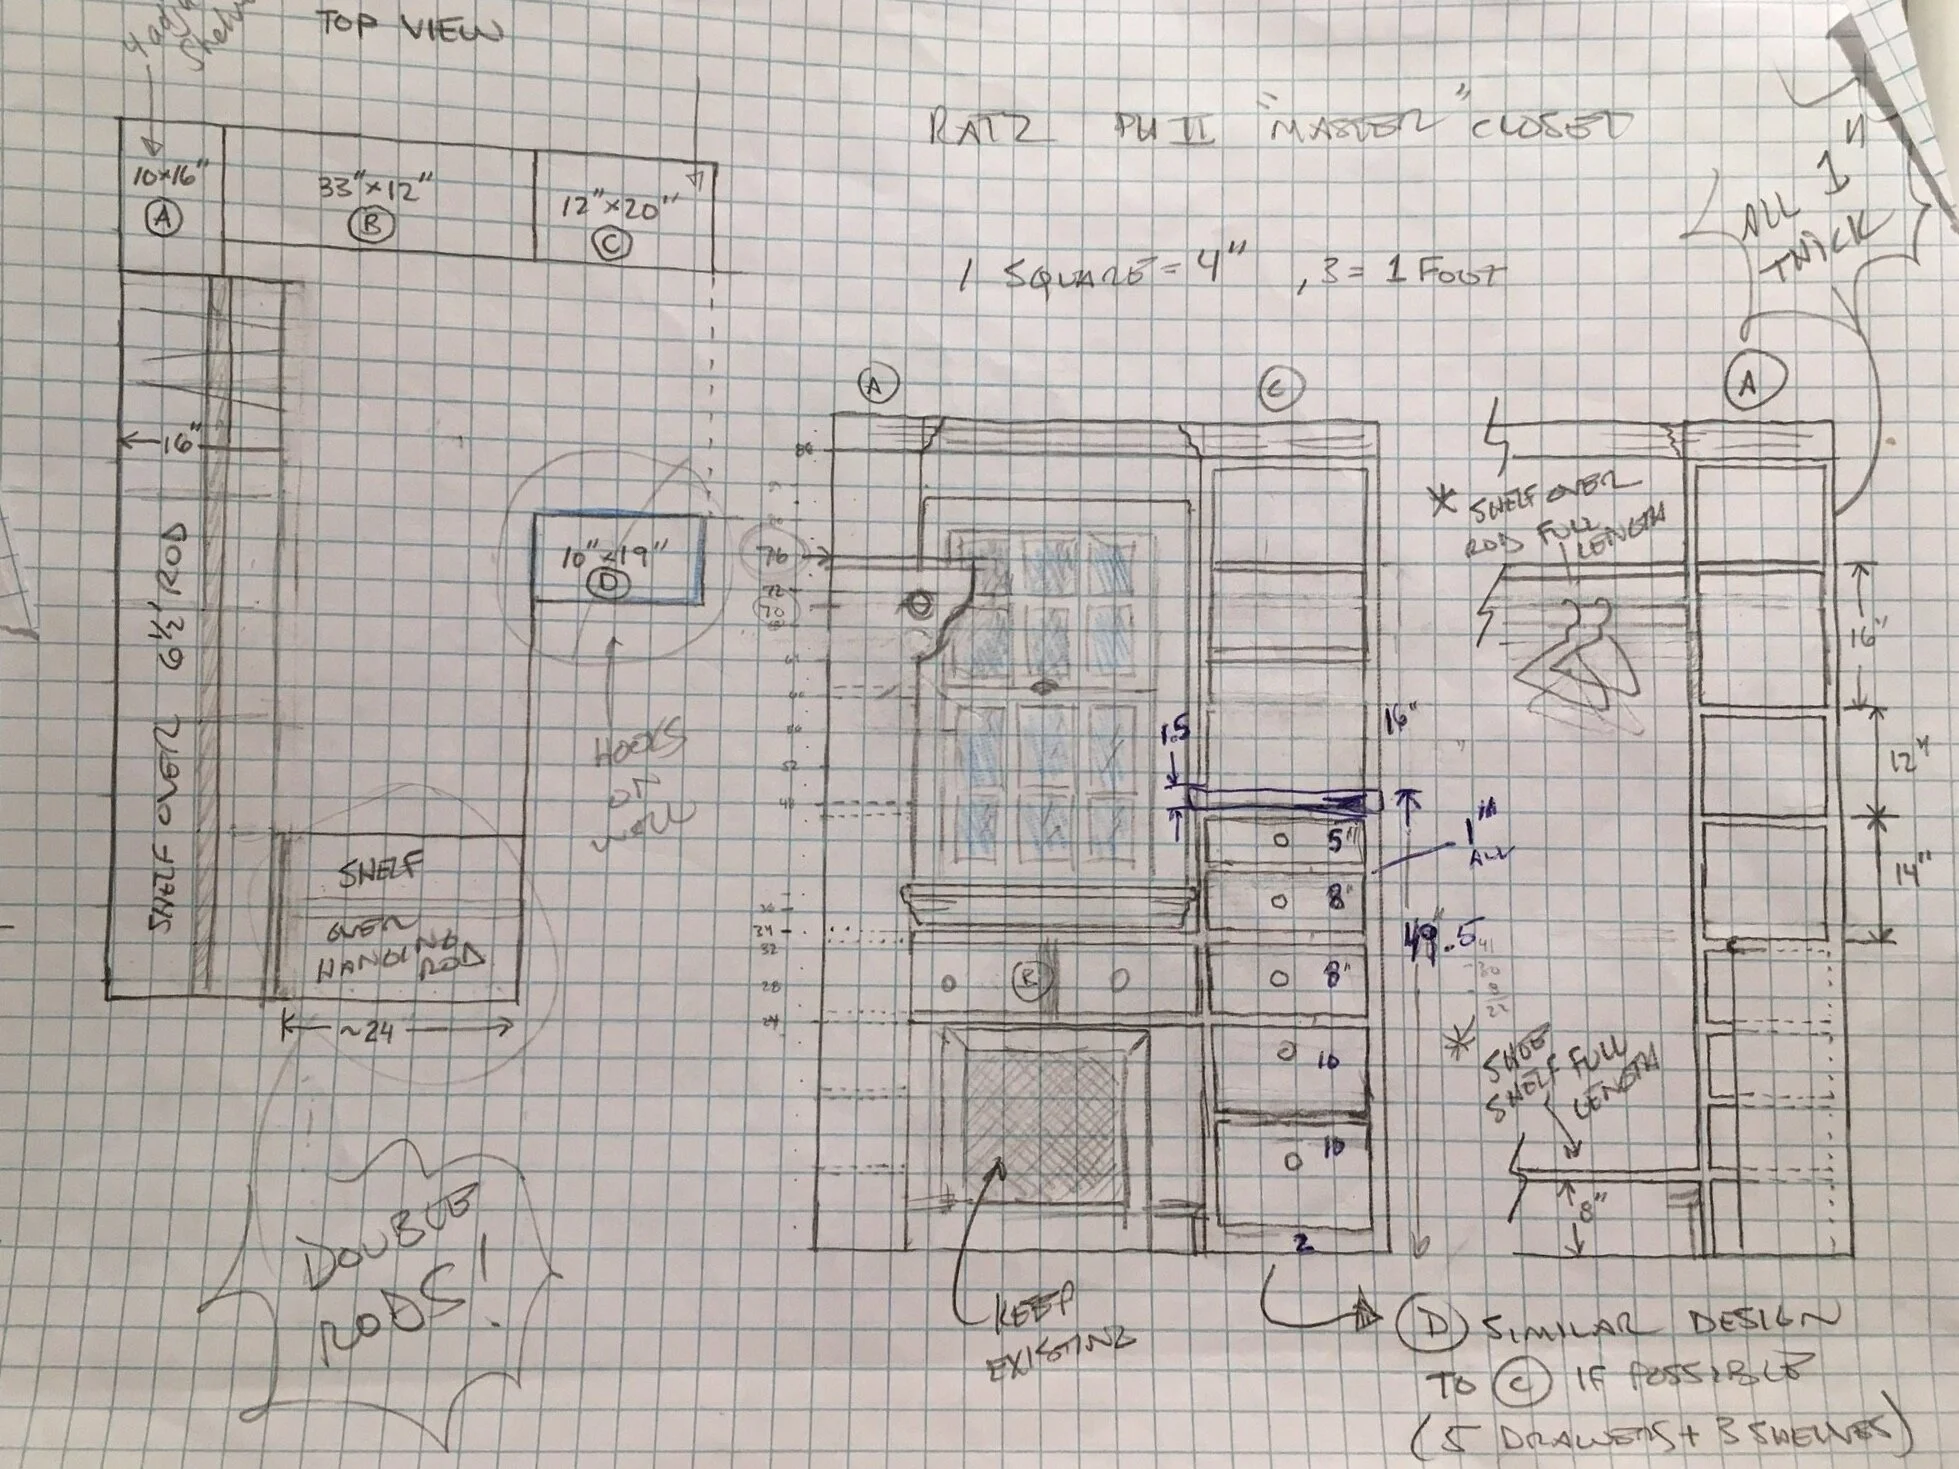
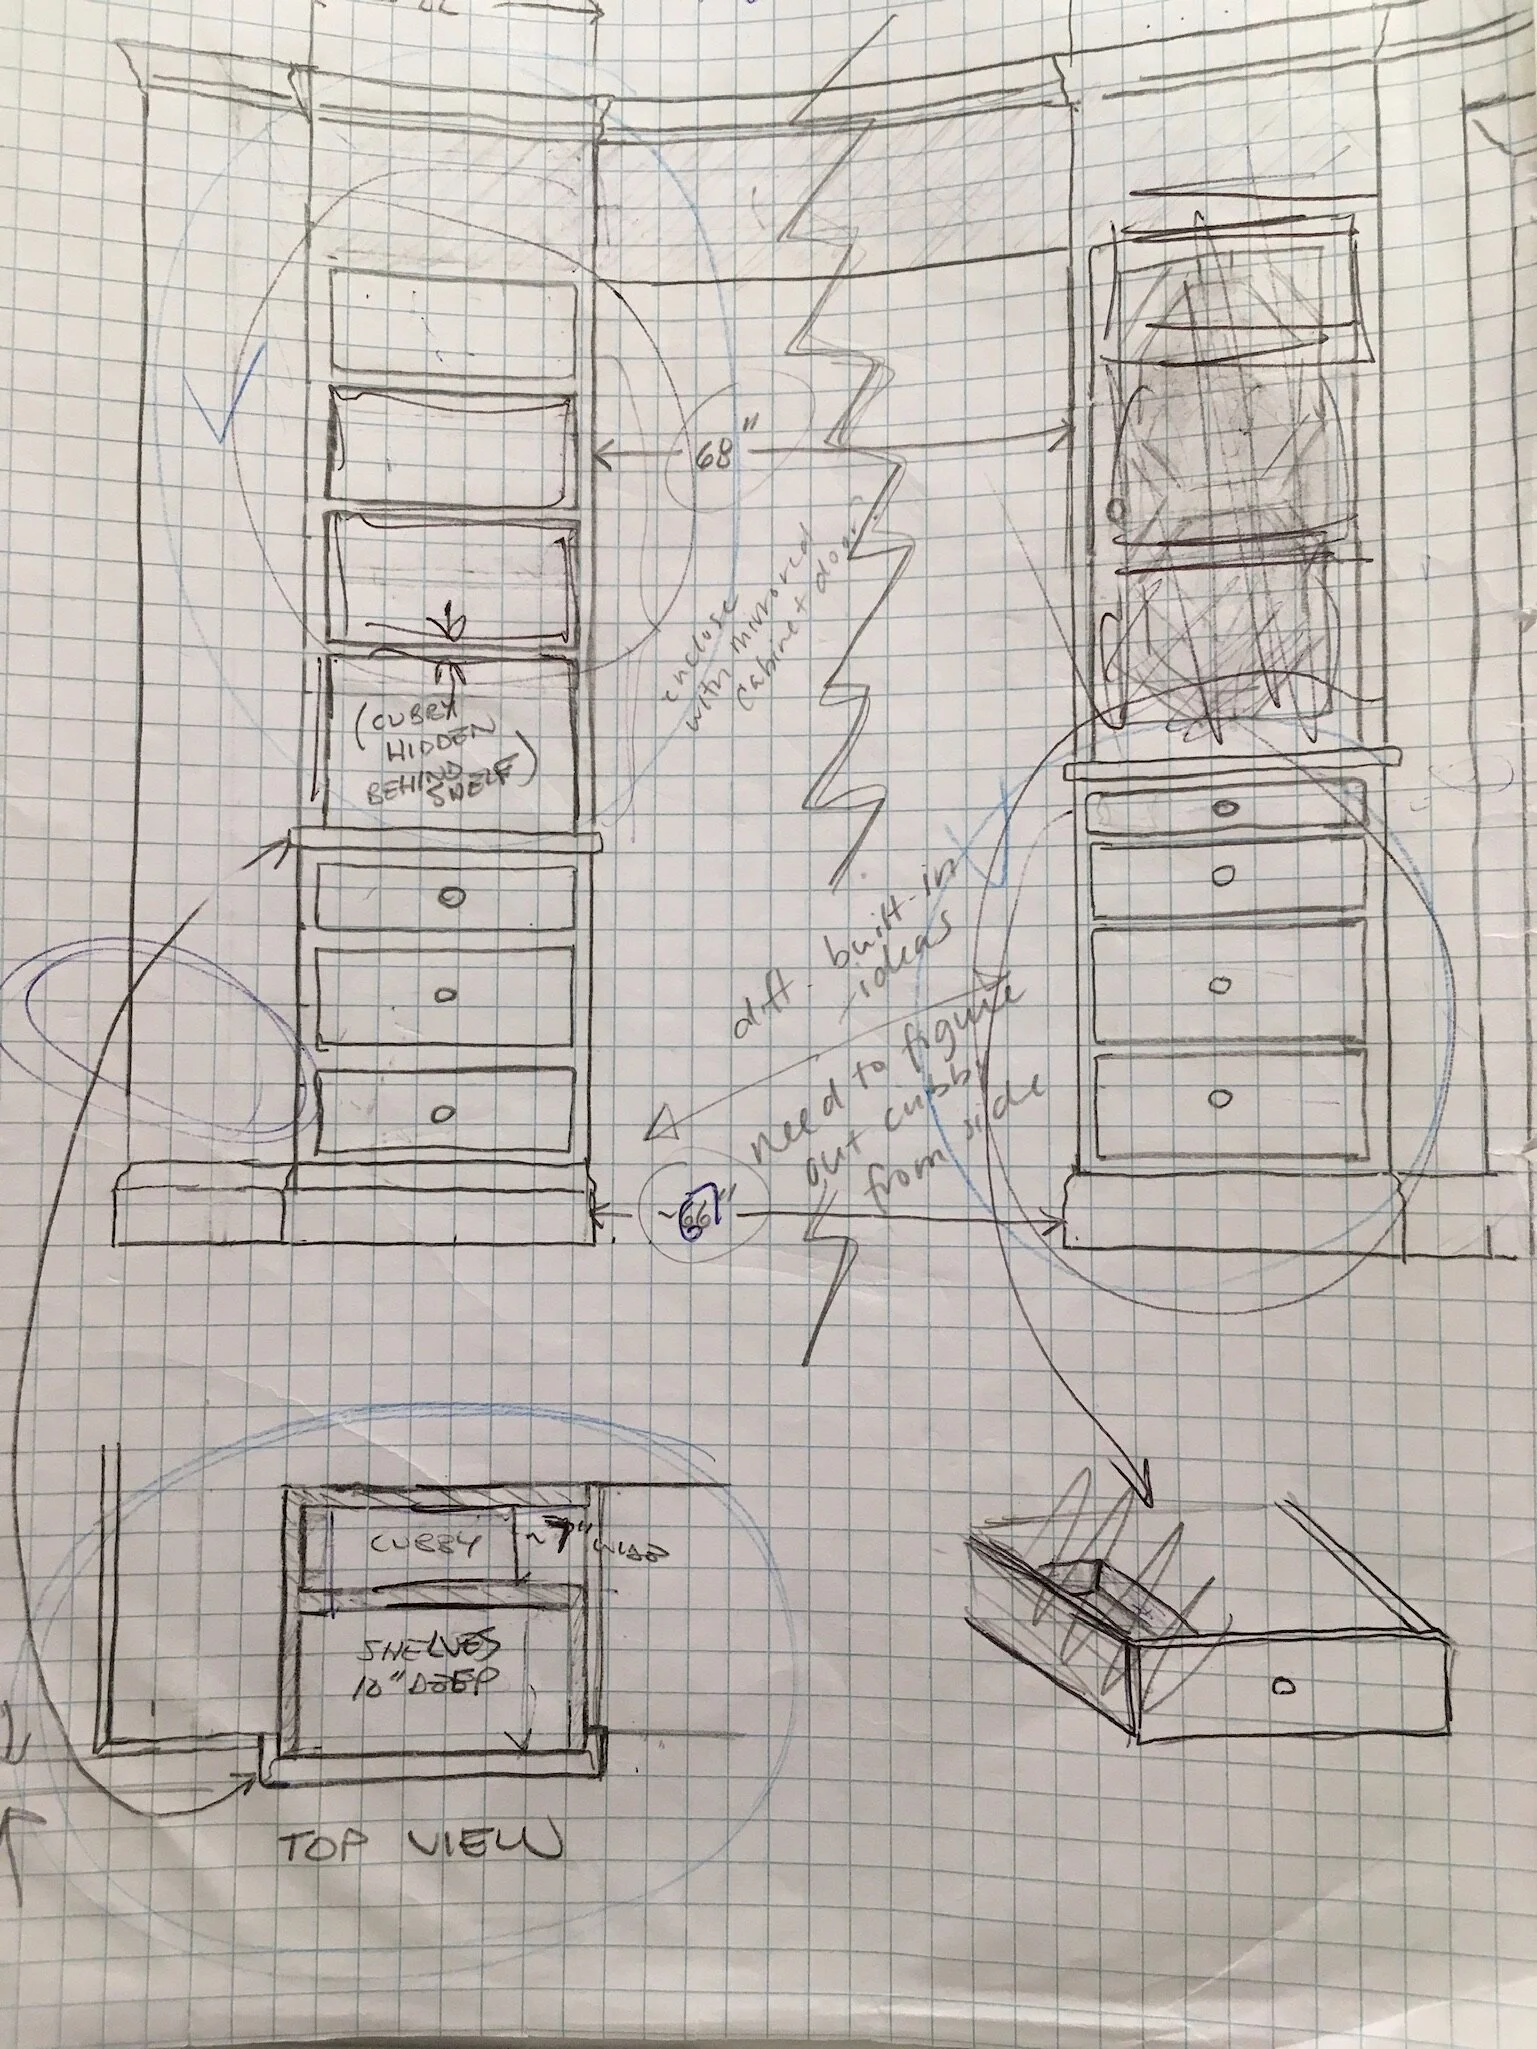
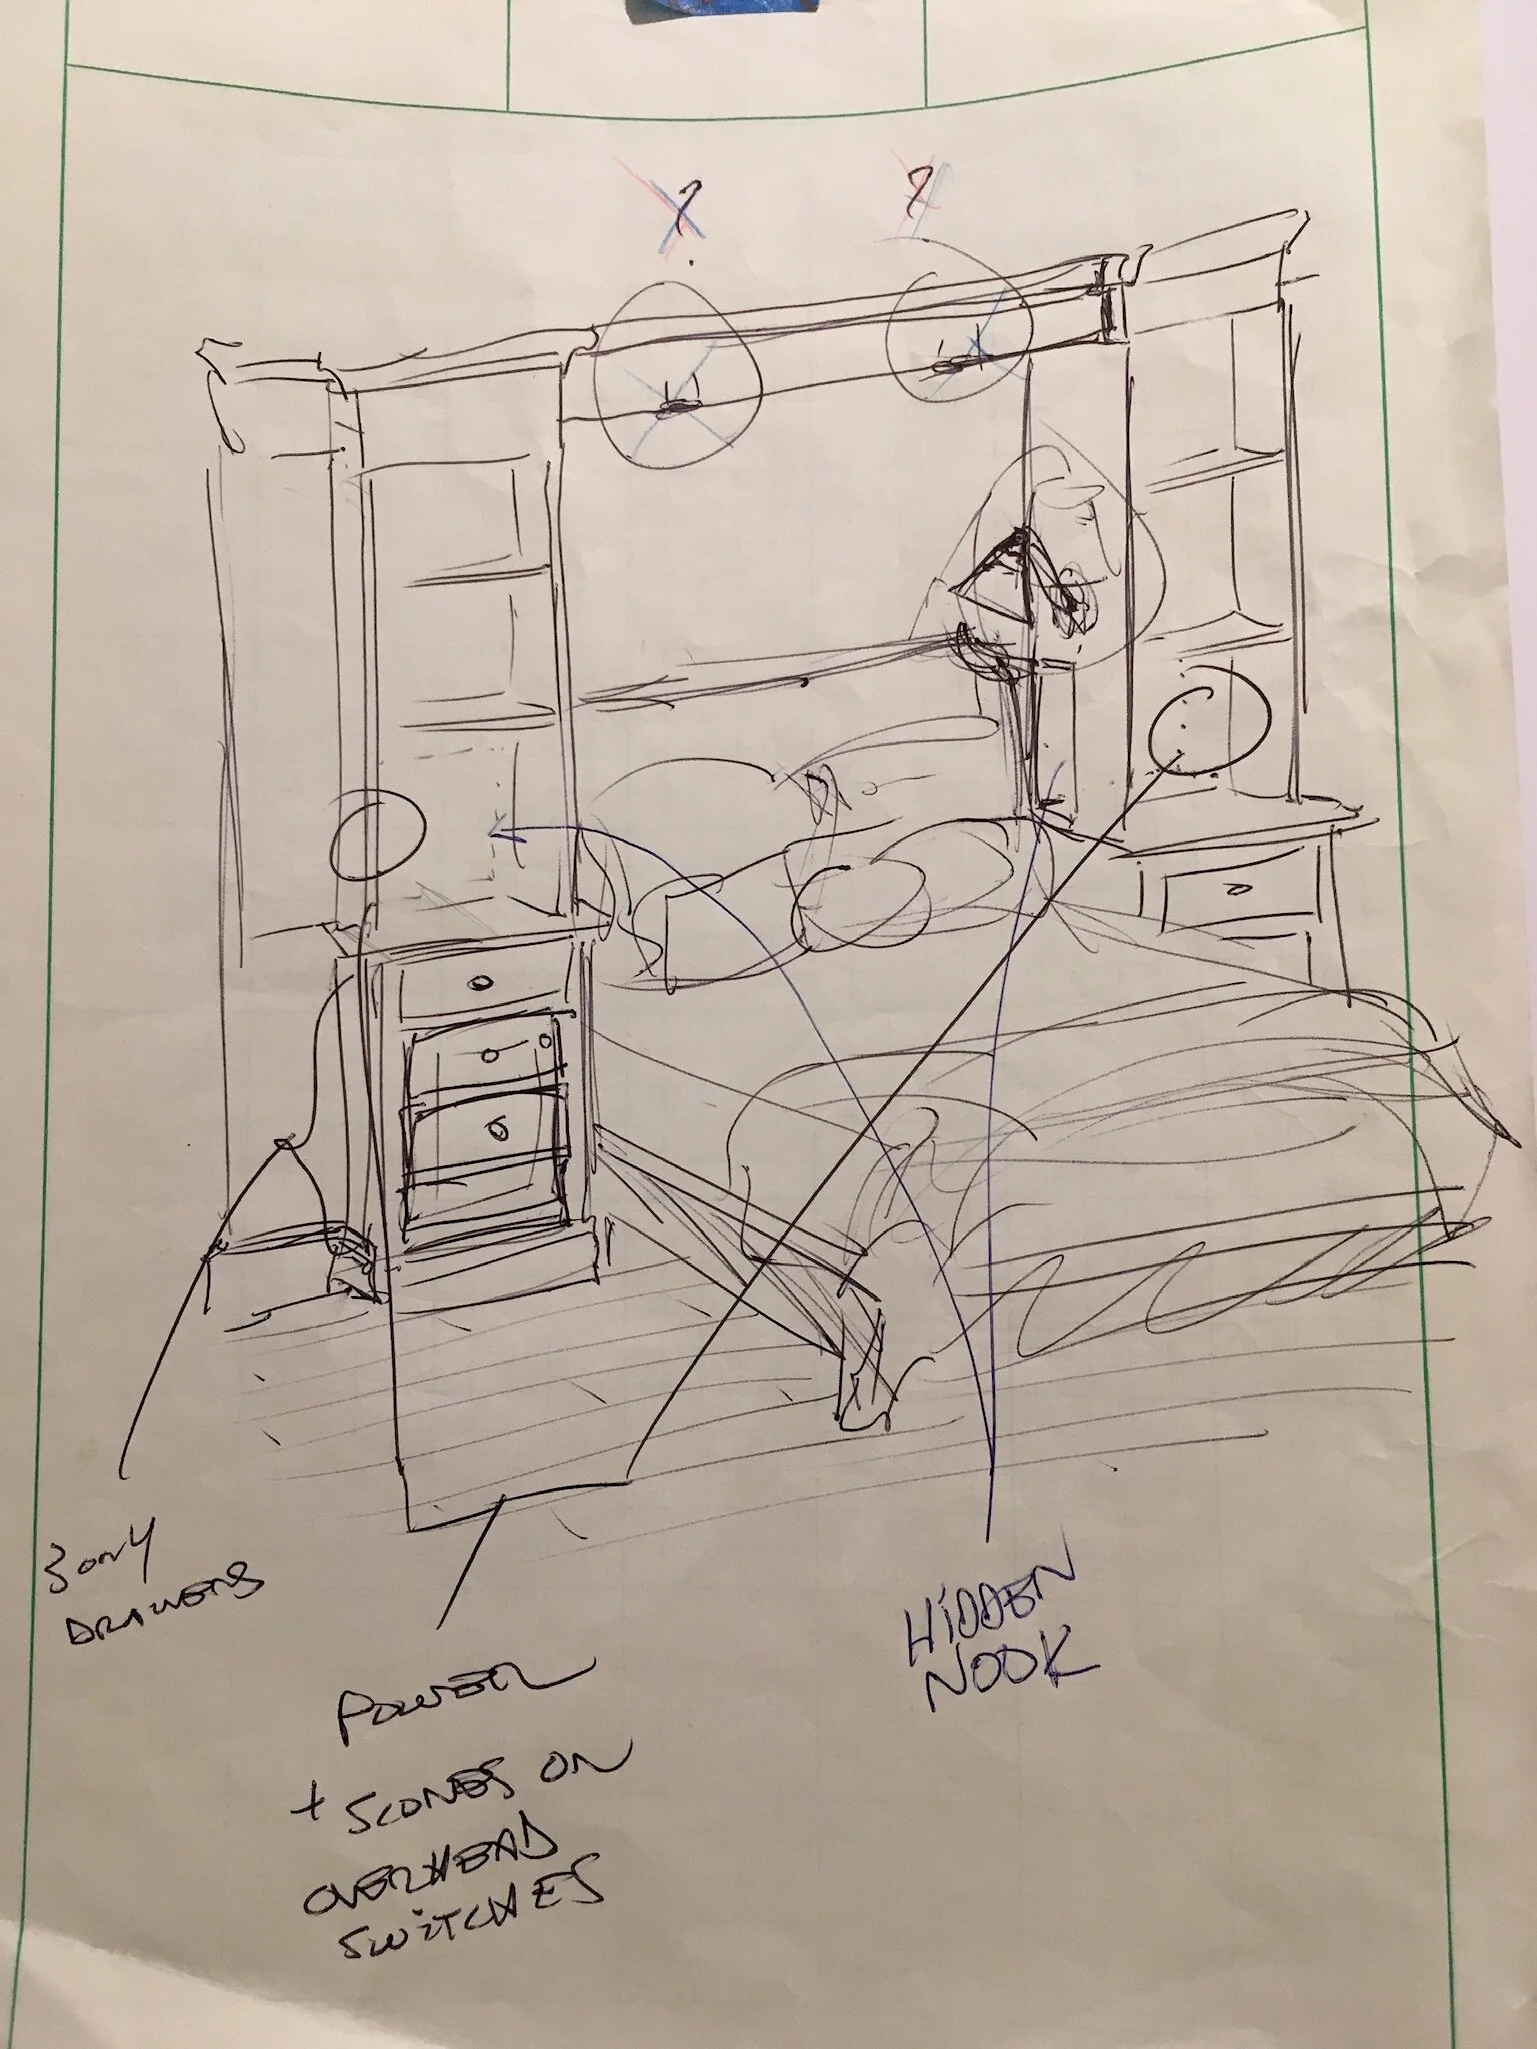
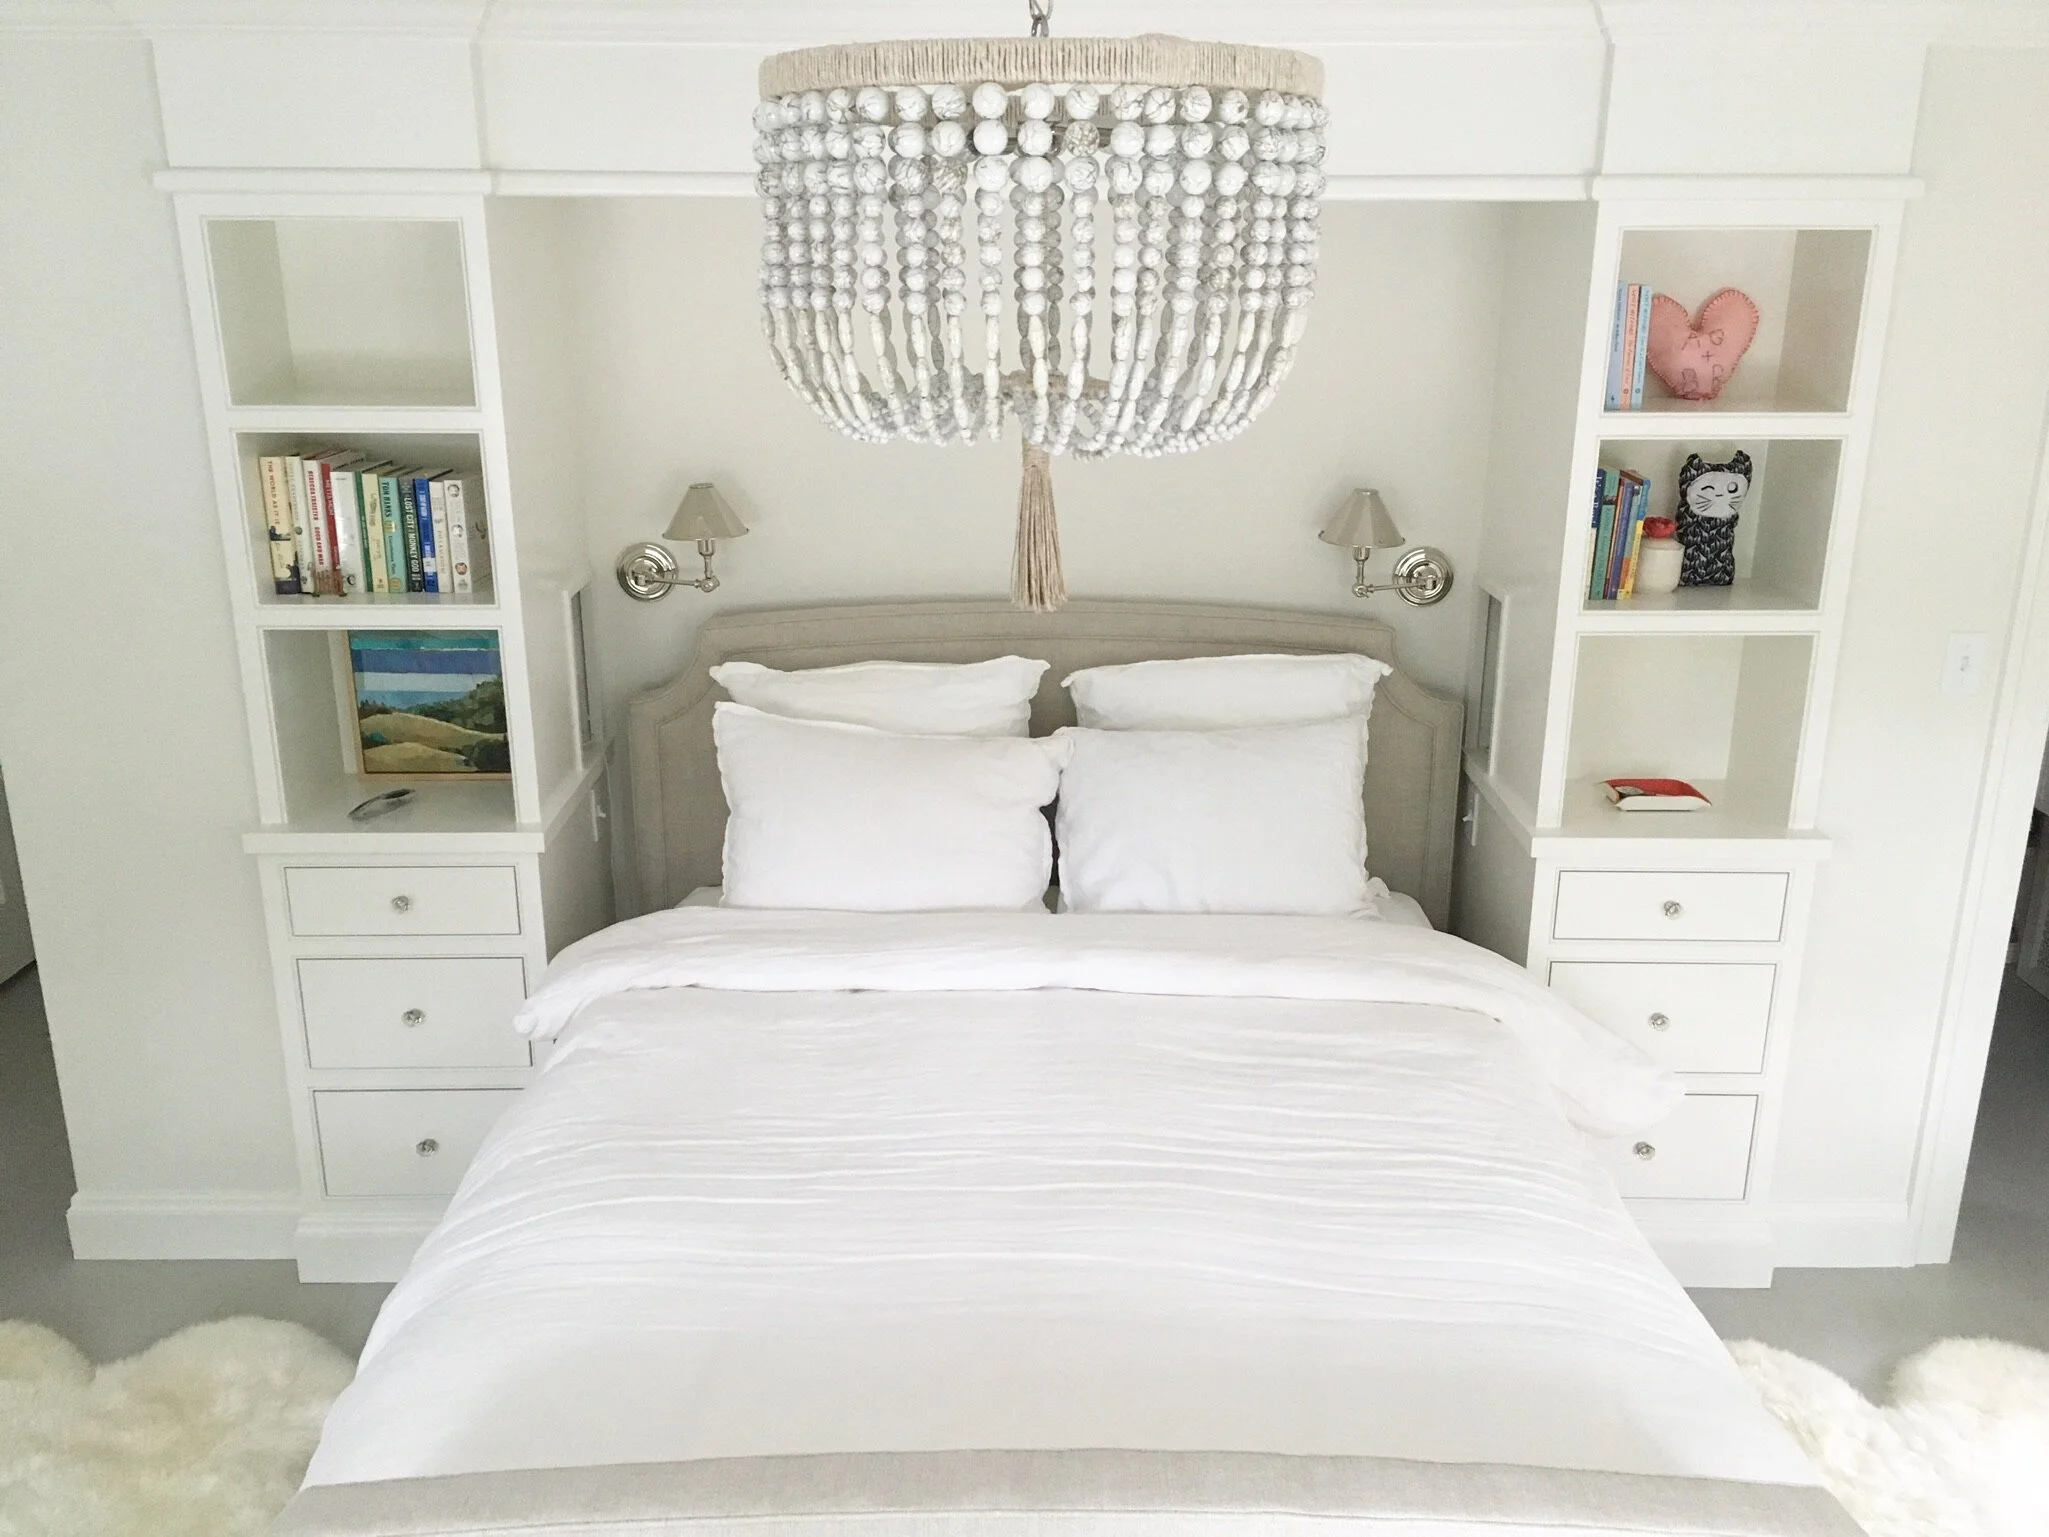
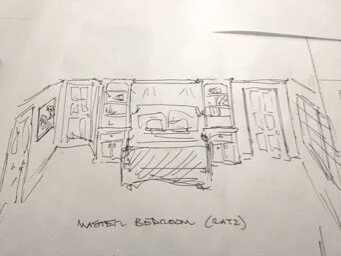
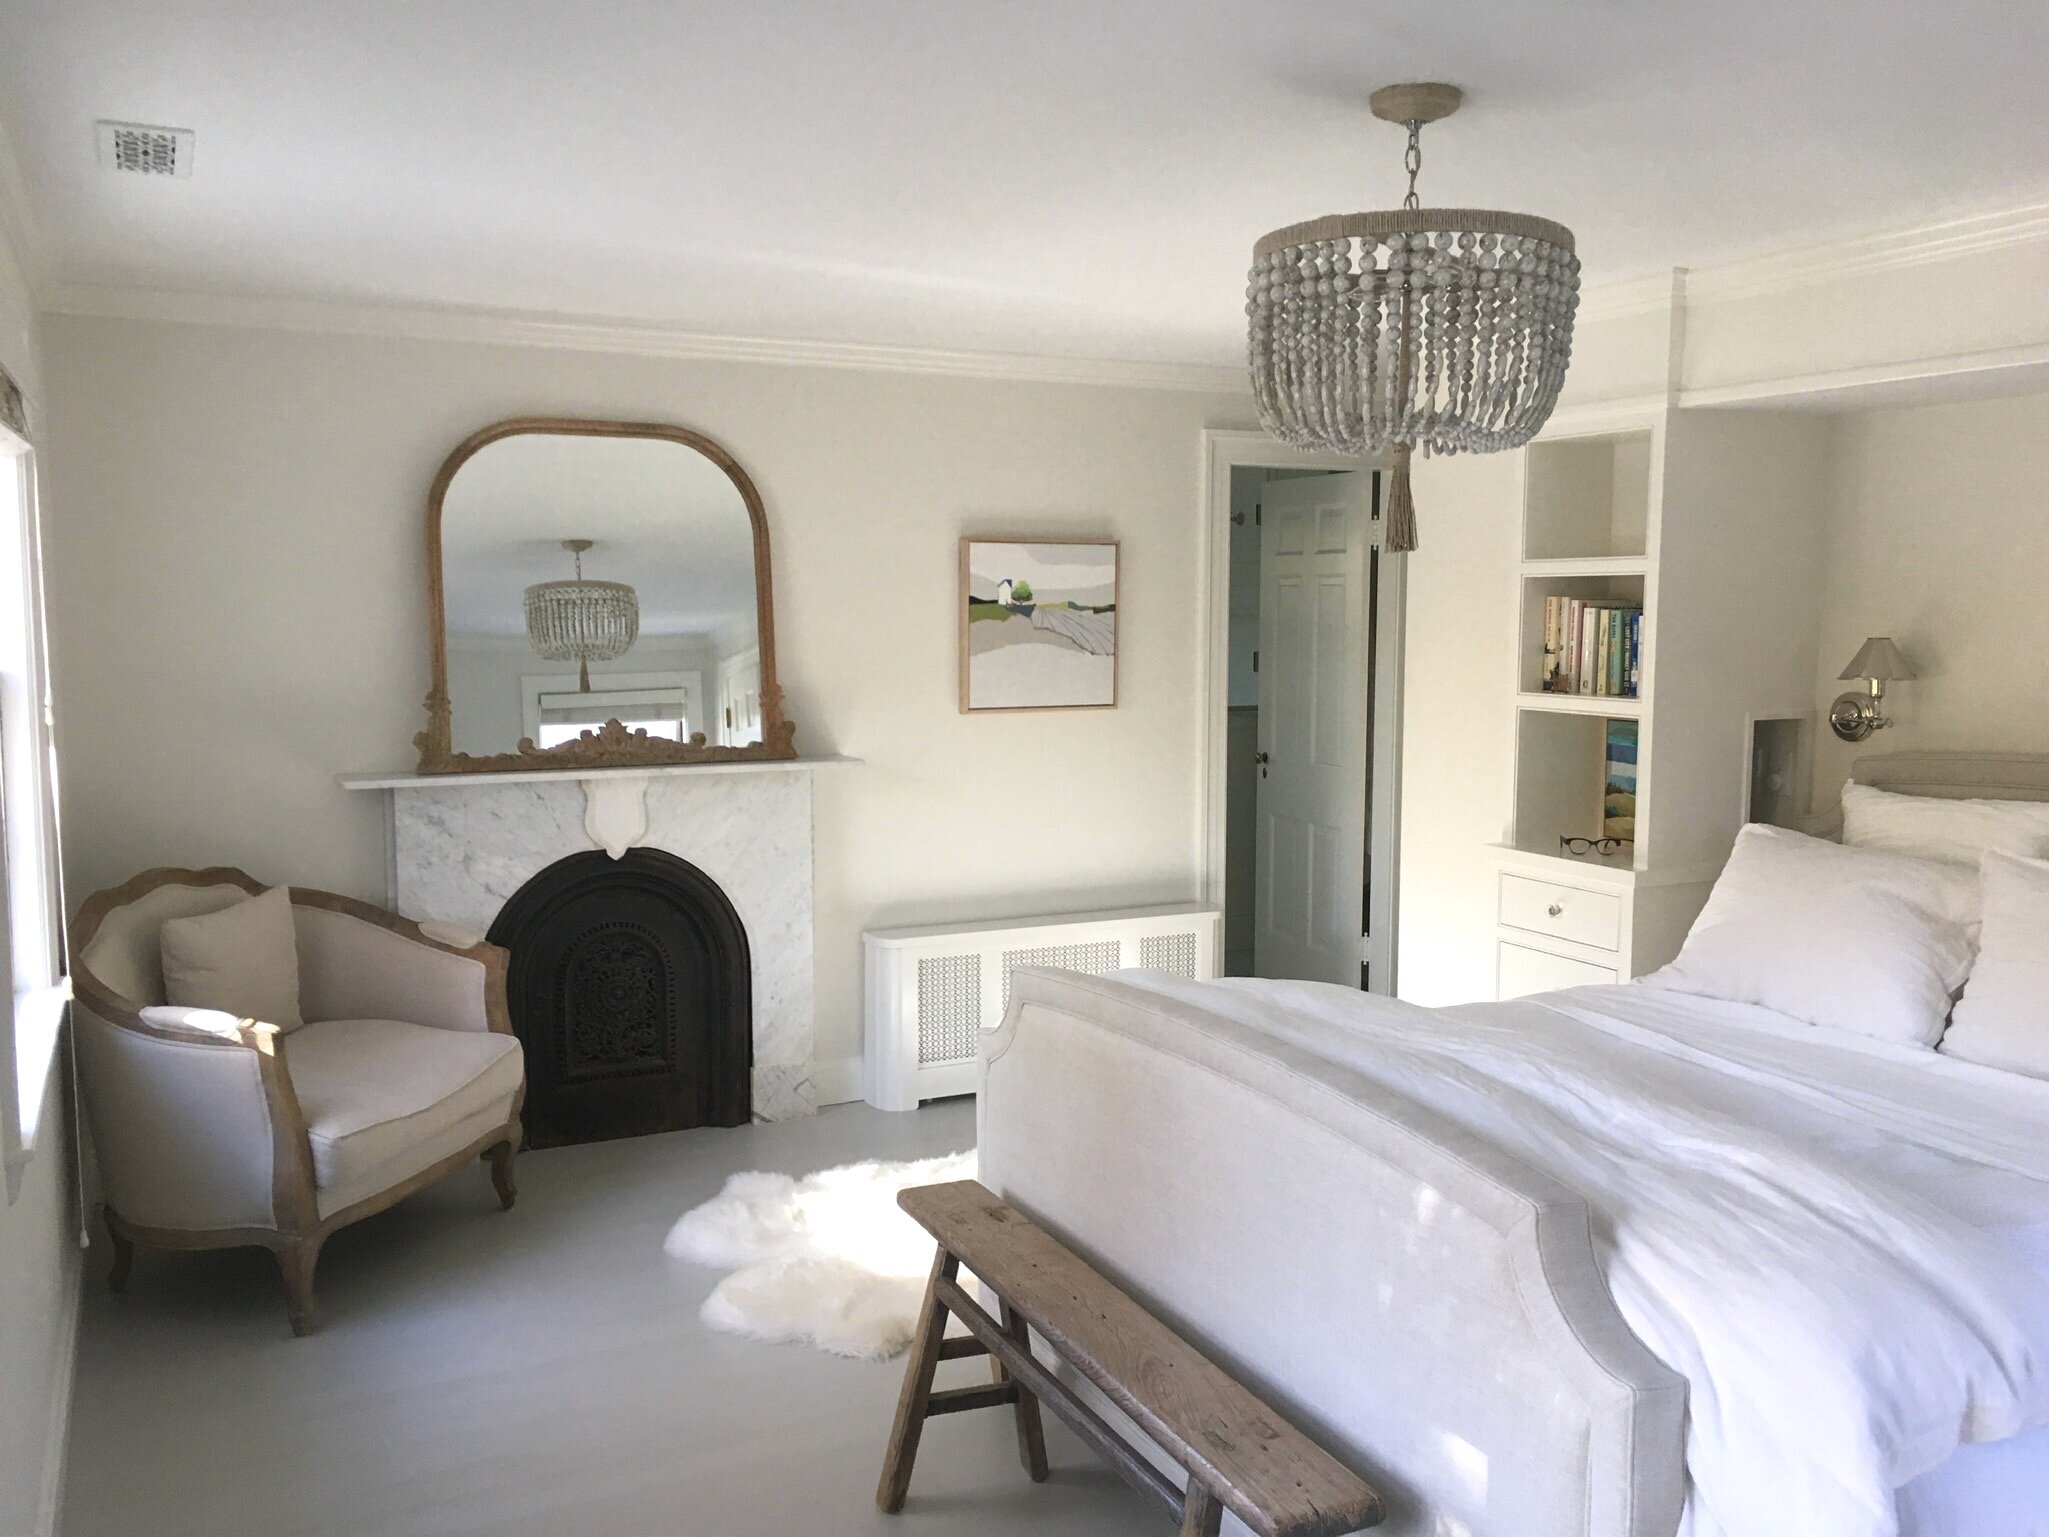
With relatively limited space in the master bedroom, we wanted to maximize storage without adding clutter. The built-ins that enclose the headboard include discreet nooks with outlets on each side, and an empty space next to a closet door was turned into yet another built-in, designed to be consistent with homes built in the 1930s. We also outfitted each closet with a combination of drawers and shelves to make the most of their minimal size and unconventional shapes. Finally, because the master bathroom addition required the elimination of an exterior window, we added a reclaimed fireplace mantle to restore balance to the newly blank wall.


master bathroom
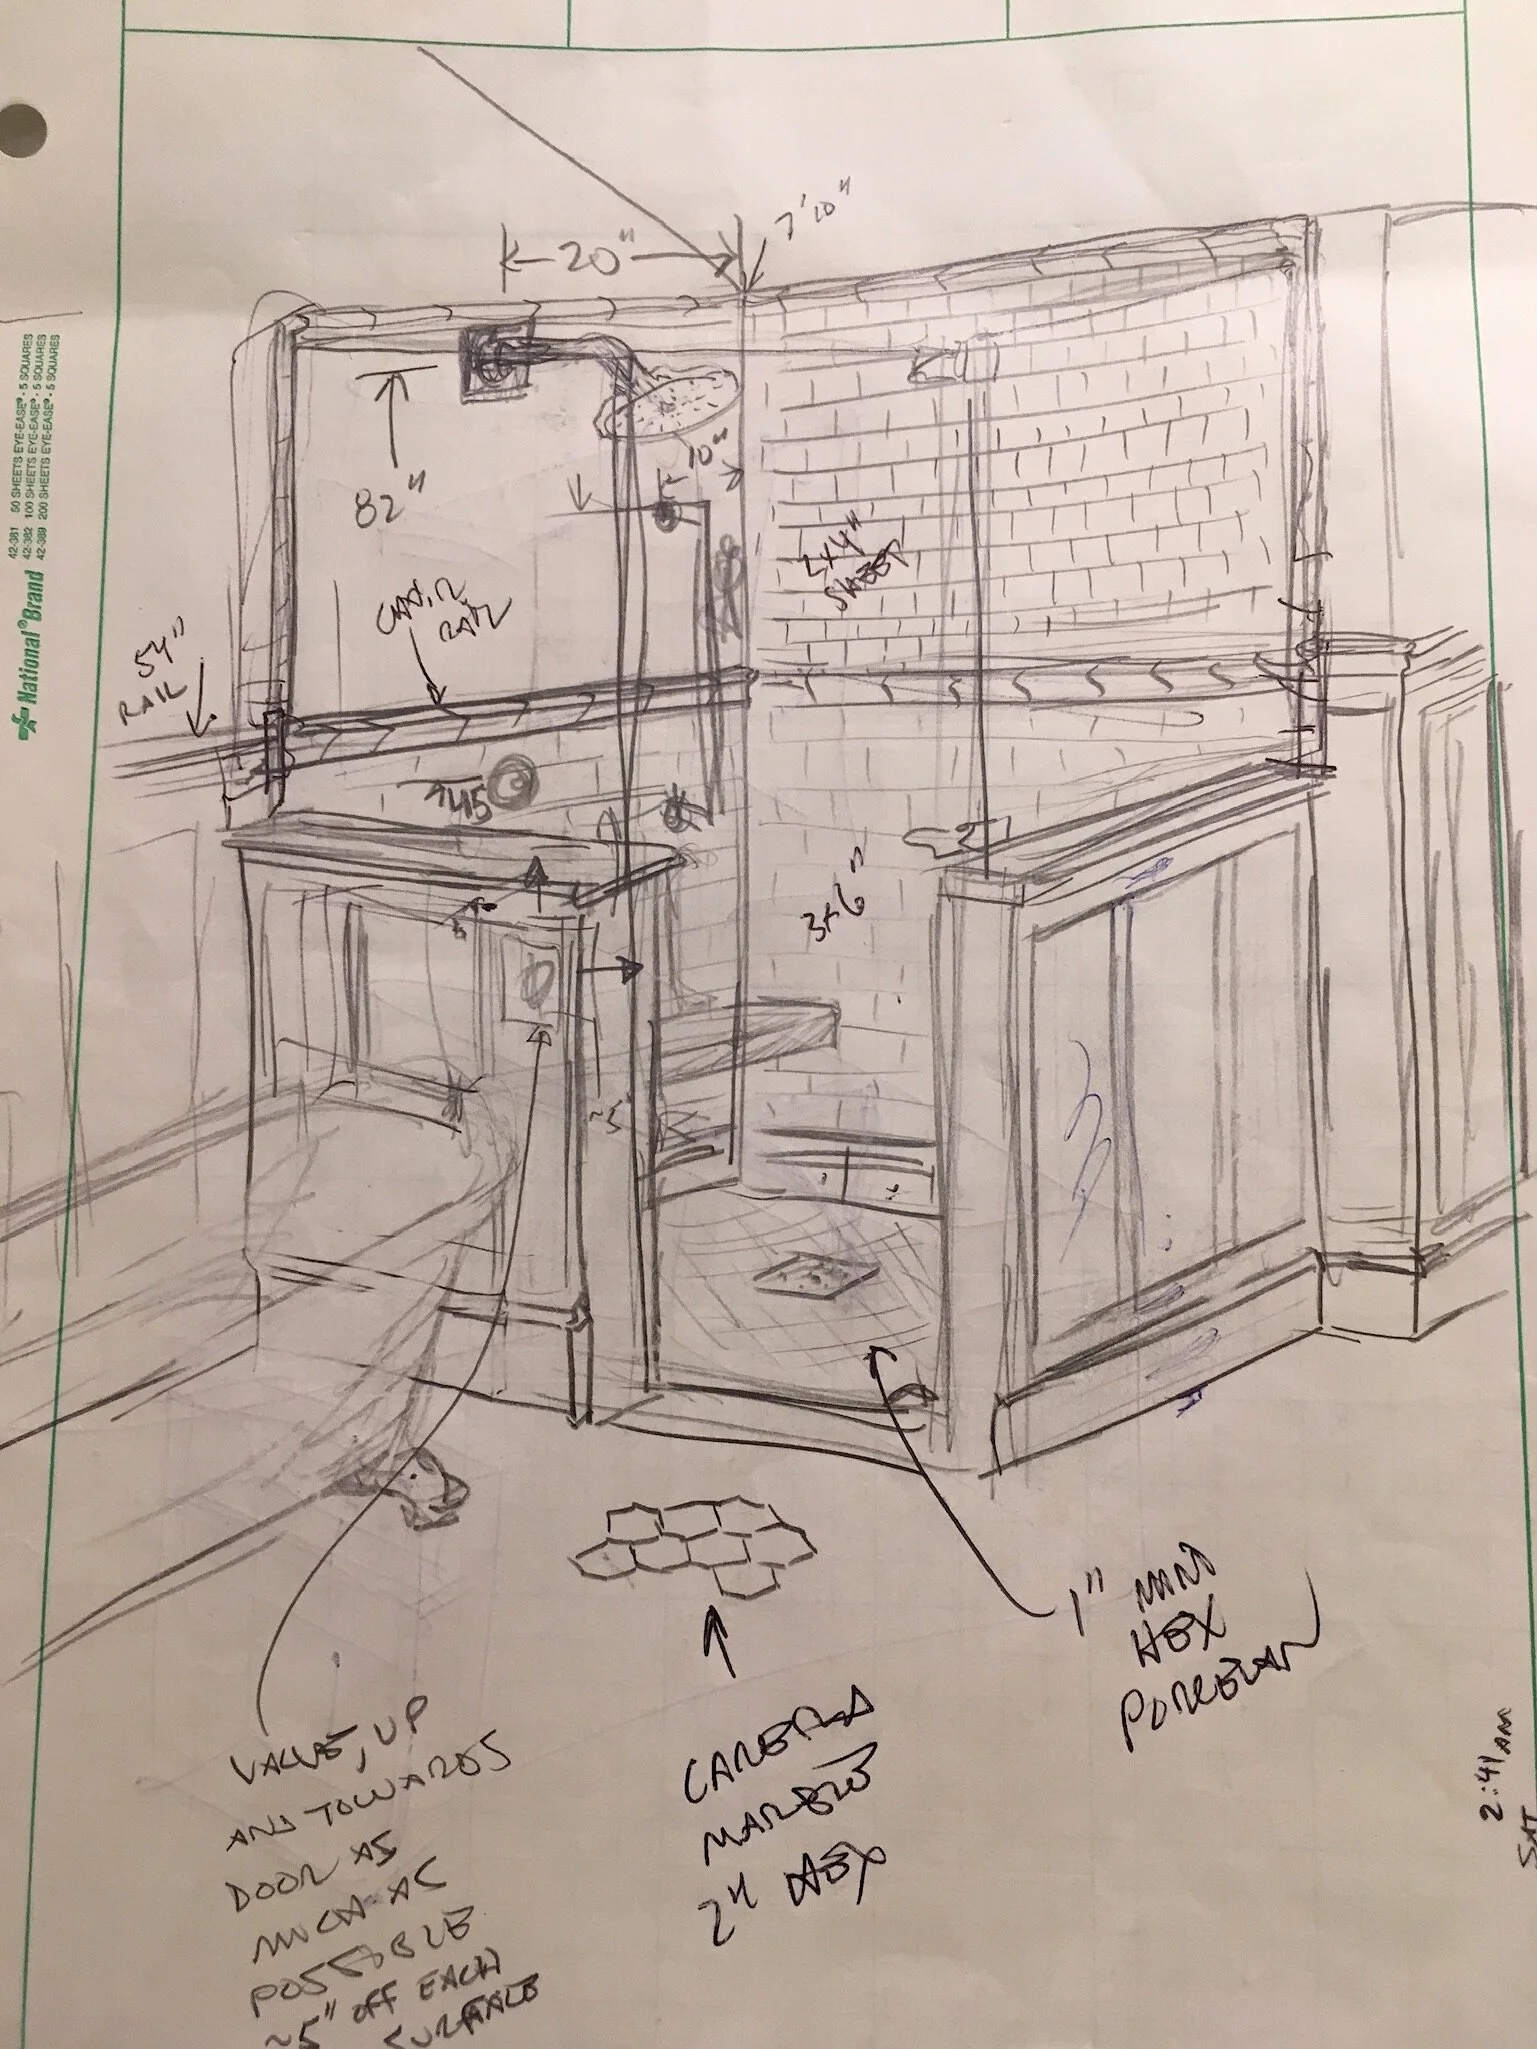
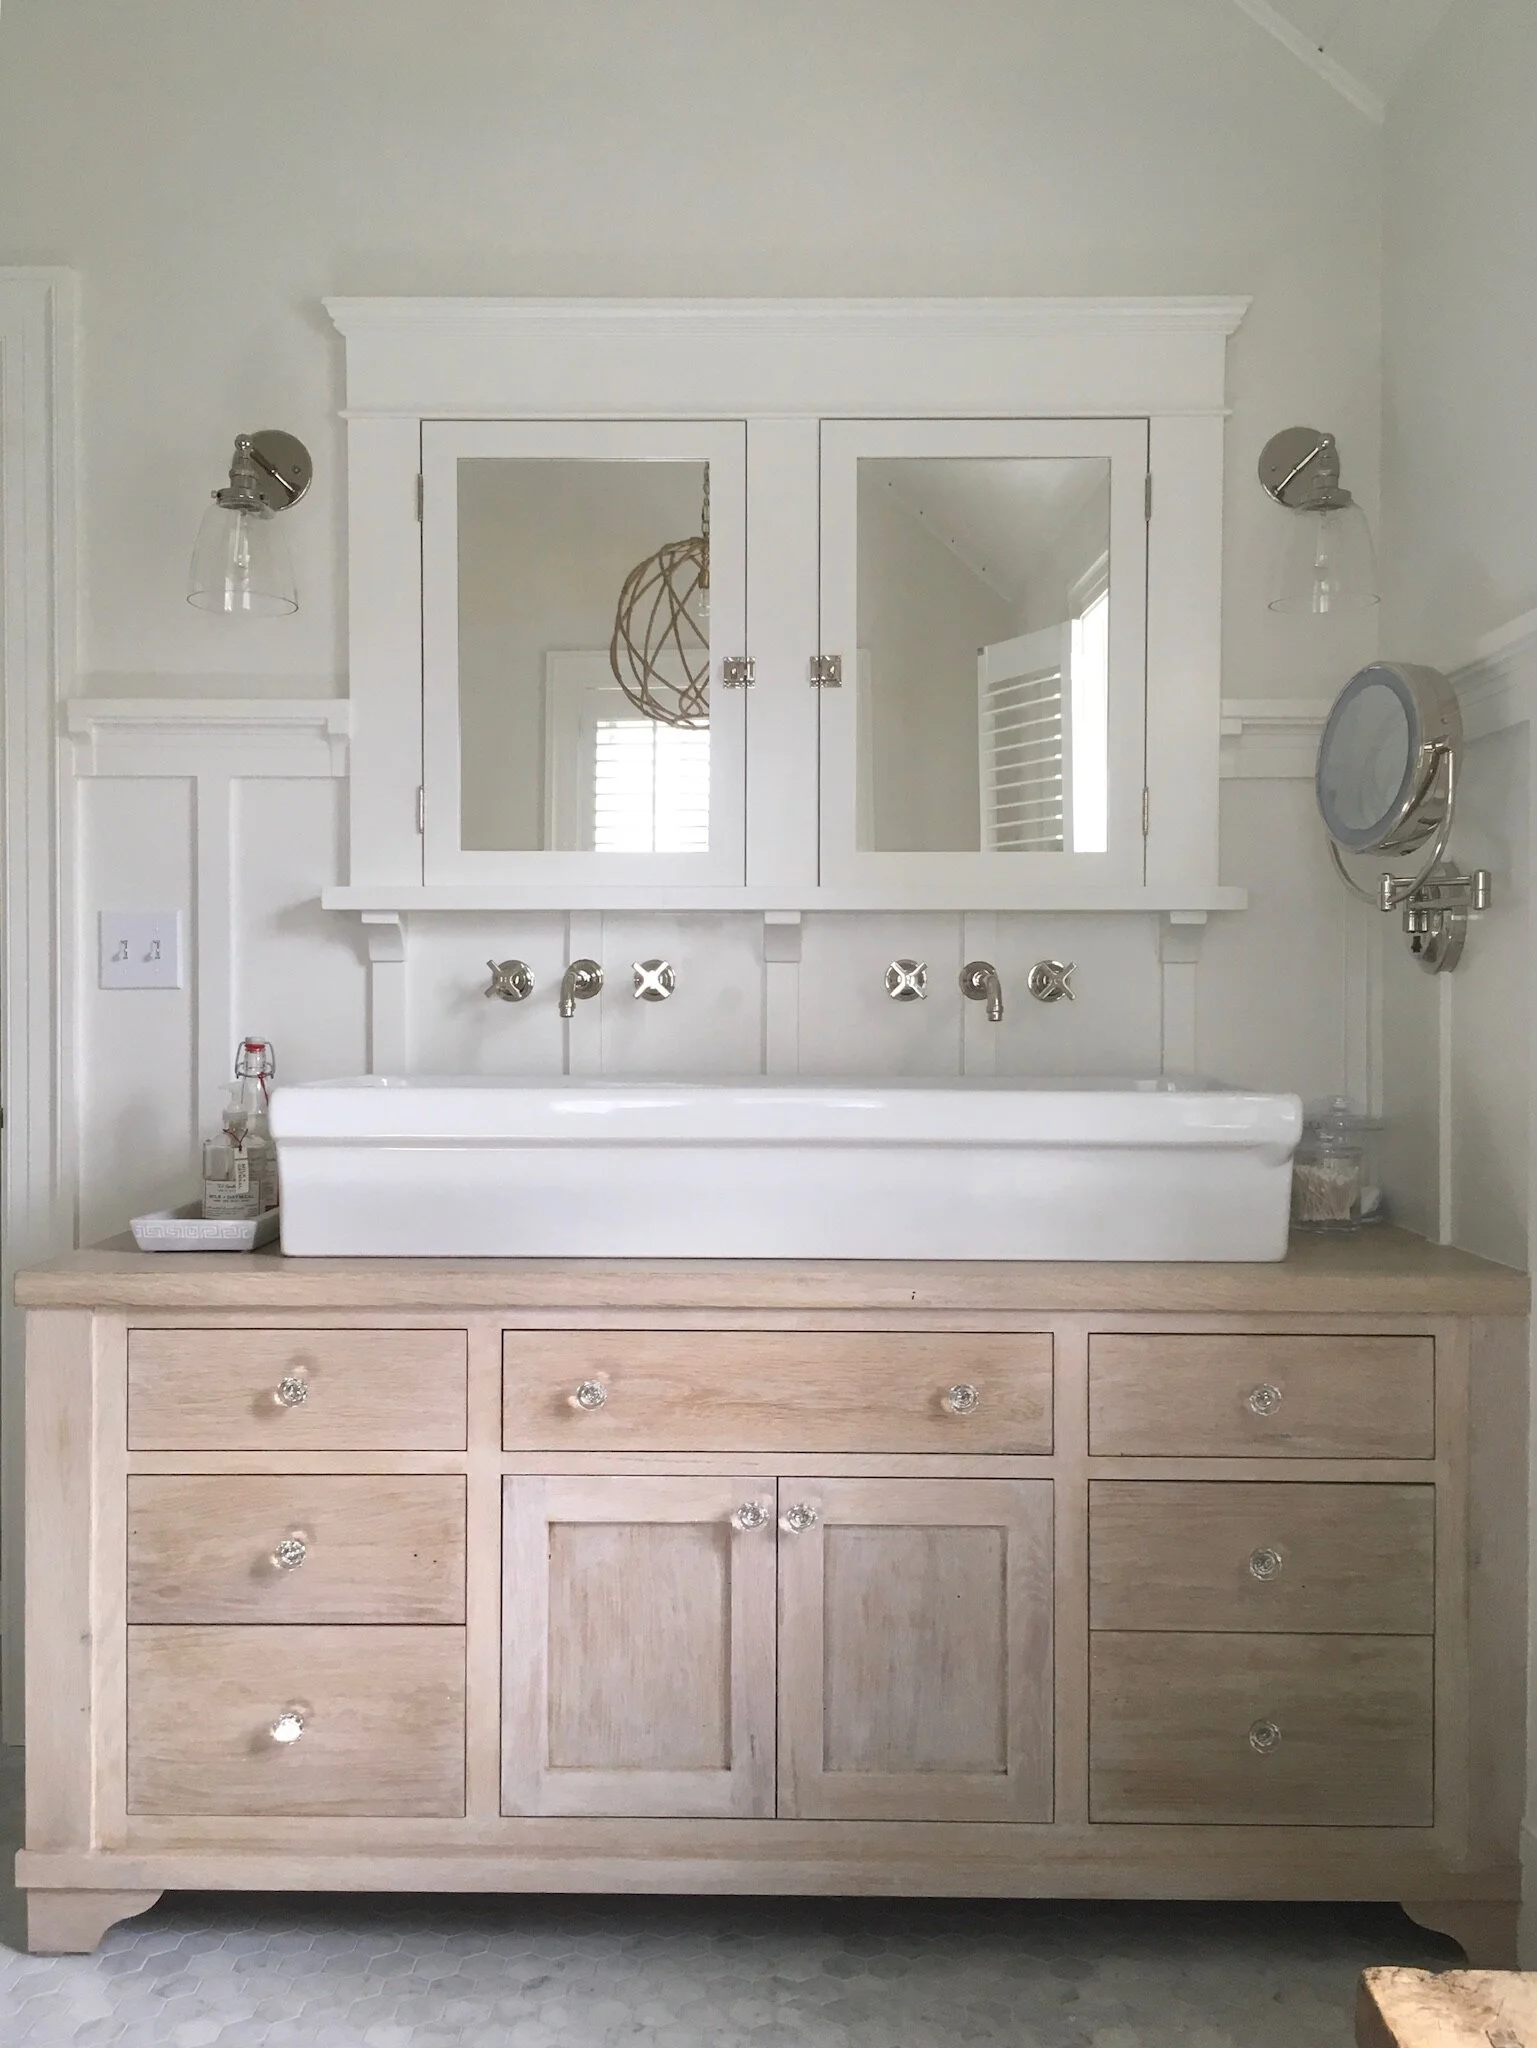
In order to blend the high ceilings of this addition with the coziness of the rest of the house, we used various types of millwork and a combination of practical and warm materials.


garage face-lift
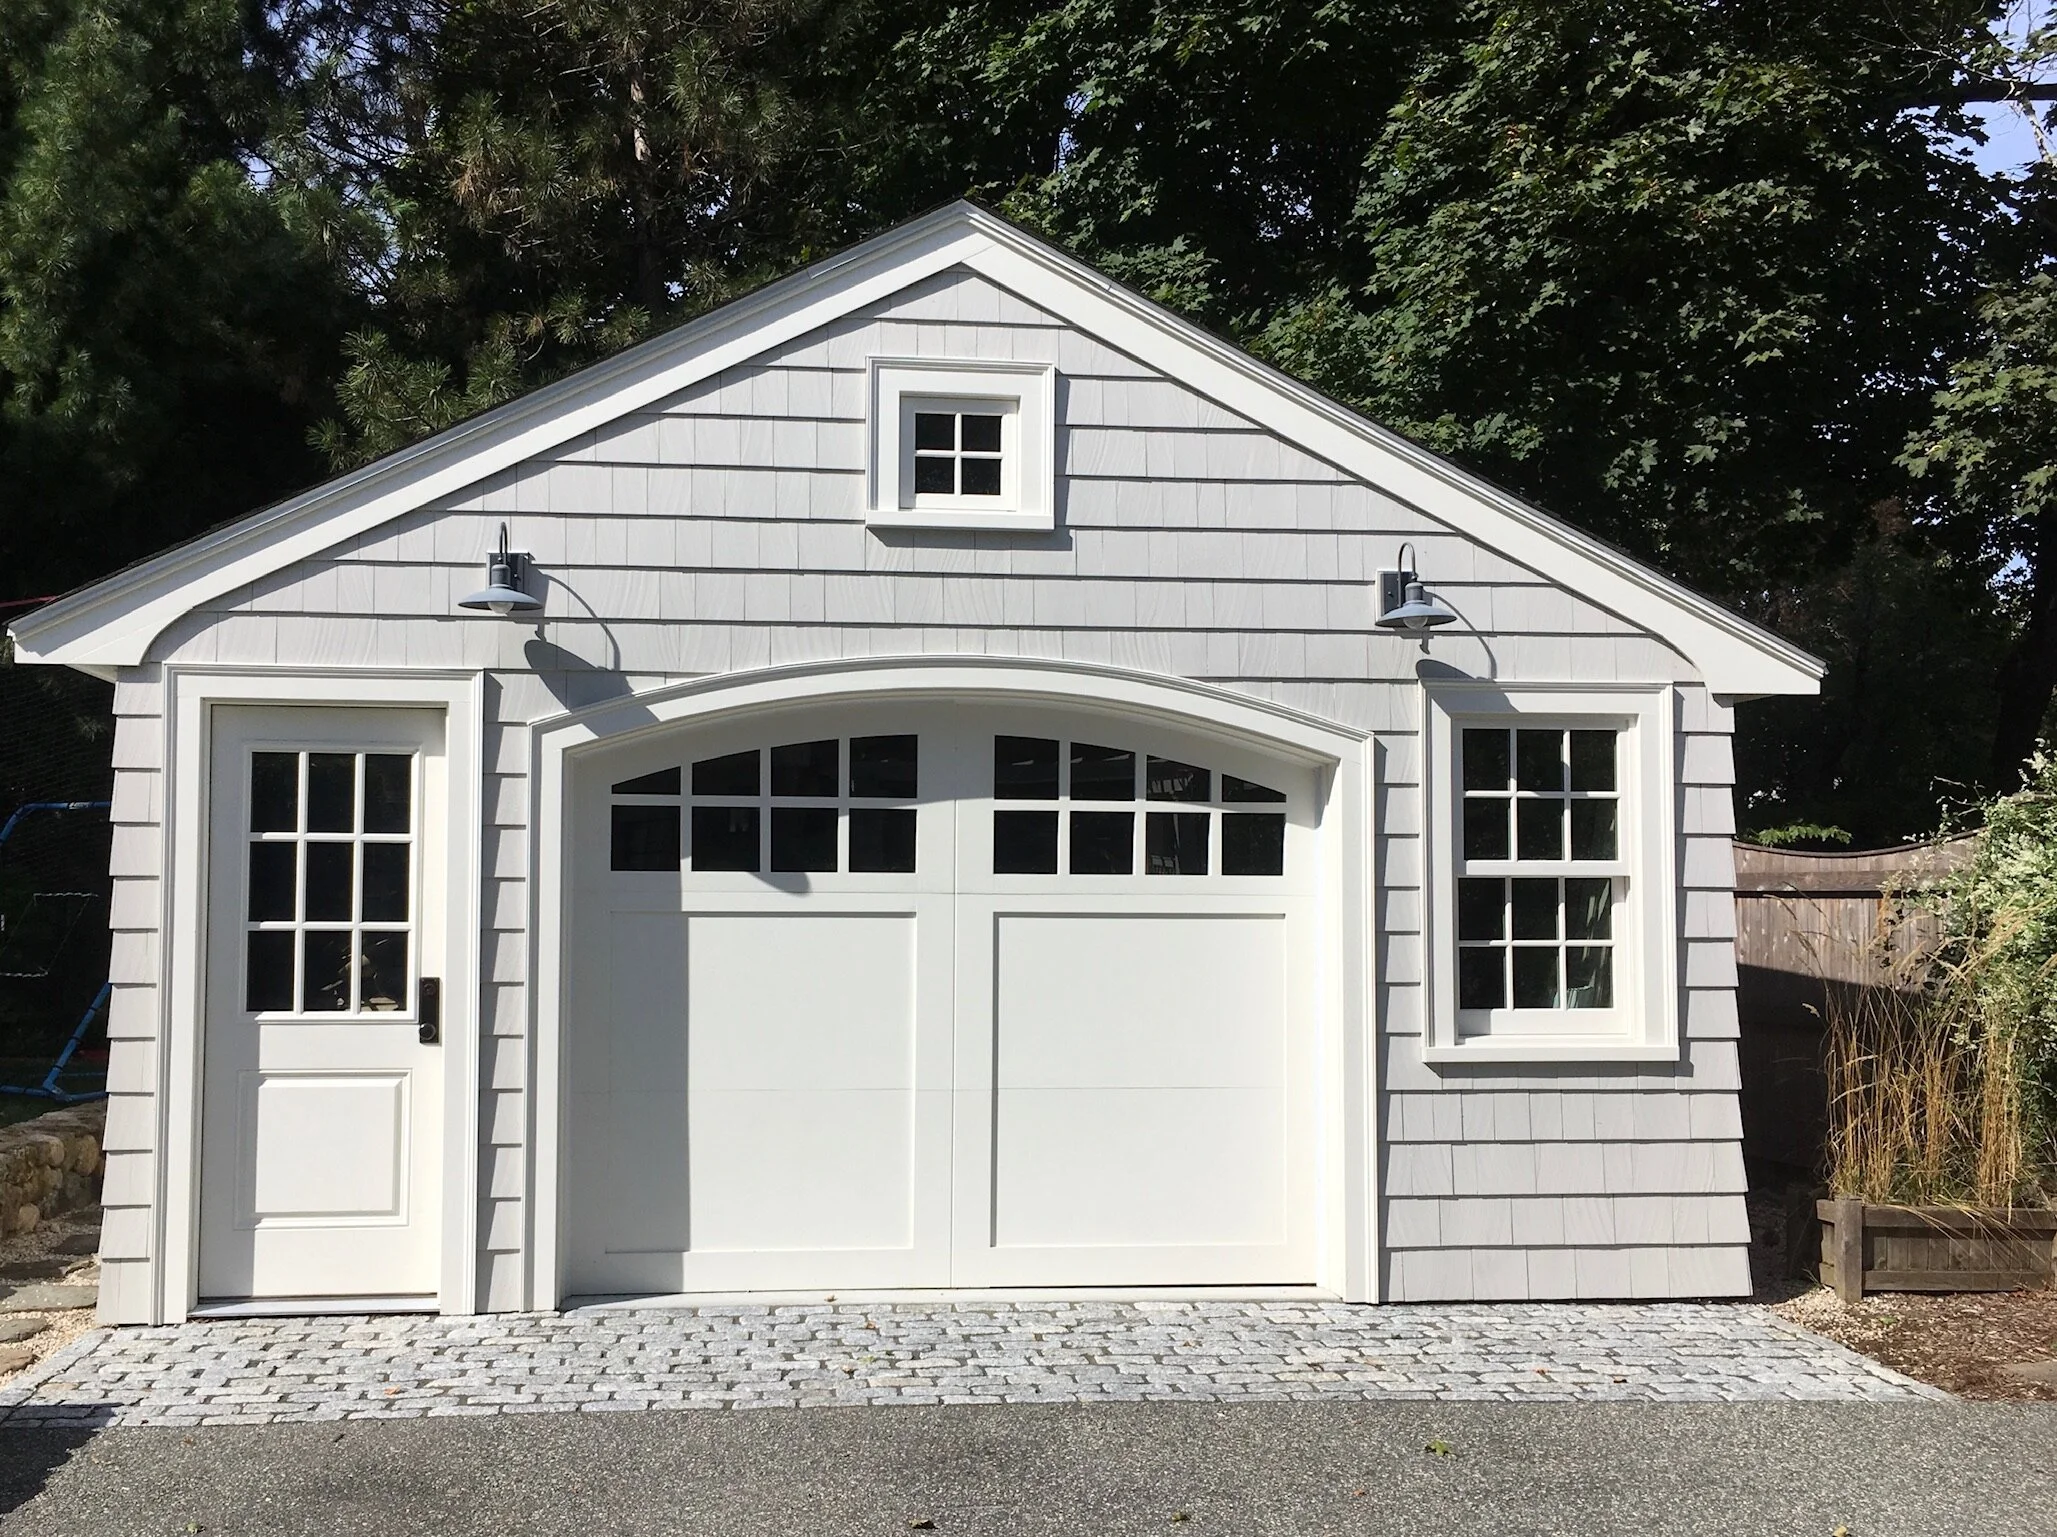
While rebuilding our garage from scratch was not practical, neither was keeping the existing structure as it was. The two narrow doors were not functional for two cars given their diminutive size (you’d have to crawl out the sunroof once you pulled the car inside!) and left no storage space for bikes or other gear. By replacing only the front of the structure, we were able to transform it into something that was both more functional and more consistent with the aesthetic of the rest of the house.


Additional sketches + Drawings
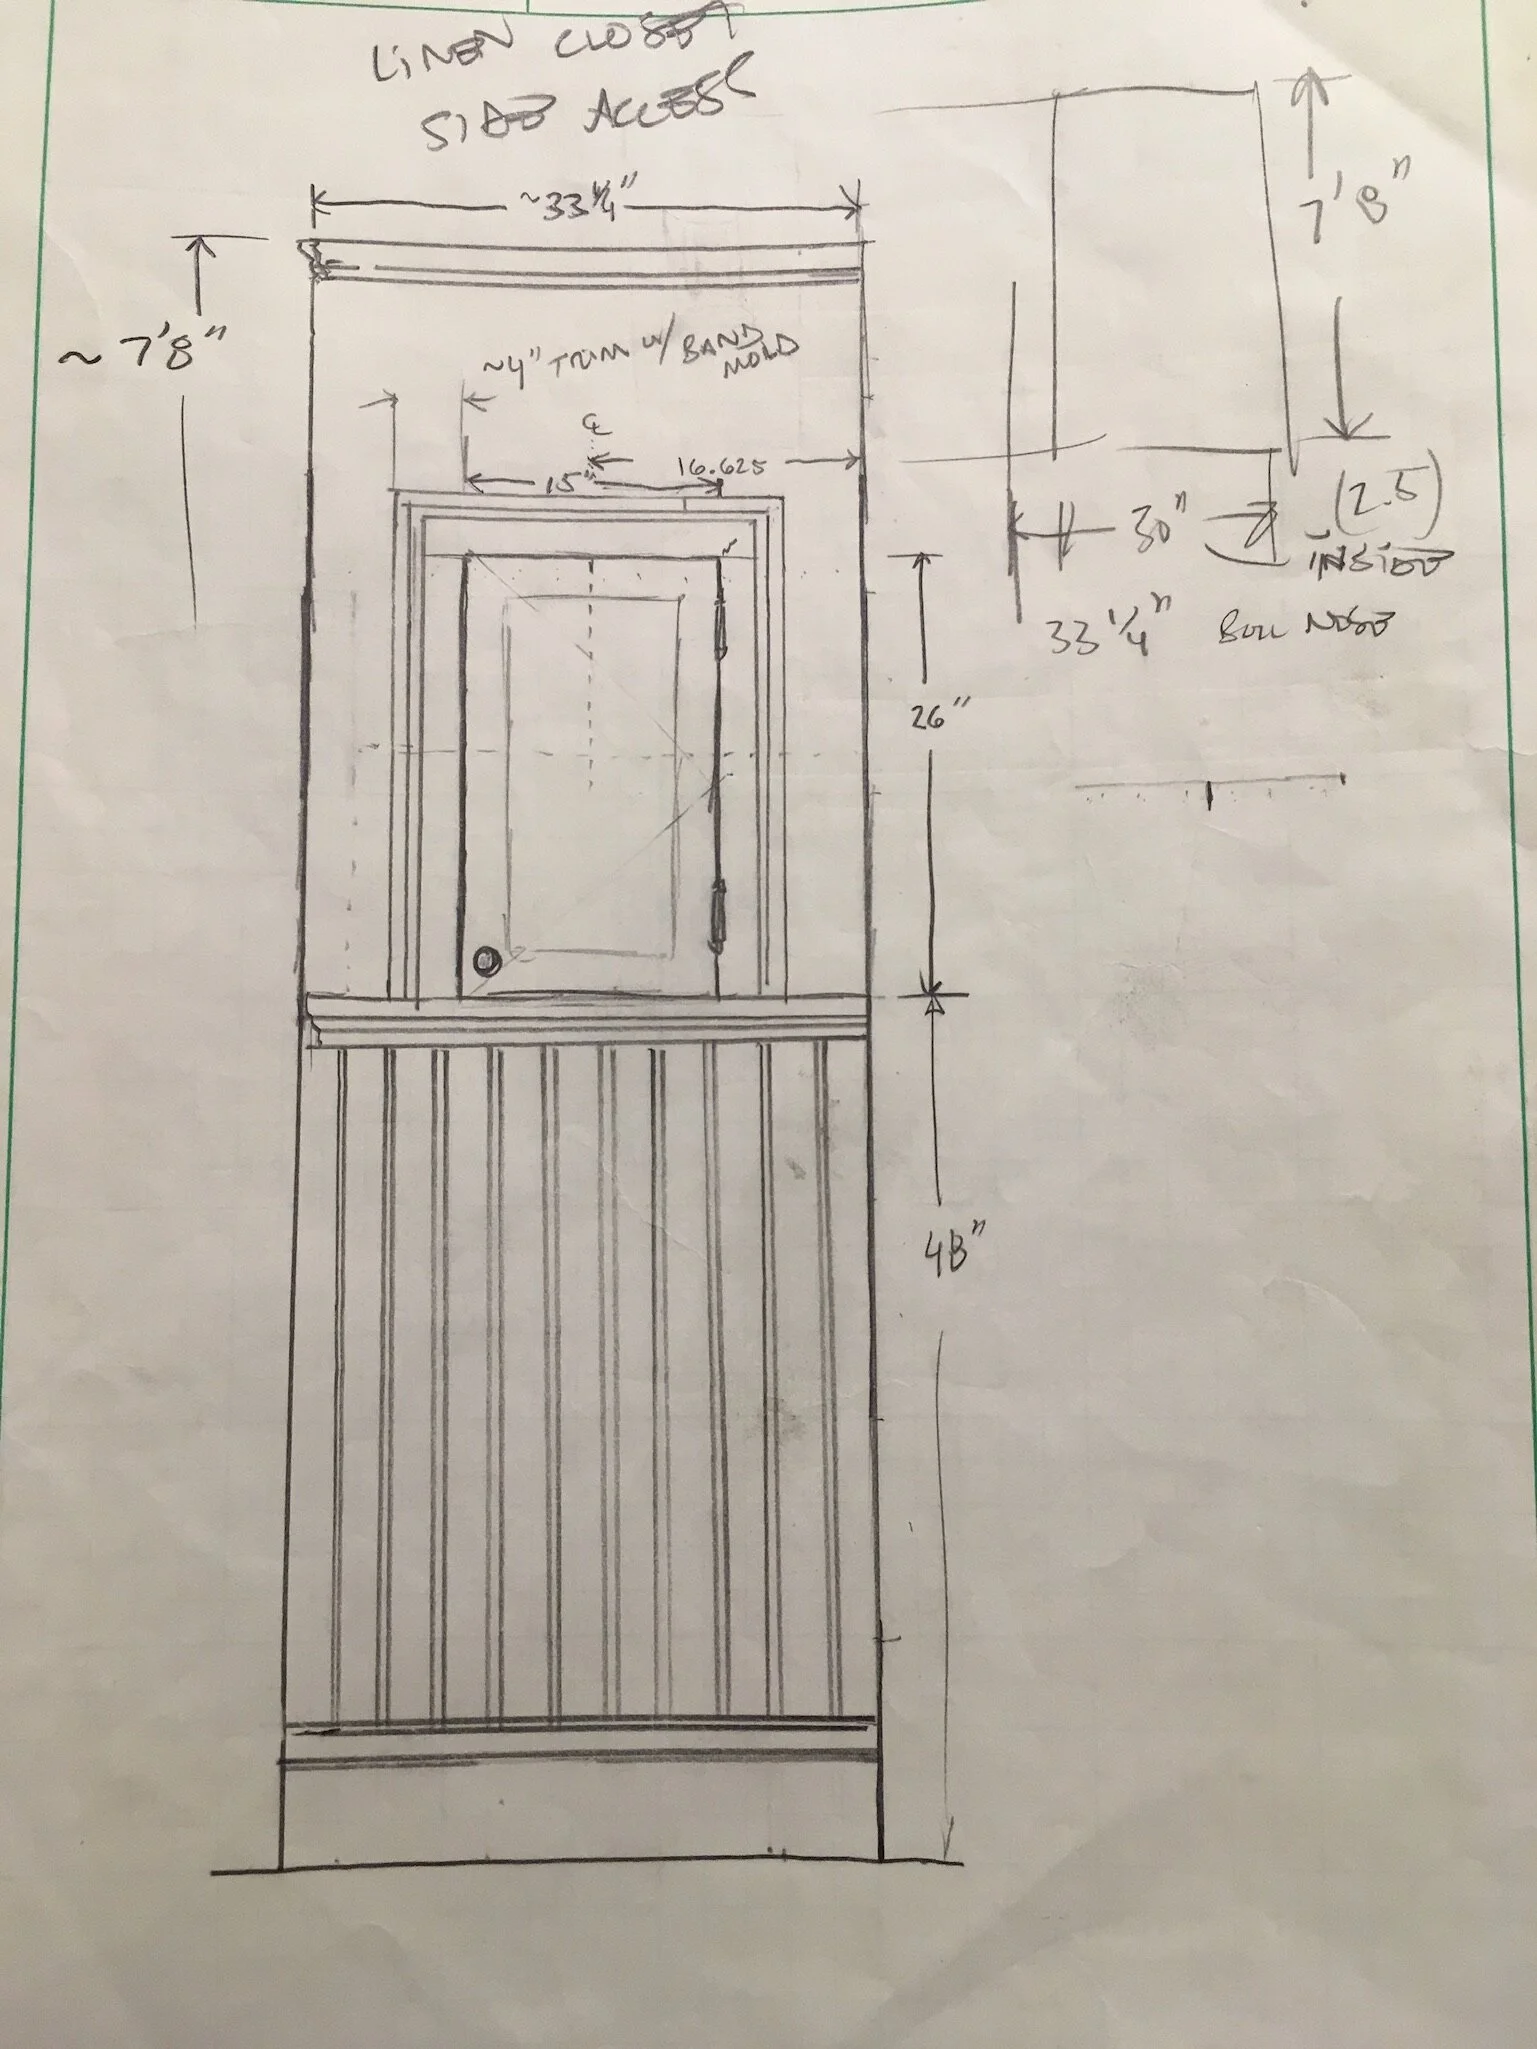
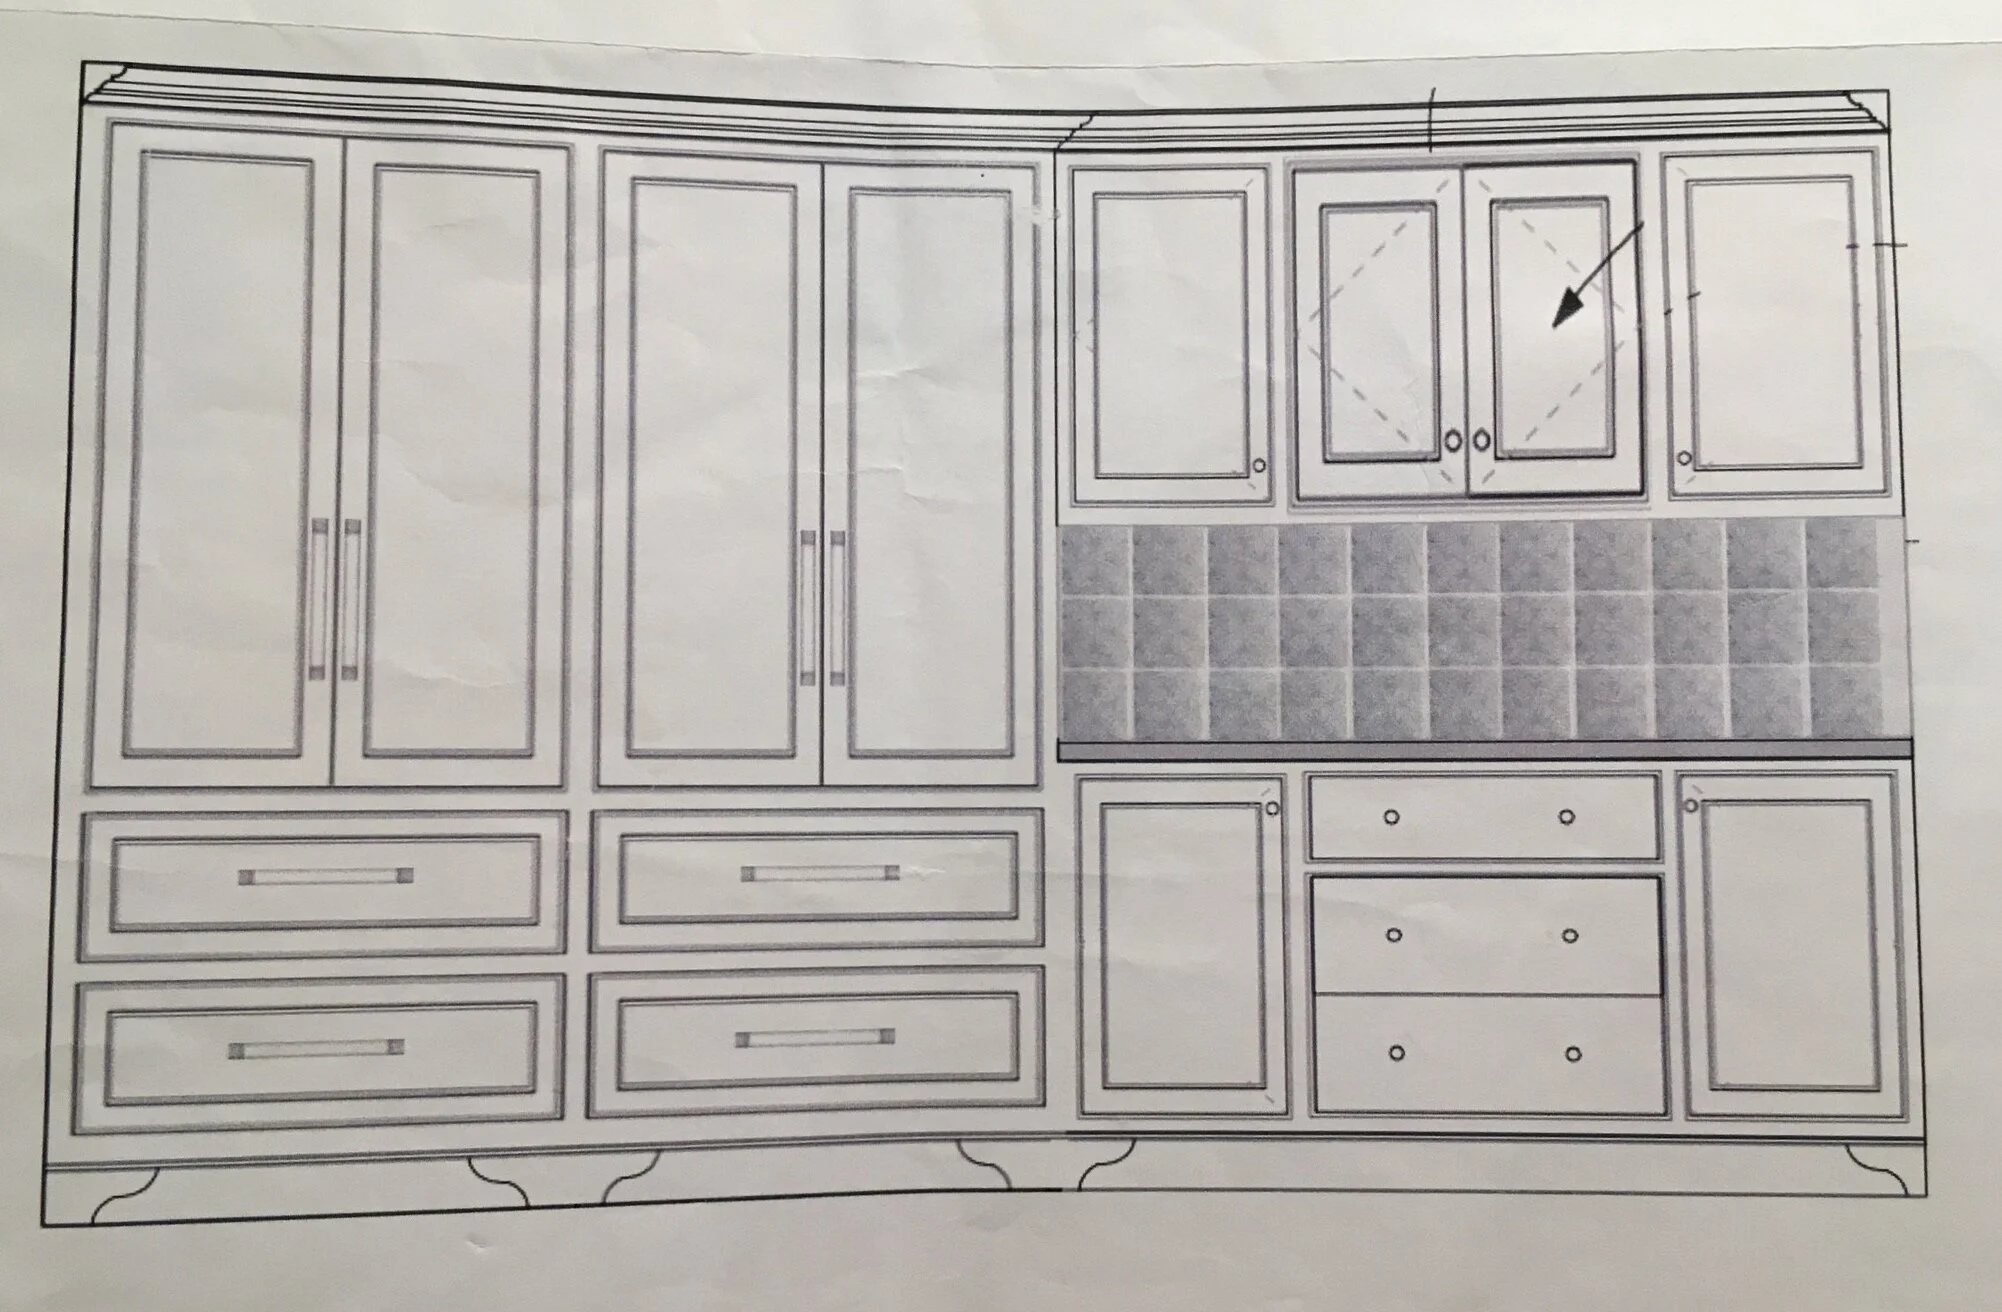
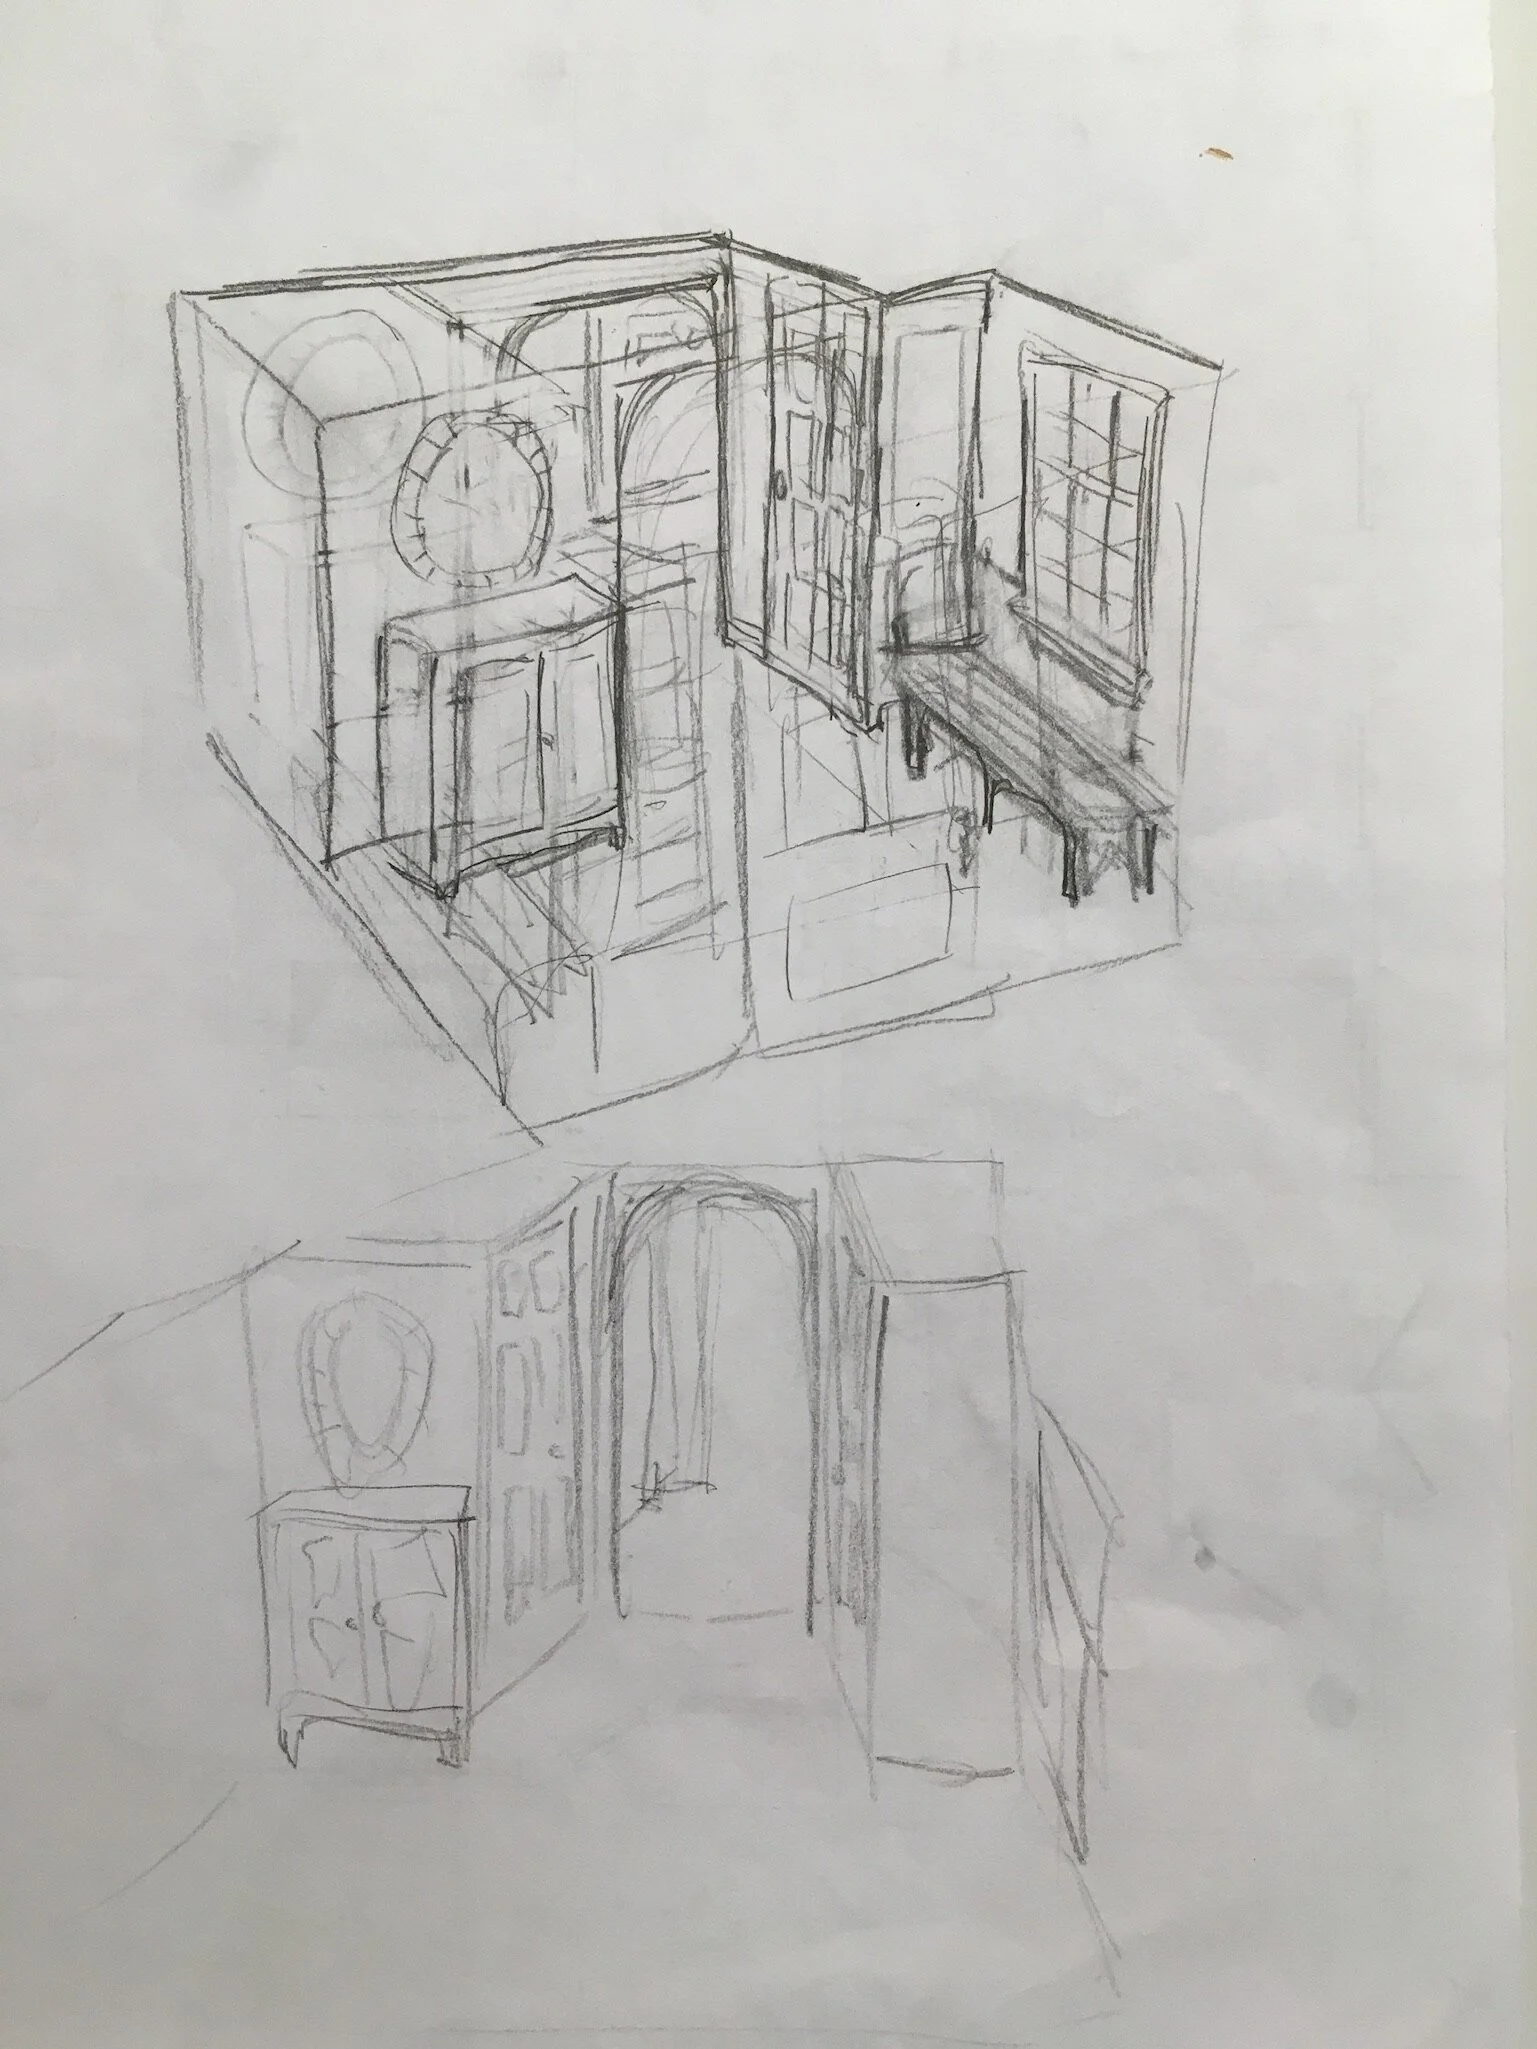
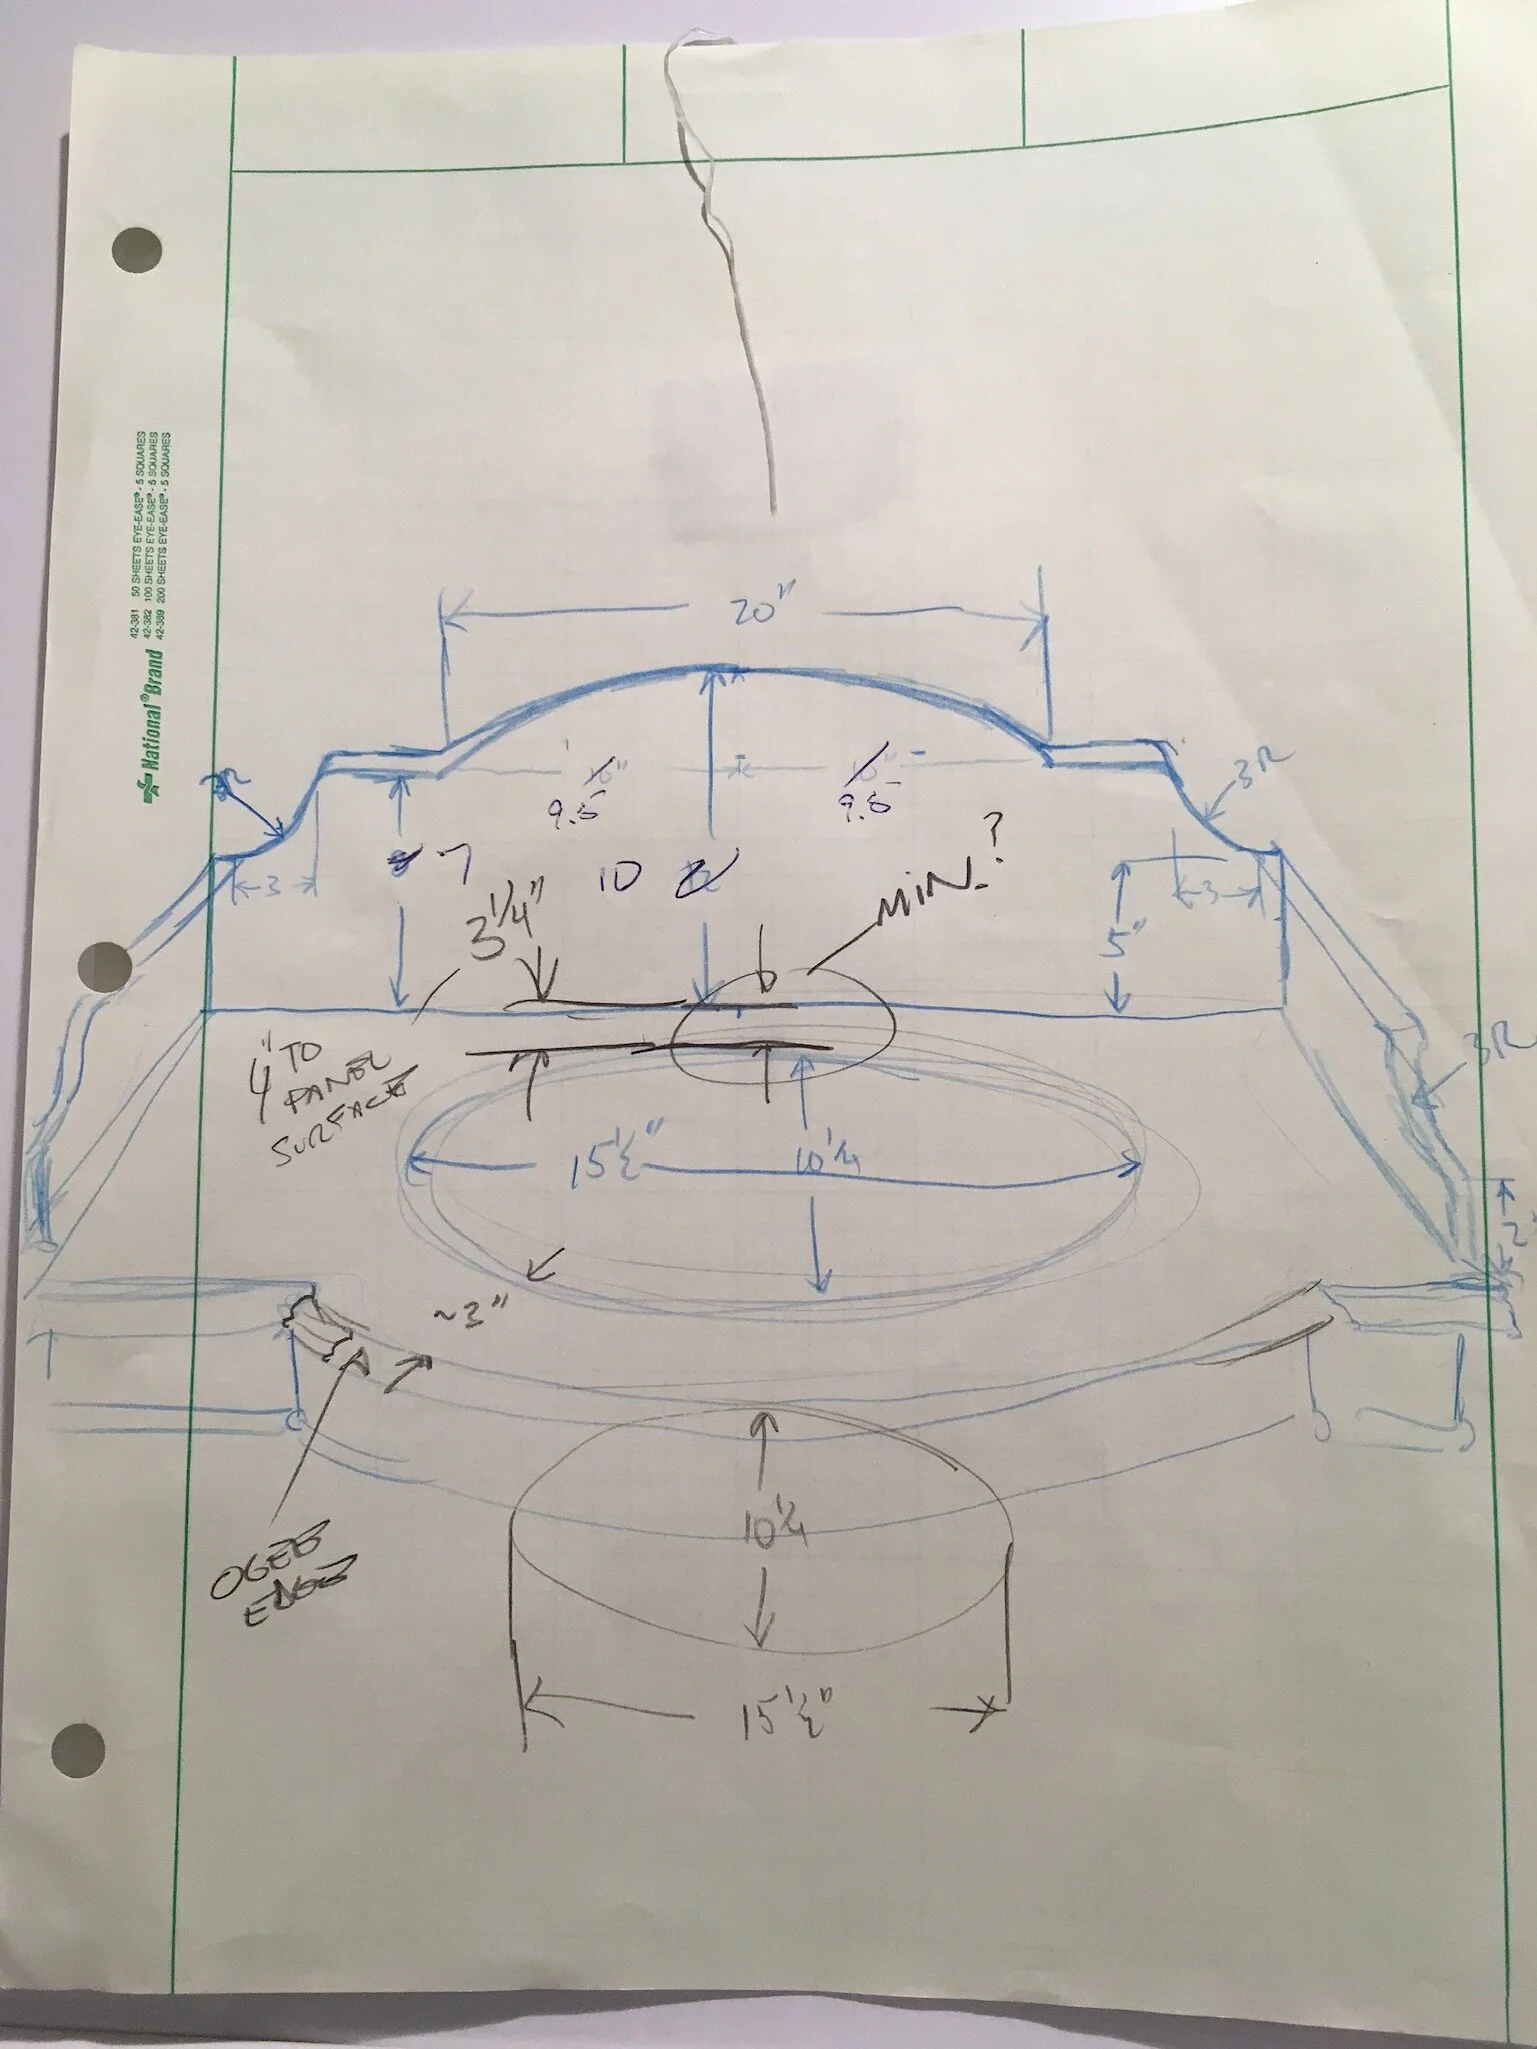
Here is an assortment of additional concept sketches and detailed drawings that closed the gap between our initial ideas and the end results.

